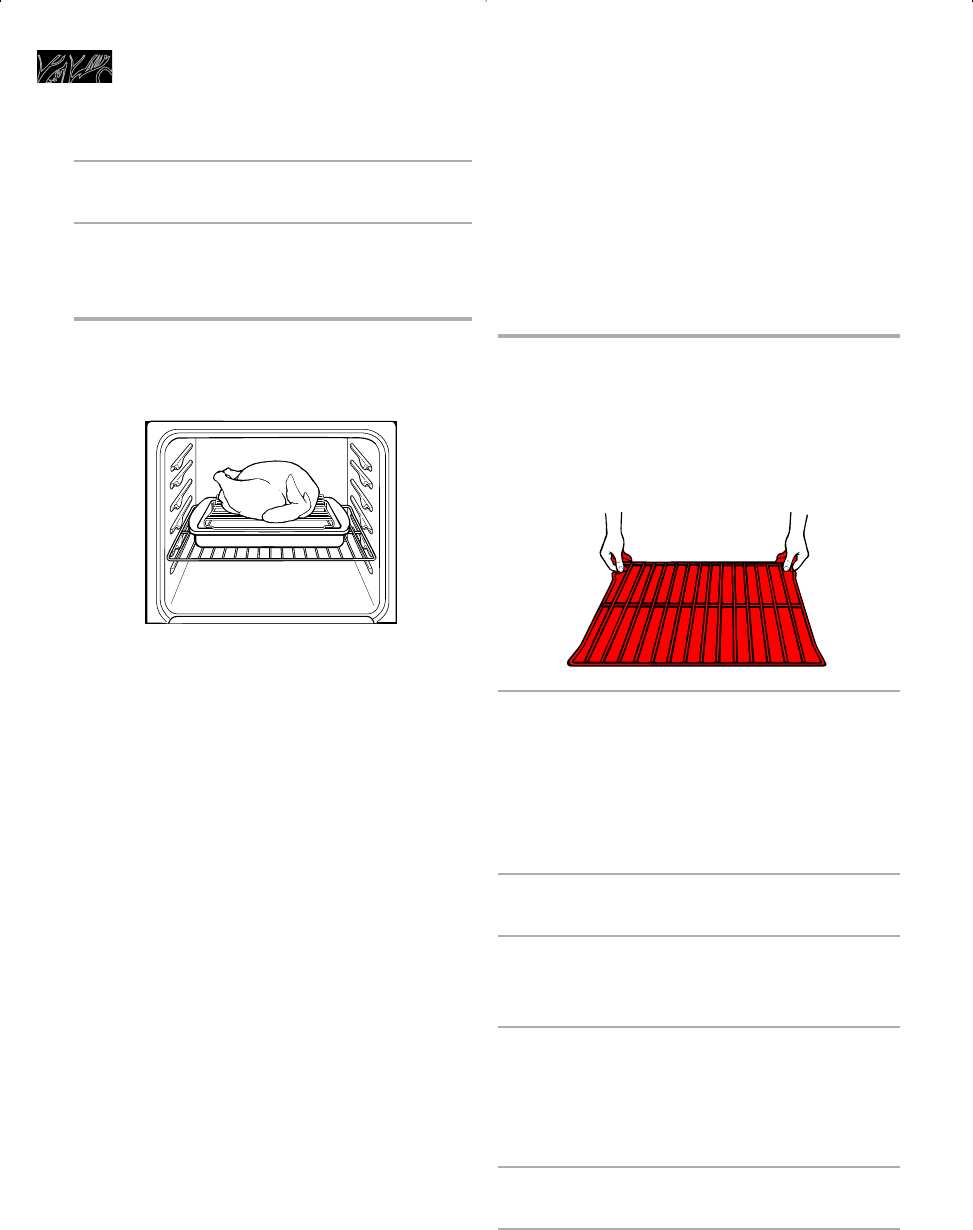
• You can reduce roasting times and
temperatures for most standard recipes
when using the Convection Roast setting.
See convection roasting chart in your
convection oven cookbook for
recommended roasting times and
temperatures.
Broil
1. Position rack.
See the rack placement chart in the
“Broiling guidelines” section for
recommended rack positions.
2. Put food in oven.
Place food on grid in broiler pan and
place in center of the oven rack. Turn
the pan so the long side is parallel to the
oven door for the most even heat and the
best airflow.
3. Close door.
4. Turn SELECTOR to BROIL.
The display will read “HI”.
5. Rotate SET to desired broil
level.
Your options are: LO, br 2, br 3, br 4,
and HI.
6. Press ENTER to start.
7. At the end of Broiling, turn
SELECTOR to RESET.
20
3. Press ENTER to start.
4. At the end of Convection Roast,
turn SELECTOR to RESET.
Convection
roasting tips
• Use the convection roasting rack on the
broiler pan and grid included with your
oven. The convection roasting rack rests
on the broiler pan and grid. The long side
of the rack should be parallel with the oven
door for best heat distribution and airflow.
• Spatter can be reduced by lining the
bottom of the roasting pan with lightly
crushed aluminum foil.
• Use an accurate meat thermometer to
determine when meat has reached desired
degree of doneness. Insert the thermome-
ter into the center of the thickest portion of
the meat. For an accurate reading, the tip
of the thermometer should not touch fat,
bone, or gristle.
• After reading the thermometer once,
push it further into the meat
1
⁄2 inch
(1.7 cm) or more and read again. If the
temperature drops, return the meat to the
oven for more cooking.
• Check pork and poultry with a ther-
mometer in 2 to 3 places to ensure ade-
quate doneness. Insert the thermometer
into the center of the thickest portion and
ends of pork. Check the inner thighs and
breasts of poultry.
• Poultry and roasts will be easier to
carve if loosely covered with foil and
allowed to stand 10 to 15 minutes after
removal from the oven.
Using and Caring for Your Oven
