© 2007 by Stephen Beck V1.0 Page 10 of 19 Use at your Own Risk
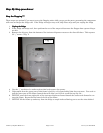
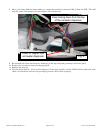
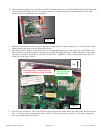
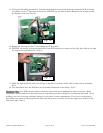
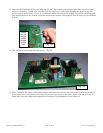
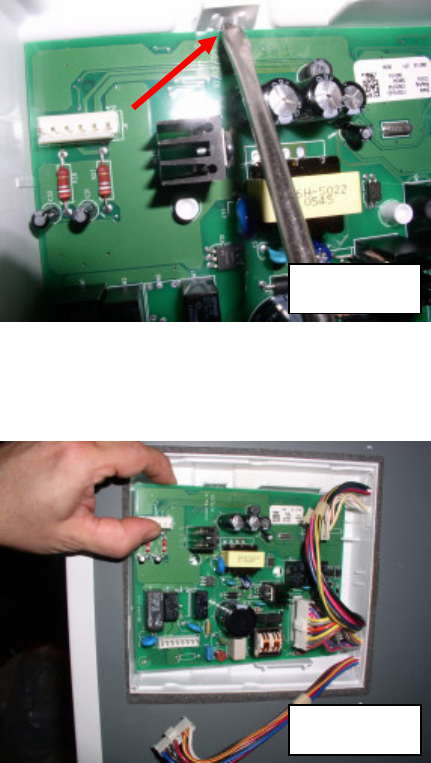
14. Using your flat blade screwdriver, push the small fingers on one of the tabs away from the PCB and using
your finger, or the 2
nd
flat blade screwdriver, GENTLY pry the side of the PCB toward you enough to clear
the fingers on the tab. (Fig 10)
15. Repeat the last step for the 2
nd
tab holding the PCB in place
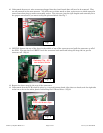
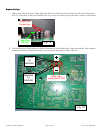
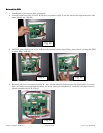
16. GENTLY and evenly pull the left hand side of the PCB towards you and out of the clip, then slide it out from
the slot on the right hand side. (Fig 11)
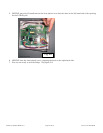
17. Mark the right hand side with a bit of tape or marker so you know which side is what come re-assembly
time.
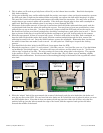
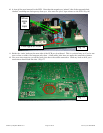
18. You should now have the PCB free in your hands unattached to the fridge. (Yay!)
Cautionary Note:
Cautionary Note:Cautionary Note:
Cautionary Note: The PCB contains delicate electronic parts that can be damaged by static electricity. When
handling it, take precautions to minimize the risk of generating a static charge lest you damage the board. So, no
scuffing your feet on the rug, rubbing a balloon on your shirt, or other shenanigans. If you have an electronics
grounding strap made for this purpose (the kind that drains thru a resistor, not a bare copper wire bonded to the
cold water pipe), wear it.
Fig. 10
© 2007 Stephen Beck
© 2007 Stephen Beck
Fig. 11


