© 2007 by Stephen Beck V1.0 Page 5 of 19 Use at your Own Risk
Step
StepStep
Step-
--
-By
ByBy
By-
--
-Step procedure
Step procedureStep procedure
Step procedures
ss
s:
::
:
Stop the flapping !!!
Stop the flapping !!!Stop the flapping !!!
Stop the flapping !!!
These steps are optional if you want to stop the flapping noise while you go get the parts, presuming the compressor
still runs and keeps the fridge cold. If the fridge no longer stays cold, skip these steps and just unplug the fridge
1. Unplug the fridge
Unplug the fridgeUnplug the fridge
Unplug the fridge.
2. If the fridge still keeps cool, then perform the rest of the steps to disconnect the flapper door opener thing-a-
ma-bob.
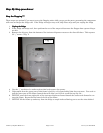
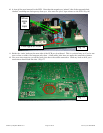
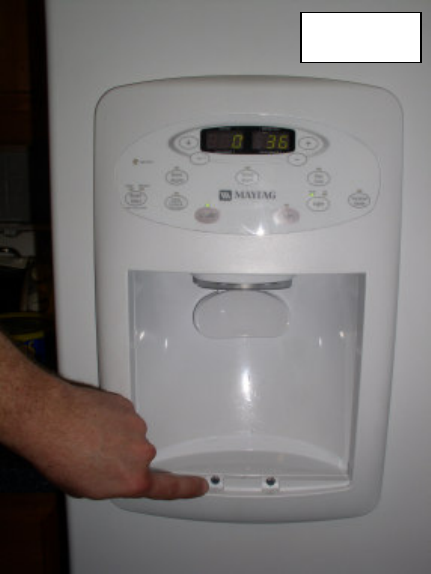
3. Remove the drip tray from the bottom of the ice/water dispenser recess on the front left door. This exposes
(2) ¼” screws. (Fig. 1)
4. Use the ¼” nut driver (or socket and ratchet) and remove the screws.
5. Understand that the upper part of this frame is held by a clip from behind that does not move. You need to
pull the lower part of the frame forward that will allow you to lift it up off the top clip. So…
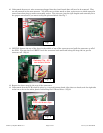
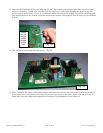
6. GENTLY press the lower right side of the ice/water dispenser frame towards the center and forward to un-
snap the frame. Repeat for the lower left side of the frame.
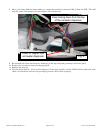
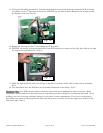
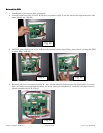
7. GENTLY lift the frame up and away from the fridge a couple inches allowing you to see the wires behind.
© 2007 Stephen Beck
Fig. 1


