79
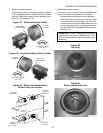
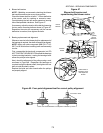
4. Blower belt tension
NOTE: Middleby recommends checking the blower
belt condition and tension every three months.
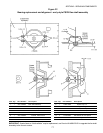
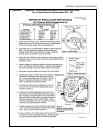
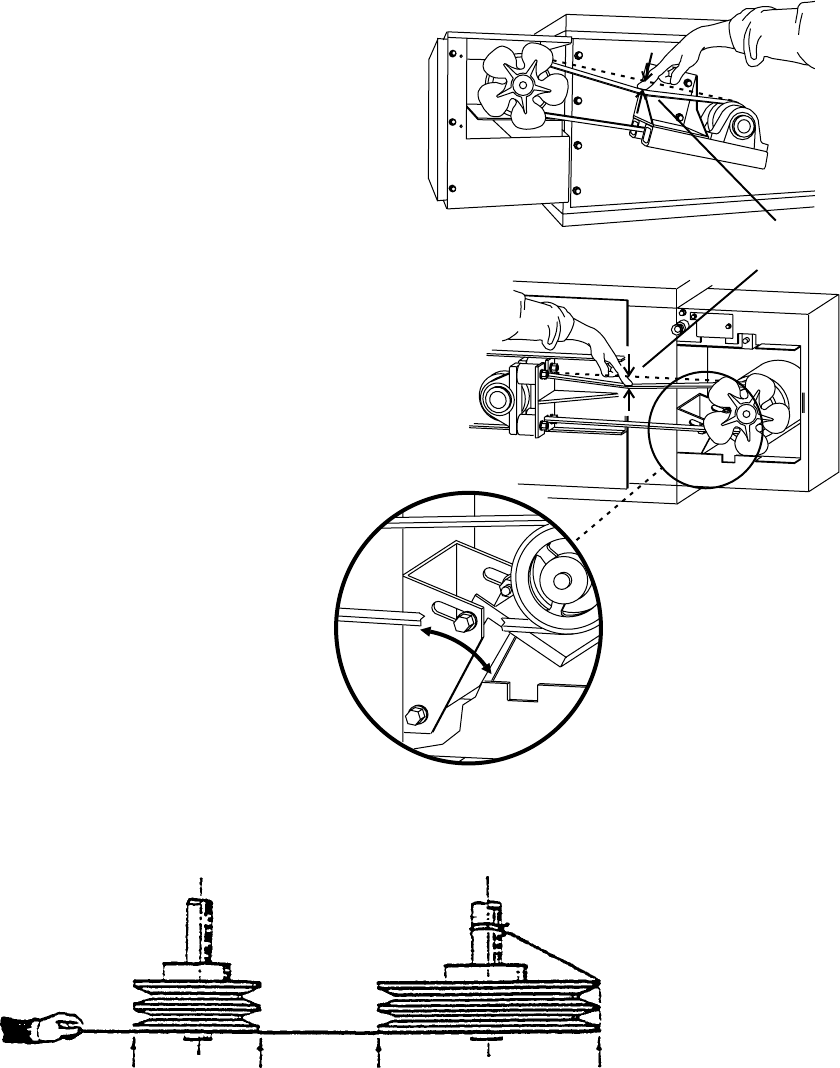
Check the blower belt for at least 1" / 25mm deflection
at the center, and for cracking or excessive wear.
Overtightening the belt will cause premature bearing
failure and possible vibrations. See Figure 47.
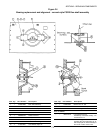
If necessary, adjust the tension of the belt by loosening
the two motor mounting bolts as shown in Figure 47.
Reposition the motor as neccessary until the correct
deflection is reached, then tighten the bolts.
Figure 47
Blower belt tension and
repositioning the blower motor
Loosen bolts to
reposition motor
and adjust belt
tension
1 (25mm)
vertical
deflection
PS570,
PS570S
PS570G,
PS555
5. Bearing replacement and alignment
Whenever service to the blower shaft or replacement of
the bearings is required, the shaft will need to be aligned.
NOTE: Apply anti-seize compound (MM P/N 17110-
0017) to all bolts before installing back wall assembly
to oven.
First, reassemble the back wall components, but DO
NOT TIGHTEN THE HEX BOLTS that hold the bearings
to their mounting brackets. Leaving the bearings loose
allows the pulleys to be aligned.
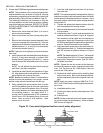
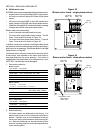
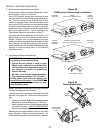
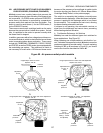
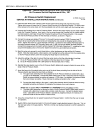
Next, check the alignment of the pulleys using a cord
as shown in Figure 48. Reposition the bearings as
required to align the blower shaft, then tighten the hex
bolts to hold the shaft in place.
Replace the belts and rear shrouds after the pulleys
are properly aligned.
Figure 48 - Four-point alignment test for correct pulley alignment
Cord tied to shaft
Cord must touch sheaves at four points indicated by arrows
SECTION 3 - SERVICING COMPONENTS


