Oven operation
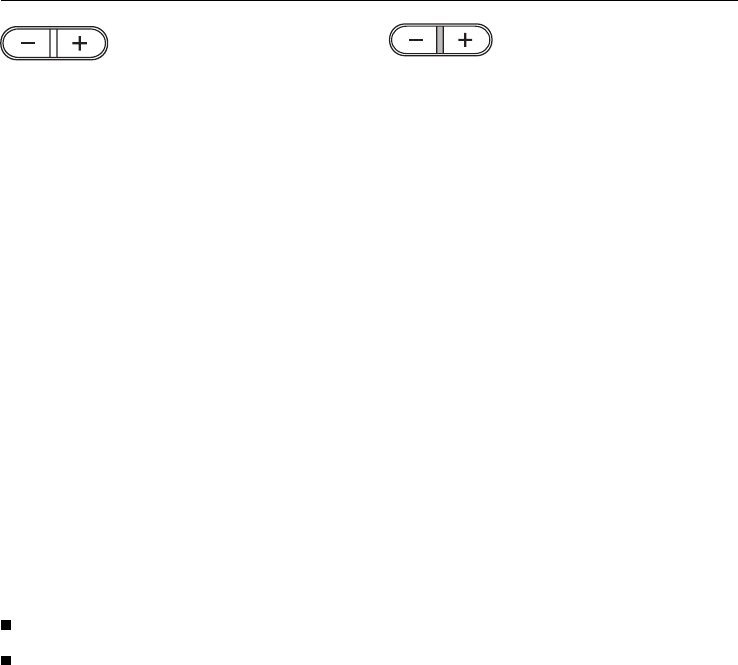
The “– /+” button is used to input all
entries or alterations to the oven.
Temperature or time can be altered in
increments, by pressing the “– /+” but-
ton briefly, or more rapidly by holding
the button in.
“–” button:
To select a lower temperature, earlier
time or shorter period.
“+” button:
To select a higher temperature, later
time or longer period.
The increase / decrease is changed
– for the oven temperature in 10°F
(5°C) steps,
– for the core temperature in 2°F (1°C)
steps,
– for the Minute Minder in 1 min. steps.
Temperature or time can be entered as
follows:
Press the required button.
Enter the time or temperature imme-
diately using the “– /+” button.
As long as the indicator lamp in the
center of the “– /+” button is lit, a time
or temperature can be entered or al-
tered.
The indicator lamp in the “– /+” but-
ton lights up:
– when a cooking mode has been se-
lected (except for "Light"),
– if the "p" button is pressed during
the cooking process,
– if the "e" button is pressed when
cooking with the roast probe,
– if the "l" button is pressed.
Each time the “– /+” button or one of
the other buttons is pressed, this gives
more time for data input.
When the indicator lamp goes out, the
entry has been stored.
Symbols and figures which appear in
the oven display:
– "e“, whenever the roast probe is
connected.
– "e" and the core temperature you
set always takes precedence when-
ever the roast probe is connected.
– The oven temperature and "p" when
the probe is not being used.
– "l" always appears when a time has
been entered into the Minute Min-
der. If a time has been entered while
the oven is in use, it will appear
along with the oven temperature. If
only the Minute Minder is being
used, it will appear with a time count-
down.
16


