


Instructions for the User
25
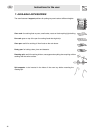
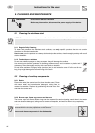
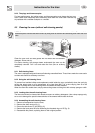
9.2.3 The plugs and thermocouples
For best performance, the ignition plugs and thermocouples must always be kept very
clean. Check them frequently and if necessary clean them with a wet cloth. Remove any
dry residues with a wooden toothpick or a needle.
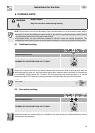
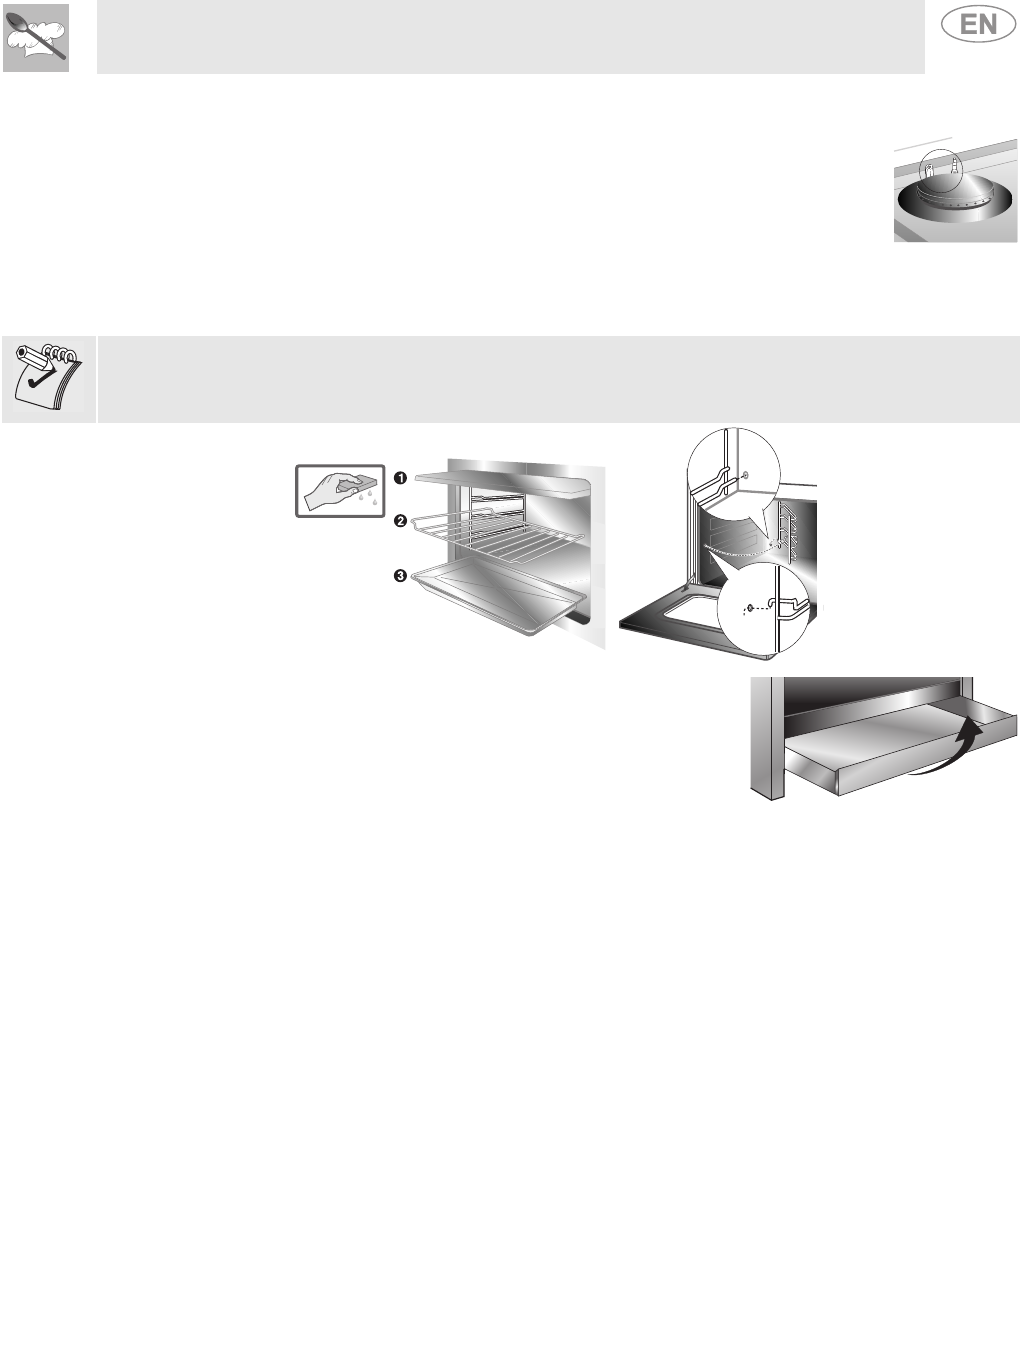
9.3 Cleaning the oven (without self-cleaning panels)
NOTE: To keep an oven in good condition it must be cleaned regularly. Let it cool first. Take out all the
removable parts. Remove the shelf runners by lifting them at the front and extracting them from their rear
holes.
Clean the oven rack and side guides with hot water and non-abrasive
detergent. Rinse and dry.
For easier cleaning, the storage drawer underneath the oven can be
completely removed. Pull it out and raise the front (like an ordinary
drawer).
9.3.1 Self-cleaning liners
The oven is equipped with continuous self-cleaning enamelled liners. These liners make the oven easier
to clean and ensure its efficiency over time.
9.3.2 Using the self-cleaning liners
To prevent food residue buildup and unpleasant smells inside the oven, periodically clean the cavity by
turning the empty oven on at a temperature of no less than 400°F, for a time varying from 30 to 60
minutes. By doing this the self-cleaning liners will oxidise the food residues.
When the oven has cooled down, simply remove the grease and the grime with a damp sponge or cloth.
9.3.3 Looking after the self-cleaning liners
The liners should not be cleaned with abrasive creams or ordinary detergents. Use a damp sponge only,
so as not to damage the special characteristics of the enamel which coats the liners.
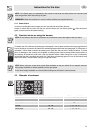
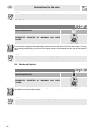
9.3.4 Assembling the self-cleaning liners
1 Remove all accessories from the oven;
2 Remove the shelf runners (fig.1);
3 Extract the side liners “F” and “G”(fig. 2);
4 Remove the back panel “A” after loosening the threaded ring-nut “C” (fig. 2).
5 Reassemble the panels, replacing them to their original position.