


16
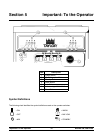
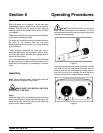
Models 336, 338 & 339Operating Procedures
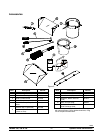
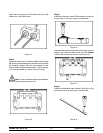
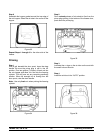
Step 2
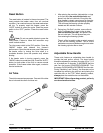
Take one of the scraper blades and slip it under the
hook at the front of the beater. Wrap the blade around
the beater following the helix and pushing the blade
down onto the helix as you wrap. At the back end of the
beater, slip the blade under the hook. Repeat this
step for the second scraper blade.
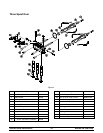
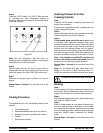
Figure 10
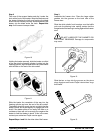
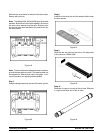
Holding the beater securely, slide the beater one third
of the way into the freezing cylinder. Looking into the
freezing cylinder , align the hole at the rear of the beater
with the flats on the end of the drive shaft.
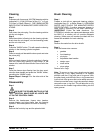
Figure 11
Slide the beater the remainder of the way into the
freezing cylinder and over the end of the drive shaft.
The beater should fit snugly, but not so tightly that the
beater cannot be turned slightly to engage the drive
shaft. If the beater slides in too easily with little or no
resistance, there will not be enough force against the
beater to hold the blades in place. If this is the case,
contact your authorized Taylor service agent.
Repeat Steps 1 and 2 for the other side of the freezer.
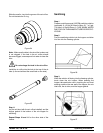
Step 3
Assemble the freezer door. Place the large rubber
gaskets into the grooves on the back side of the
freezer door.
Slide the white plastic front bearings over the baffle
rods onto the bearing hubs making c ertain that the
flanged end of the bearing is resting against the freezer
door.
DO NO T LUBRICATE THE GASKETS OR
THE FRONT BEARINGS. Damage to components
may occur.
Figure 12
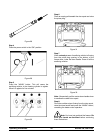
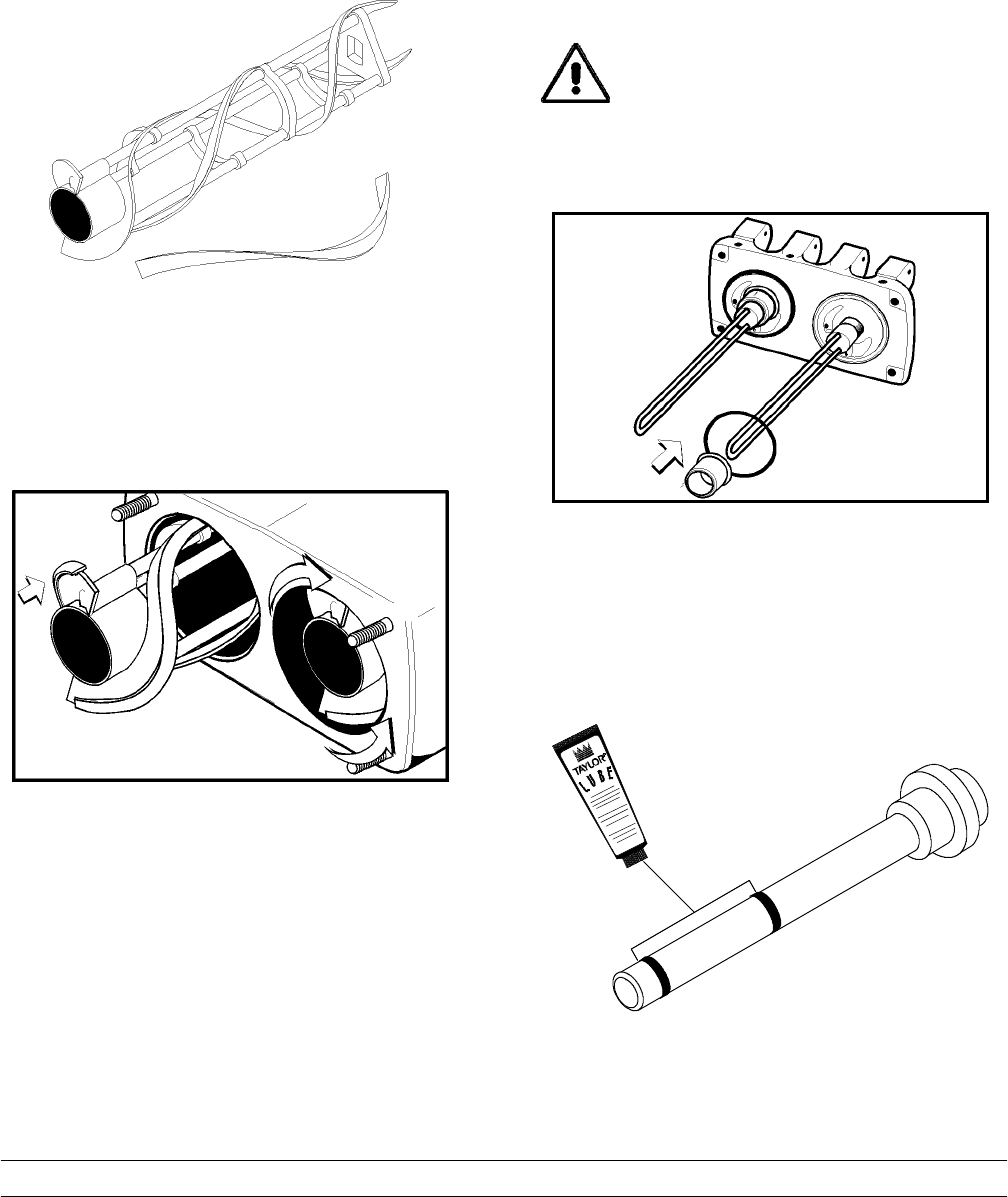
Slide the two o--rings into the grooves on the prime
plugs. Apply an even coat of Taylor Lube to the o--rings
and shafts.
Figure 13