


19
Models 8752 & 8756 with Horizon® Pump Operating Procedures
Step 2
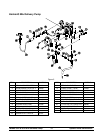
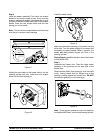
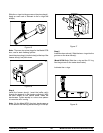
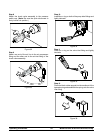
Install the beater assembly. First check the scraper
blades for any nicks or signs of wear. If any nicks are
present, replace both blades. If the blades are in good
condition, install the scraper blade clips o n the scraper
blades. Place the rear scraper blade over the rear
holding pin on the beater.
Note: The hole on the scraper blade must fit securely
over the p in to pr event costly damage.
Figure 11
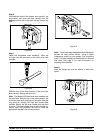
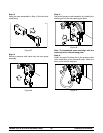
Holding the rear blade on the beater, slide it into the
freezing cylinder half w ay. Install the front scraper
blade over the front holding pin.
Figure 12
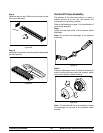
Install the beater shoes.
Figure 13
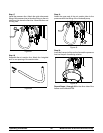
Make sure the beater assembly is in position over the
drive shaft. Turn the beater slightly to be certain that
the beater is properly seated. When in position, the
beater will not protrude beyond the front of the
freezing cylinder.
Repeat Steps 1 and 2 for the other side of the freezer
on the Model 8756.
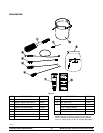
Step 3
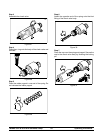
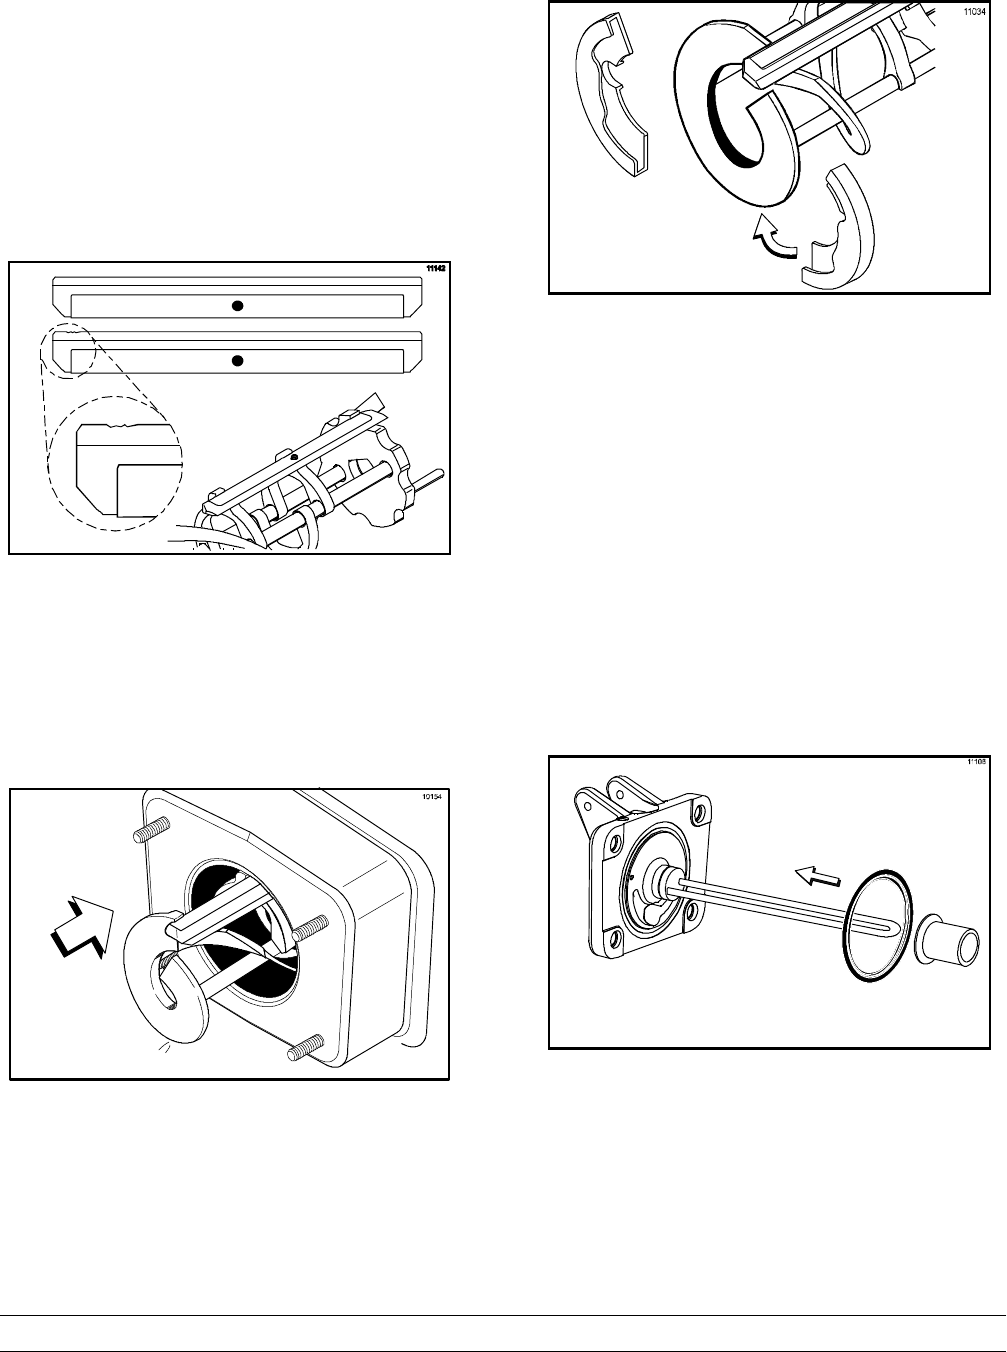
Assemble the freezer door . Place the large rubber
gasket(s) in the groove(s) on the back side of the
freezer door.
Slide the white plastic front bearing(s) over the baf fle
rod(s), making certain that the flanged end of the
bearing is resting against the freezer door. DO NOT
lubricate the gasket(s) or front bearing(s).
Figure 14
Note: There are two gaskets and two front bearings
for the Model 8756 door, one for each freezing cylinder.