22
Models 8752 & 8756 with Horizon® PumpOperating Procedures
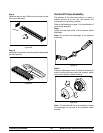
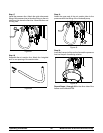
Step 9
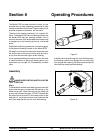
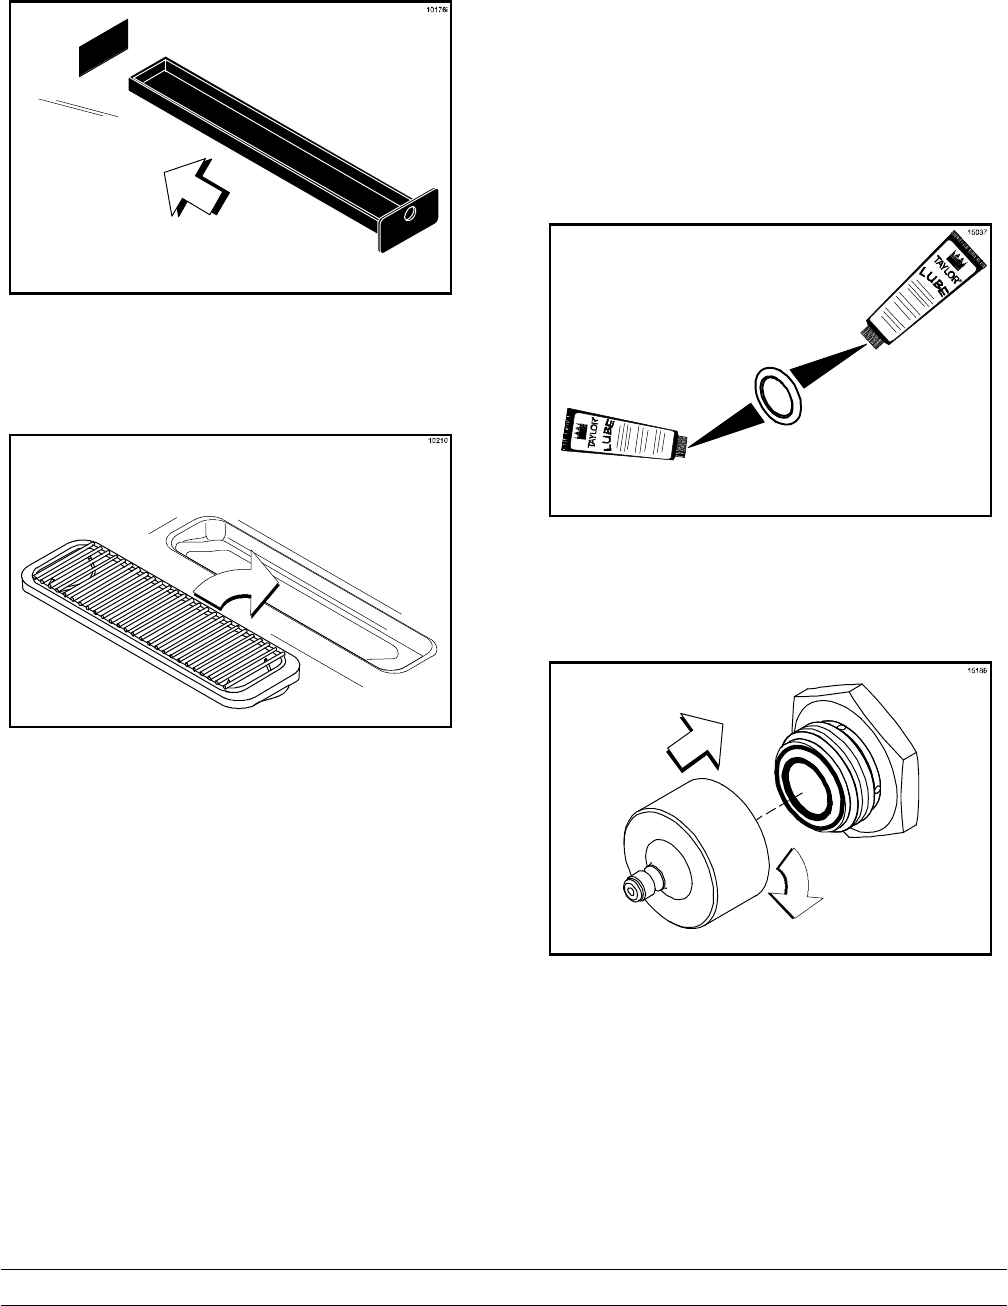
Install the rear drip pan. Slide the rear drip pan into the
hole i n the side panel.
Figure 23
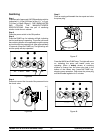
Step 10
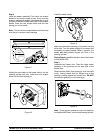
Install the front drip tray and the splash shield beneath
the door s pout(s).
Figure 24
Horizon® Pump Assembly
The purpose of the Horizon® pump is to meter a
specific amount of air and mix, and transfer this
combination to the freezing cylinder.
Refer to the illustration on page 13 for identification of
parts during assembly.
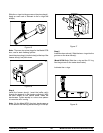
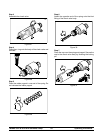
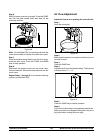
Step 1
Lightly lubricate both sides of the pressure switch
diaphragm.
Note: Do not place t he diaphragm in the pressure
switch cap.
Figure 25
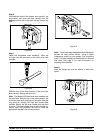
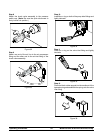
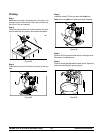
Step 2
Place the diaphragm on the front (face) of the pressure
switch housing and then screw t he pressure switch
cap onto the pressure switch housing.
Figure 26
Note: The lubricant will act as an adhesive to place
the diaphragm on the end of the pressure switch
housing.


