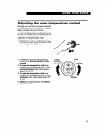
Home canning information
l
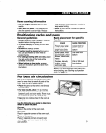
Use the largest surface unit
for best
results.
l
Start with hot water.‘This
reduces the
time the control is set on high. Reduce
heat setting to lowest position needed to
keep water boiling.
l
Refer
to your canner manual for specific
instructions.
Positioning racks and 1
General guidelines
l
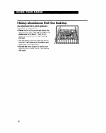
Always position oven rack(s)
in desired
location before turning oven on.
l
To move rack(s),
lift rack(s) at front and
pull out.
l
Be sure
the rack(s) is level.
l
If rack(s) must be moved
while oven is
hot, use pot holders or oven mitts to
protect hands.
l
For baking/roasting wlth one rack,
place
the rack so the top of the food will be
centered in the oven.
l
When baking on two racks,
arrange
racks on the bottom and third level from
the bottom.
lans
Rack placement for specific
Foods:
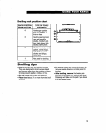
FOOD
1 RACK POSITION
Frozen pies, large
Lowest level or
roasts, turkeys,
2nd level from
angel food cakes
bottom
Bundt cakes, most
2nd level from
quick breads, yeast
bottom
breads, casseroles,
meats
Cookies, biscuits,
muffins, cakes,
nonfrozen pies
2nd or 3rd level
from bottom
MOTE:
For recommended rack placement
Nhen broiling, see “Broiling rack position
:hart” on page 15.
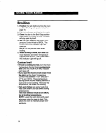
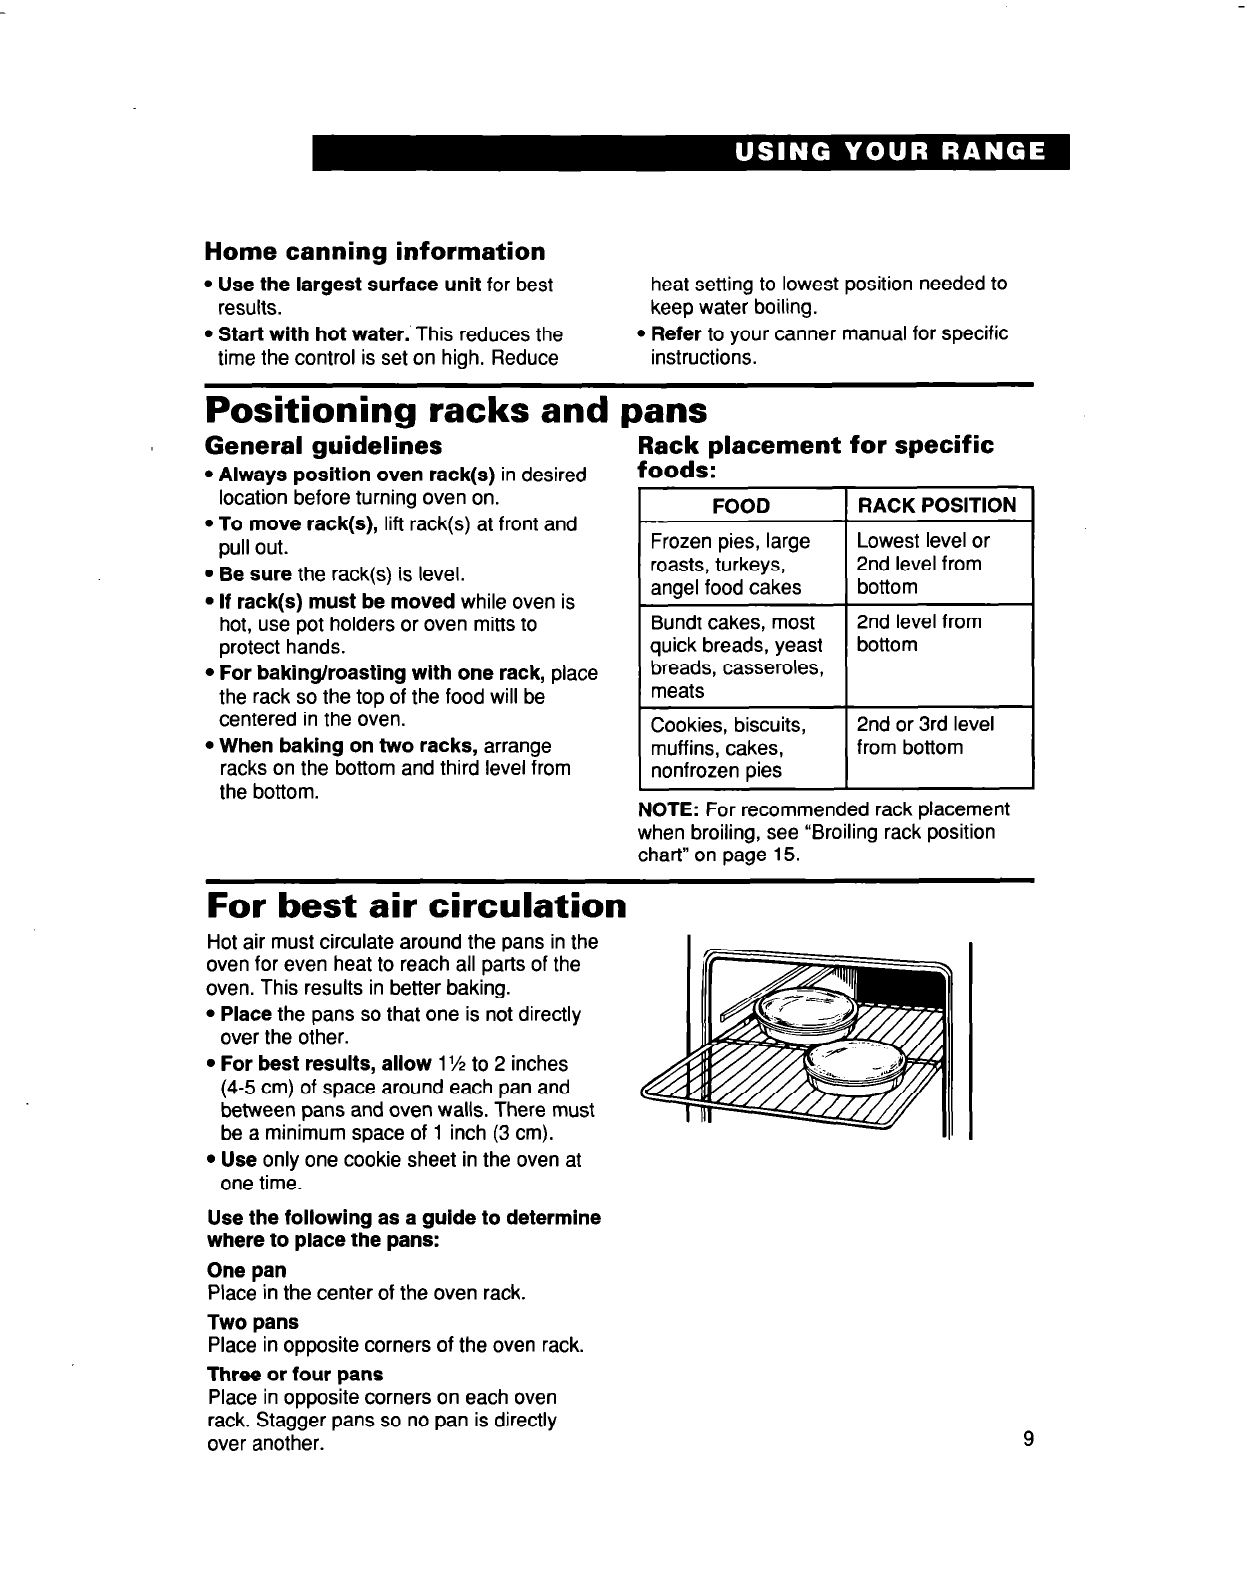
For best air circulation
Hot air must circulate around the pans in the
oven for even heat to reach all parts of the
oven. This results in better baking.
l
Place
the pans so that one is not directly
over the other.
l
For best results, allow
1 l/2 to
2
inches
(4-5 cm) of space around each pan and
between pans and oven walls. There must
be a minimum space of 1 inch (3 cm).
l
Use
only one cookie sheet in the oven at
one time.
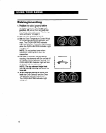
Use the following as a guide to determine
where to place the pans:
One pan
Place in the center of the oven rack.
Two pans
Place
in opposite corners of the oven rack.
Three or four pans
Place in opposite corners on each oven
rack. Stagger pans so no pan is directly
over another.
9


