


28
Maintenance (Continued)
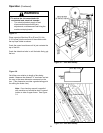
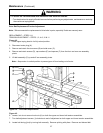
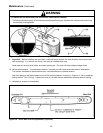
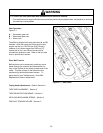
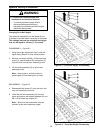
9. Important – Before installing new drive belt, check belt inside surface for drive direction arrows and install
belt accordingly. If no arrows are shown, belt may be installed either way.
Install new belt around drive rollers and insert splicing pin. Pin must not extend beyond edge of belt.
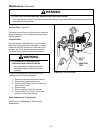
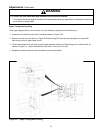
10. Set drive belt tension – turn adjustment screws (J) equally on both upper and lower tension assemblies.
Turn screws clockwise to reduce belt tension, counterclockwise to increase tension.
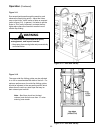
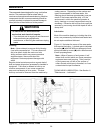
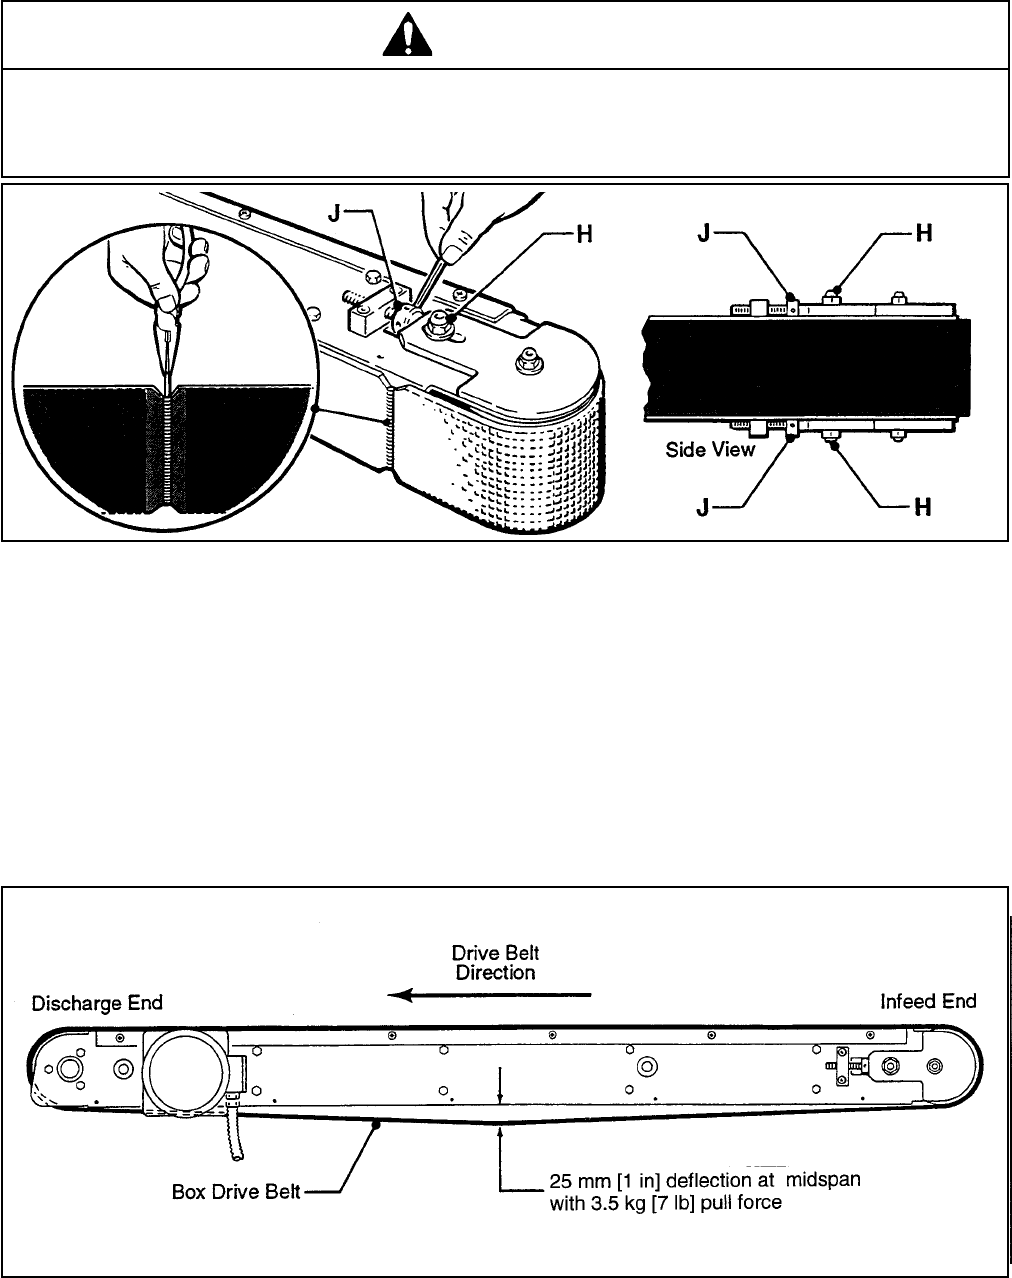
Use force gauge to pull belt outward one inch [25 mm] at midspan, as shown in Figure 4-4, with a moderate
pulling force of 7 lbs. [3.5 kg]. Tighten lock nuts (H) on both tension assemblies to secure tension setting.
11. Assembly is reverse of disassembly.
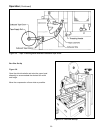
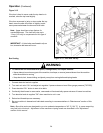
Figure 4-4 – Drive Belt Tension Adjustment (Top View)
Figure 4-3 – Drive Belt Replacement/Tension Adjustment
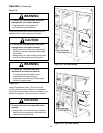
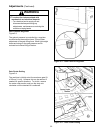
• To reduce the risk associated with mechanical and electrical hazards:
– Turn electrical and air supply off and disconnect before performing any adjustments, maintenance or servicing
the machine or taping heads
WARNING