


24
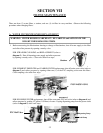
SECTION VIII
REVERSE OSMOSIS (R.O.) MEMBRANE
In normal operation, a R.O. membrane can become fouled by microorganisms, suspended solids, and minerals in
the water. It is time to clean the membrane when these elements cause a fifteen percent (15%) drop in the
product water flow rate, after compensating for temperature differences. It is important, therefore, to establish
a base flow rate of a new membrane so future measurements can be compared.
This base measurement is taken during the first 24 to 48 hours into the operation of a new membrane. Every two
(2) months thereafter, the rate of flow of the product water from the membrane should be measured and
compared. It is also important to measure the temperature of the incoming water as the flow rate decreases with
temperature decrease. This is normal and should not be confused with membrane fouling.
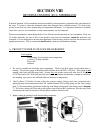
A. PRODUCT WATER FLOW RATE MEASUREMENT
Tools required:
Thermometer for measuring water temperature
1 gallon (3.78 liter) container
Stop watch
calculator
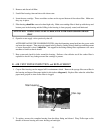
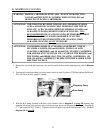
1. We need to establish the incoming water temperature. Check if the R.O. pump on the cabinet base is
running. The pressure gauge at the pump should indicate about 160 PSI (11.03 bars). If the pump is not
running, vend water until the pump starts. System does not produce water until water level is 10 gallons
(37.85 liters) below fill. Wait until pump has run for at least 1 minute and then take a sample of water from
the sampling valve prior to the sediment filter and measure its temperature.
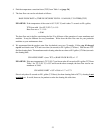
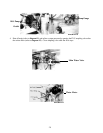
2. Vend 3 gallons (11.35 liters) of water to allow the system to charge. During vend, have a stopwatch and a
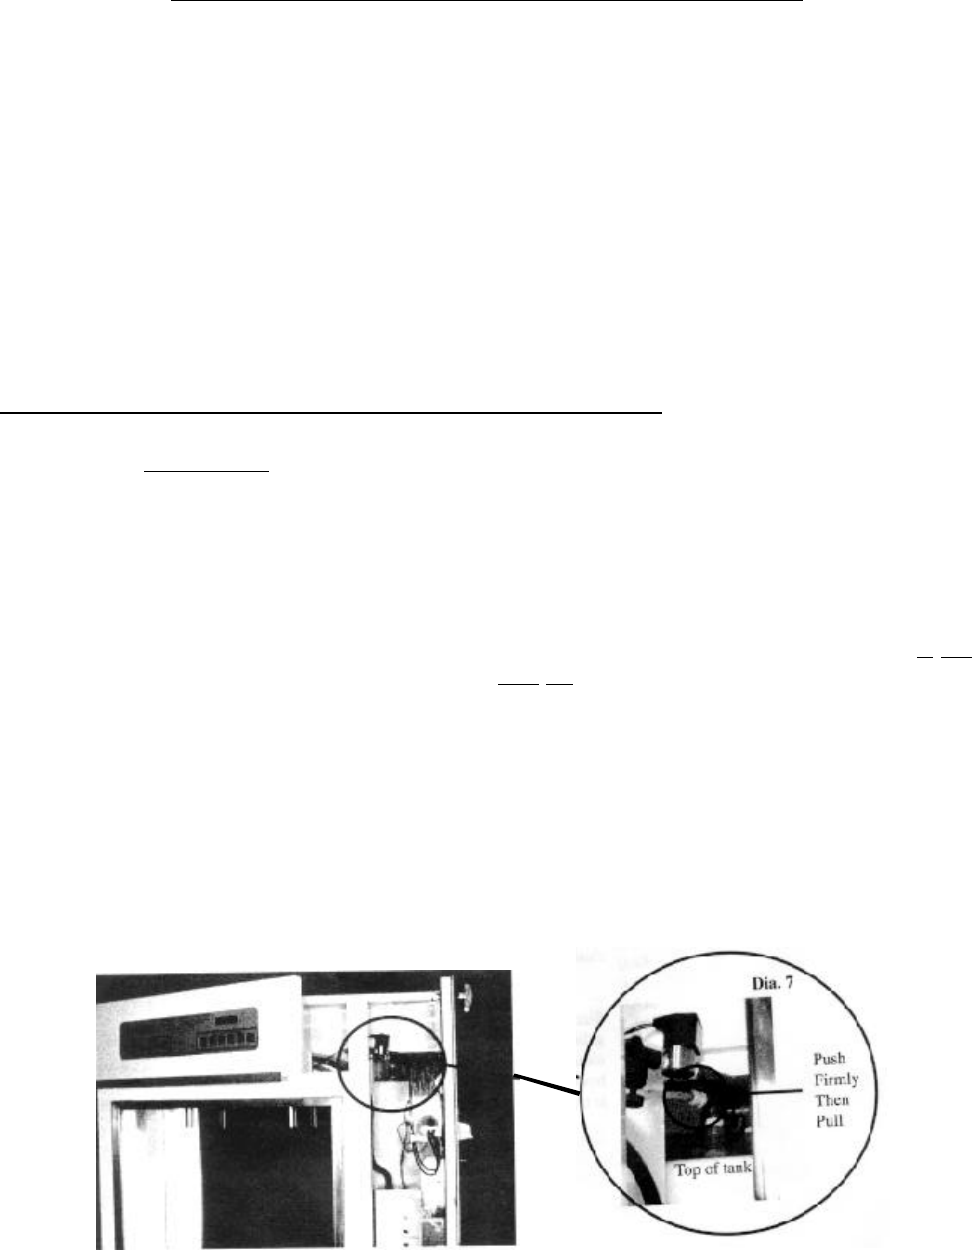
gallon jug ready and disconnect the white 3/8" outside diameter (O.D.) tubing going into the water storage
tank. To disconnect tubing, push down on the ring in the fitting and then pull at the tubing (refer to diagram
7). The water coming out of this tube is the product water from the R.O. membrane. Start the stop watch
and measure the time (in seconds) to fill the gallon container with this water.
3. Replace tubing by pushing it back into the fitting completely.
DIAGRAM 7