30
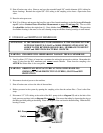
12. Shut off main water valve. Remove and save the extended length 3/8” outside diameter (O.D.) tubing for
future cleanings. Reattach the original 3/8” O.D. tubing to the sampling valve cluster. Open main water
valve.
13. Reset the microprocessor.
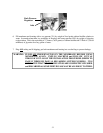
14. Wait 24 to 48 hours and measure the base flow rate of the cleaned membrane as detailed in step #1 through
step #5 (refer to Product Water Flow Rate Measurement on pages 23 and page 24). The new base
flow should be similar to the original one (1). If not, alkaline cleaning should be performed. The procedure
for alkaline cleaning is the same as for acid cleaning except an alkaline cleaning cartridge is used instead.
C. STORAGE and SHIPPING OF MEMBRANE
ATTENTION: IF THE MEMBRANE IS TO BE SHIPPED or IF THE MACHINE IS TO BE
LEFT IDLE FOR FIVE (5) DAYS or MORE, PRESERVATIVES MUST BE
ADDED TO THE REVERSE OSMOSIS (R.O.) MEMBRANE TO KEEP IT
MOIST and FREE FROM BACTERIAL GROWTH.
WARNING: CHLORINE WILL IRREPARABLY DAMAGE THE R.O. MEMBRANE.
1. Vend 6 gallons (22.71 liters) of water into a container for mixing the preservative solution. Remember this
water is going into the R.O. membrane and cannot contain chlorine. Water from the sampling valve
AFTER the carbon filter is also acceptable.
WARNING: OBSERVE ALL RELEVANT PRECAUTIONS WHEN HANDLING
CHEMICALS. WEAR PROTECTIVE CLOTHING, GLOVES and EYE
PROTECTION.
2. Disconnect electrical power to the machine.
3. Shut off main water valve at the inlet of the machine.
4. Relieve pressure in the system by opening the sampling valve after the carbon filter. Close it after flow
stops.
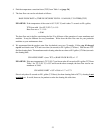
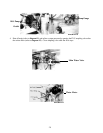
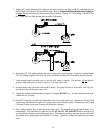
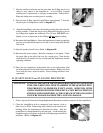
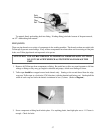
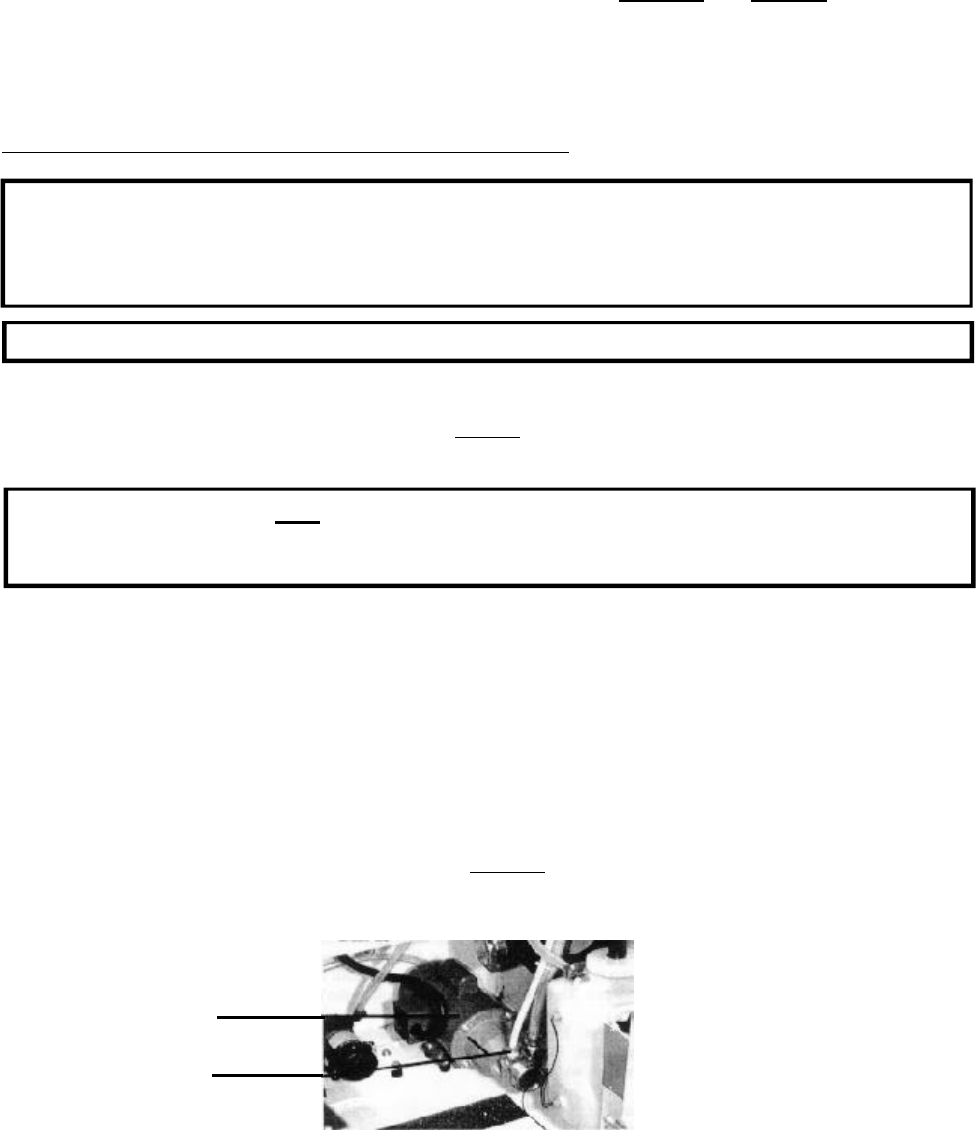
5. Disconnect 1/2” O.D. tubing at the outlet of the R.O. pump (refer to diagram 13) and at the inlet of the
back pressure regulator (refer to diagram 14 on page 31). Disconnect the tubing by depressing the ring on
the fitting and then pulling at the tubing. Water will begin to flow out from the bottom tubing. Drain the R.O.
housing of water.
R.O. Pump
Outlet
DIAGRAM 13


