


5
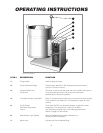
OPERATING THE KETTLE
DO NOT LEAN ON OR PLACE OBJECTS ON
KETTLE LIP. SERIOUS INJURY COULD RESULT
IF KETTLE TIPPED OVER, SPILLING HOT
CONTENTS.
1. Before turning kettle on, read the
Vacuum/Pressure Gauge (2). The gauges
needle should be in the green zone. If the
needle is in the "VENT AIR" zone, refer to the
Kettle Venting Instructions (page 18). Any air
that may be present will increase cooking
times. Once heated, the kettle's normal
maximum operating pressure is approximately
10-12 psi, while cooking a water base product.
2. Ensure that the electrical service to the kettle
is turned on at the fused disconnect switch.
Temperature Range Chart
3. Preheat the kettle by turning the
ON/OFF
Switch/Solid State Temperature Control
(5) to
the desired temperature setting (see above
"Temperature Range Chart"). The Heat
Indicator Light (Green) (6) will remain lit,
indicating the element is on, until the
temperature setting is reached. When the
green light goes off, the elements are off, and
preheating is complete.
NOTE: When cooking egg and milk products, the
kettle should not be preheated, as products of this
nature adhere to hot cooking surfaces. These types of
food should be placed in the kettle before heating is
begun.
4. Place food product into the kettle. The Heat
Indicator Light (Green) (6) will cycle on and
off indicating the elements are cycling on and
off to maintain the set temperature.
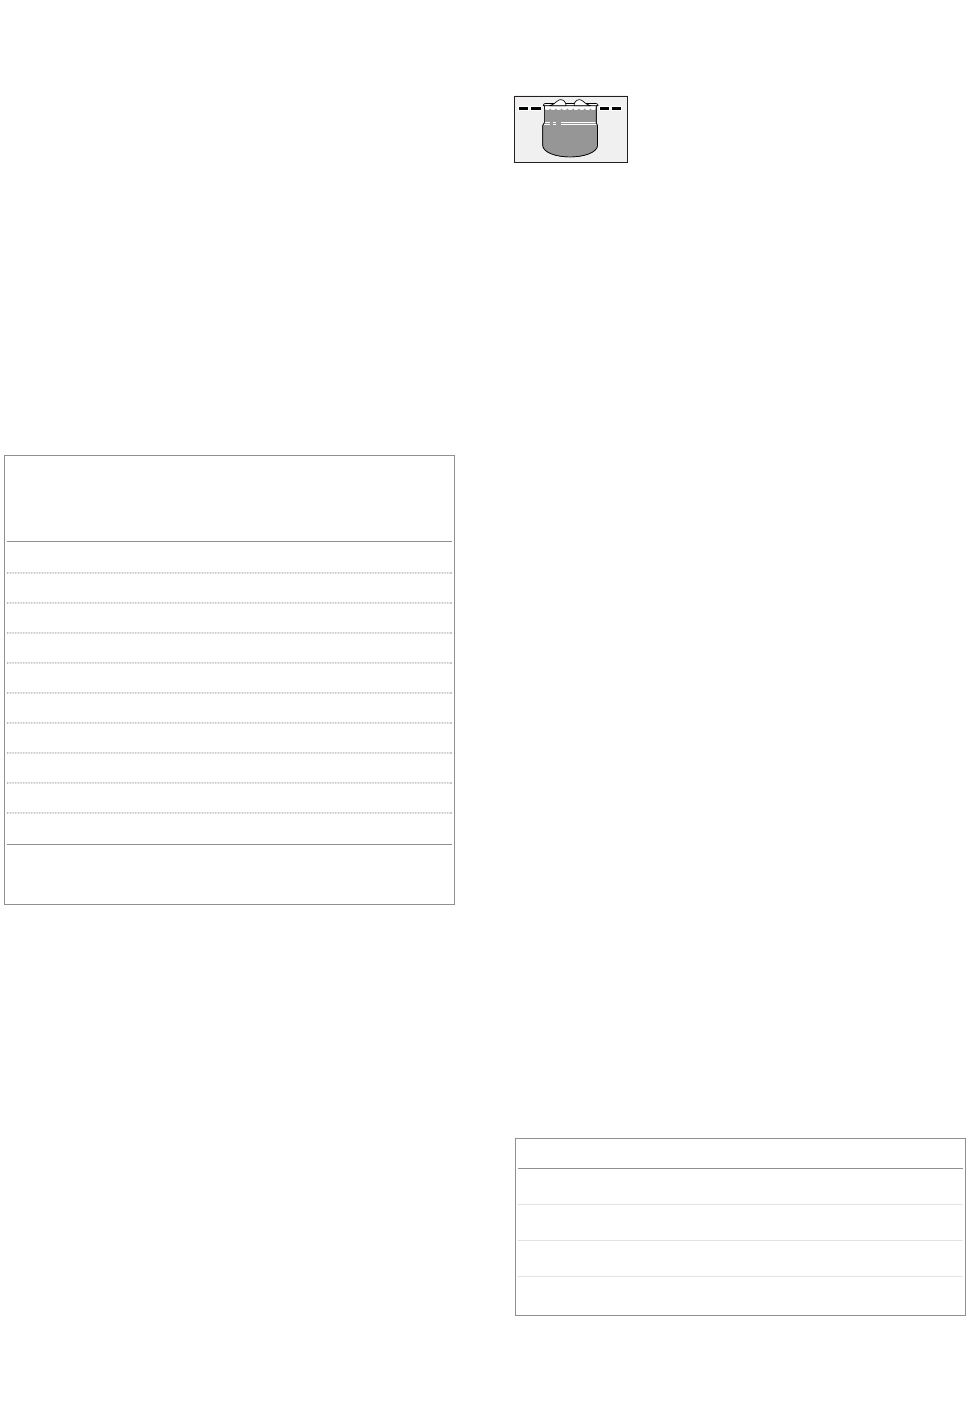
NOTE: Do not fill kettle above
recommended level marked on
outside of kettle.
NOTE: The Low Water Indicator Light (Red) (4)
should not be lit during kettle operation. This light
indicates that the elements have been automatically
shut off by the kettle's safety circuit. It is normal for
the red light to come on when the kettle is in a tilted
position. However, the kettle cannot be operated
when the red light remains lit while the kettle is in
the upright position. This indicates a low water
condition, and water must be added to the
reservoir. Refer to Reservoir Fill Procedures on
page 18 of this manual for details.
5. When cooking is completed turn
ON/OFF
Switch/Solid State Temperature Control
(5) to
the "OFF' position.
6. Pour the contents of the kettle into an
appropriate container by tilting the kettle
forward. Care should be taken to pour slowly
enough to avoid splashing off the product.
NOTE: As with cleaning food soil from any
cookware, an important part of kettle cleaning is to
prevent food from drying on. For this reason, cleaning
should be completed immediately after cooked foods
are removed. Refer to the Cleaning Instructions (page
6) for detailed kettle washing procedures.
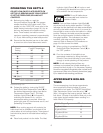
APPROXIMATE BOILING
TIMES
The accompanying chart shows approximate
times required for electric kettles of various
capacities to boil water. The
ON/OFF Switch/Solid
State Temperature Control
must be set at “10”
(Max.) throughout the heat-up period. Water will
boil about 1/3 faster if the kettle is filled only to the
outer steam jacket’s welded seam resulting in a
kettle filled to 2/3 capacity.
Approximate Boiling Times
Kettle Capacity Minutes
3 gallon/11 litre 15
6 gallon/23 litre 20
12 gallon/45 litre 25
20 gallon/80 litre 40
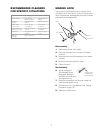
Temperature Approximate
Control Product Temperature
Setting °F °C
1. (Min.) 130 54
2. 145 63
3. 160 71
4. 170 77
5. 185 85
6. 195 91
7. 210 99
8. 230 110
9. 245 118
10. (Max.) 260 127
NOTE: Certain combinations of ingredients will
result in temperature variations