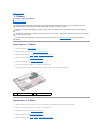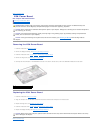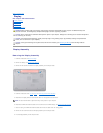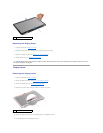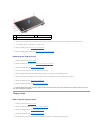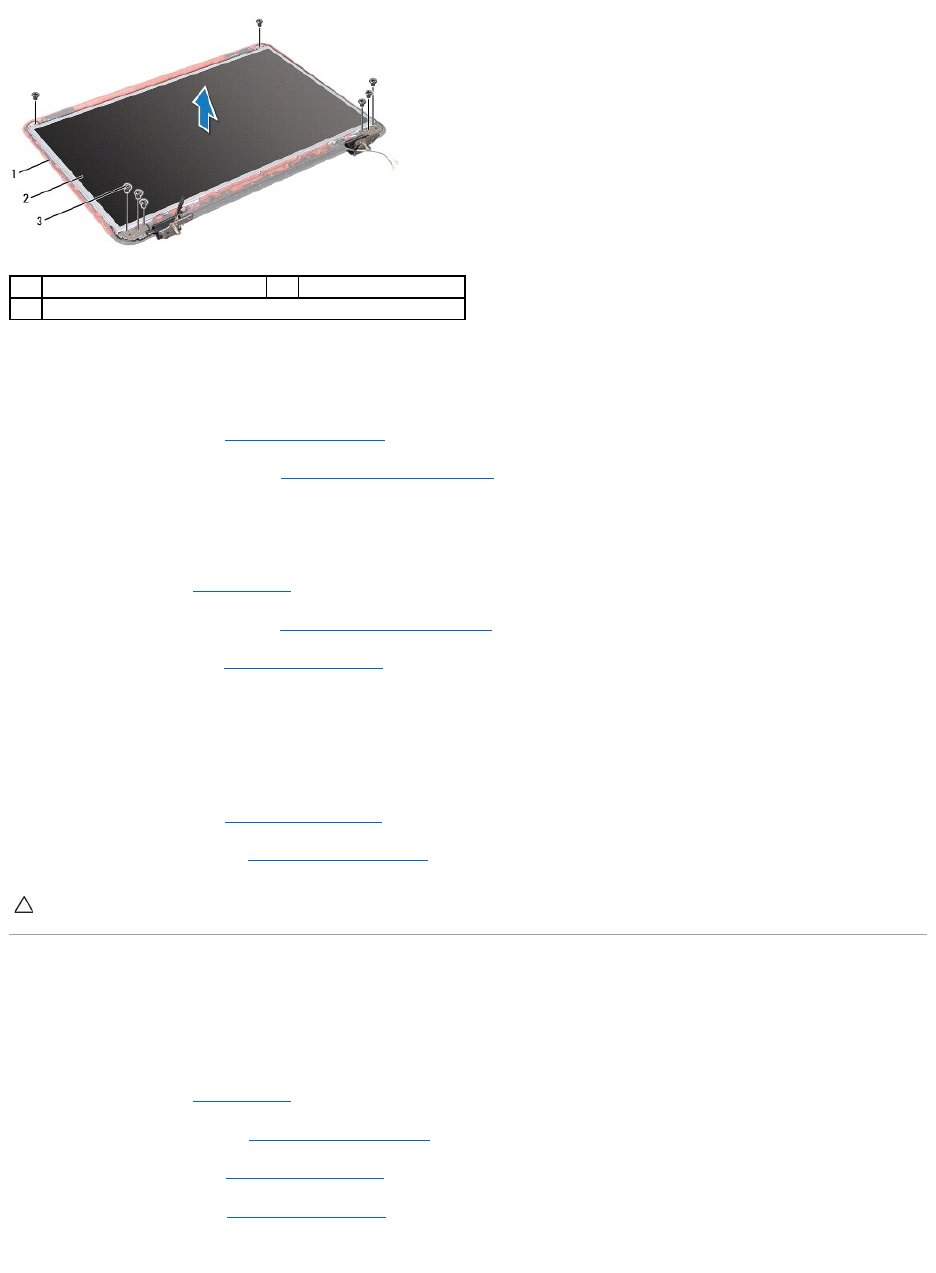
7. Make a note of the display cable and Mini-Card antenna cables routing and remove them from the routing guides on the display back cover.
8. Turn the display panel over and place it on a clean surface.
9. Remove the display cable (see Removing the Display Cable).
10. Remove the display-panel brackets (see Removing the Display-Panel Brackets).
Replacing the Display Panel
1. Follow the instructions in Before You Begin.
2. Replace the display-panel brackets (see Replacing the Display-Panel Brackets).
3. Replace the display cable (see Replacing the Display Cable).
4. Connect the camera cable to the connector on the camera module.
5. Route the display cable and Mini-Card antenna cables through the routing guides on the display back cover.
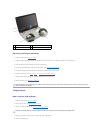
6. Align the screw holes on the display panel with the screw holes on the display back cover and replace the eight screws.
7. Replace the display bezel (see Replacing the Display Bezel).
8. Replace the display assembly (see Replacing the Display Assembly).
Display Cable
Removing the Display Cable
1. Follow the instructions in Before You Begin.
2. Remove the display assembly (see Removing the Display Assembly).
3. Remove the display bezel (see Removing the Display Bezel).
4. Remove the display panel (see Removing the Display Panel).
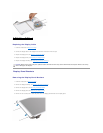
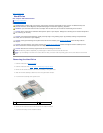
5. Lift the tape that secures the display cable to the display-board connector and disconnect the display cable.
1
display back cover
2
display panel
3
screws (8)
CAUTION: Before turning on the computer, replace all screws and ensure that no stray screws remain inside the computer. Failure to do so may
result in damage to the computer.


