Part # MPSM07 (03/24/08) Page 57
SERVICE PROCEDURES (REMOVAL/REPLACEMENT)
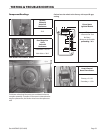
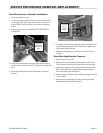
Oven Door Service – Removal / Installation
1. Disconnect power to unit.
2. . Locate and remove the 2 machine screws located on the
lower upper LEFT side of the cavity frame. (These screws
are just RIGHT of the lower door post on the cavity door
frame.)
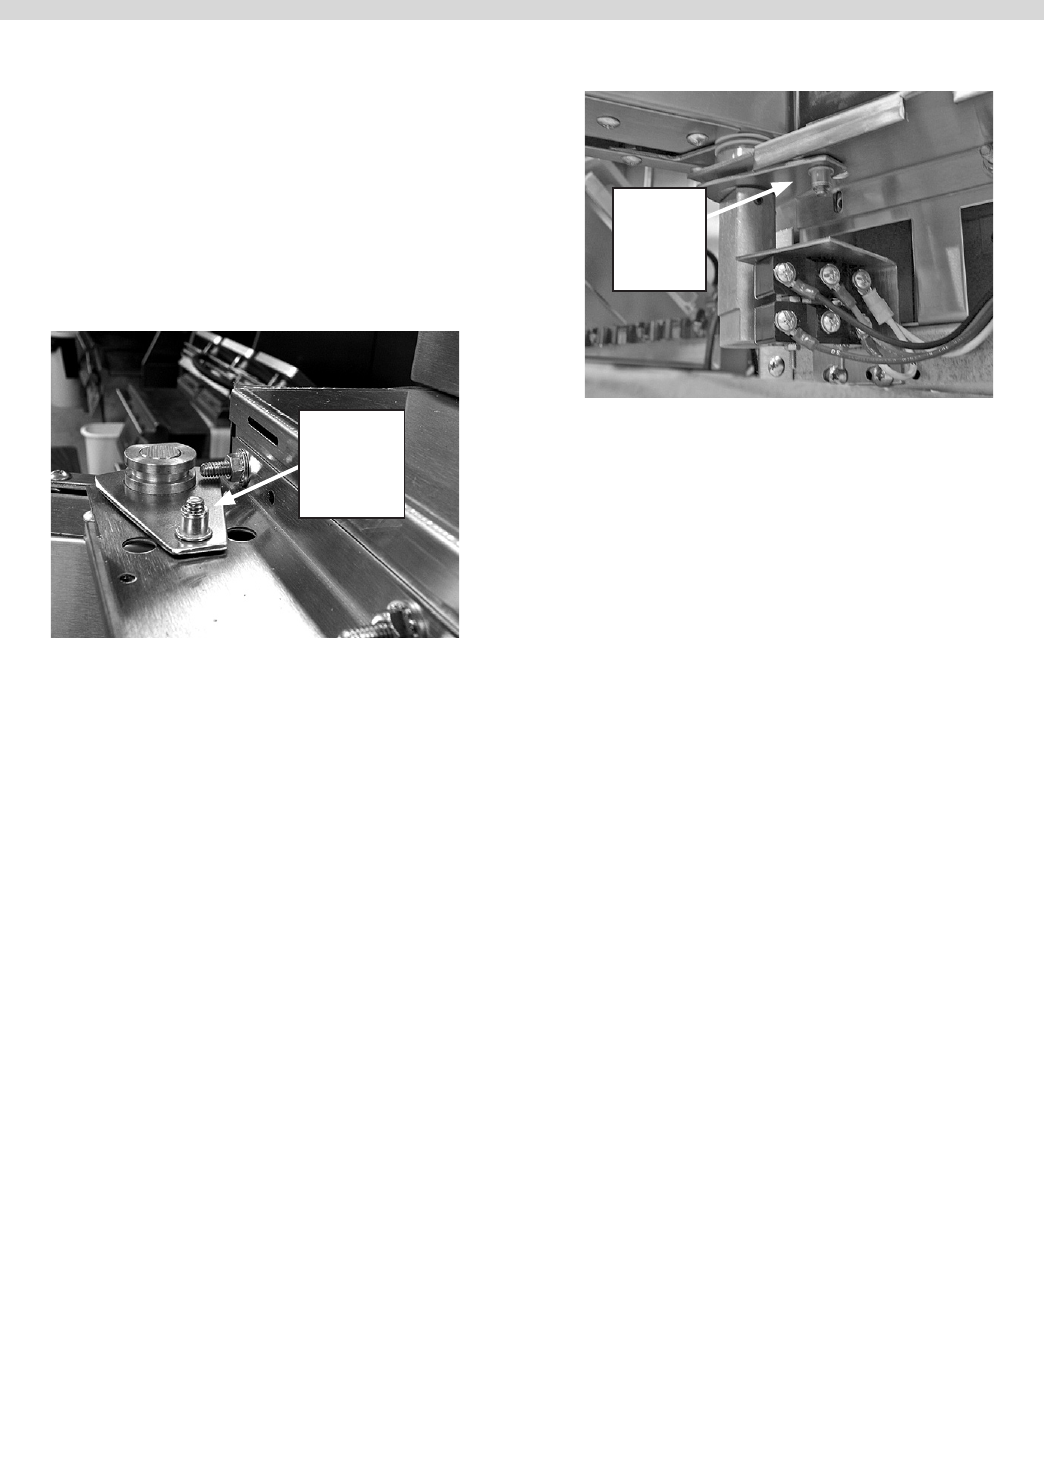
3. Start to remove this screw. ENSURE THAT THE DOOR IS
SUPPORTED.
Upper BA
adjustable
door mount
plate
4. Once the screw has been removed, the upper section of
the door can be tilted to the LEFT. Continue to support the
door.
5. Remove the BA plate screw from the lower oven cavity
bracket.
Lower BA
door
support
plate
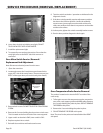
6. The upper, and lower door bearing retainers, and door rod
can be easily separated from the cavity with a slight level
pull upward, and to the left.
7. Reference this sequence in reverse to install, and secure
the door.
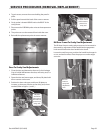
Oven Door Light Service / Removal
1 Disconnect power to unit.
2. Remove the screws holding the door micro switch cover.
This is located on the front LH side of the oven top panel.
3. Unscrew the upper and lower nger bolts located on the
RIGHT side of the external glass frame to gain access to
the cover housing the oven lights.
4. Remove upper and lower screws holding the light housing
cover in place.
5. Remove the required light by pulling up for upper light
and pulling down for the lower light.


