


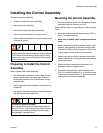
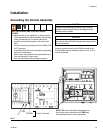
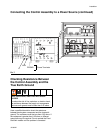
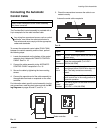
Installation
14 310554V
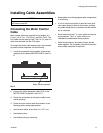
Connecting the Control Assembly to a Power Source
Perform the following procedure to connect the control
assembly to a power source.
Have a qualified electrician connect the PrecisionSwirl
control assembly to a grounded electrical source that
has the following required service ratings:
To connect the control assembly to the electrical source:
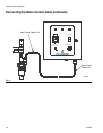
1. Shut off system power at the main circuit breaker.
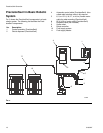
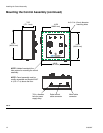
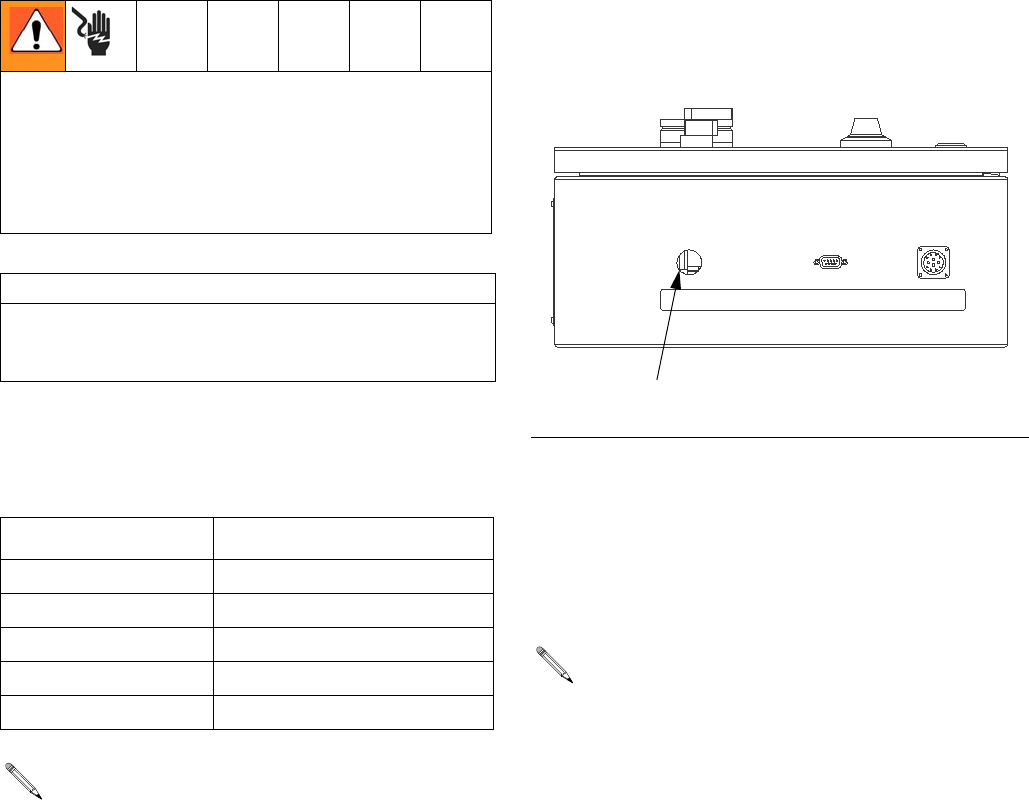
2. Locate the opening on the bottom of the control
assembly, labeled POWER SUPPLY. See F
IG. 6.
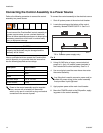
3. Using 16 AWG wire or larger, connect electrical
power to L1 (hot), L2 (neutral) power terminals in
the PrecisionSwirl control assembly. See F
IG. 8.
4. Use a cord grip to seal the area where wires enter
the control assembly.
5. Apply system power at the main circuit breaker.
6. Move the POWER switch to the ON position, apply-
ing power to the control assembly.
ELECTRIC SHOCK HAZARD
Do not connect the PrecisionSwirl control assembly to
a power source unless you are a trained electrician.
Failure to follow standard procedures or to observe the
necessary precautions could result in serious bodily
injury or equipment damage.
CAUTION
If power and grounding connections are not done
properly, the equipment may be damaged and the
warranty will be voided.
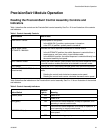
Description Requirements
Vac 100-240
Hz 50/60
Phase 1
Full Load Amps 0.42 at 120 Vac
Circuit Breaker 5 Amp
Power to the control assembly must be supplied
from a source with a lockable–off disconnect
switch, or by use of a cord with a plug–and–socket
connection to the source of power.
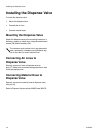
FIG. 6
Any fitting that is used to connect a power cord (or
conduit for power wiring) to the control assembly
must provide a liquid–tight seal.
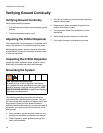
0/7%2
3500,9
!54/-!4)##/.42/,
#!",%
-/4/2
#!",%
7/8 in. Diameter power supply entry
8027A