Hibernate and Demo Modes
312393G 22 of 50
Miscellaneous Machine Features
HMI Hibernate Mode
To help preserve the life of the HMI backlight, the
HMI will enter a Hibernate mode after the machine
has remained idle for an extended period of time.
To exit Hibernate mode, the user simply needs to
activate a HMI key or the machine footswitch.
When in Hibernate mode, the HMI LCD backlight
will be turned OFF, and the enter LED will blink at a
slow duty cycle (1 part ON, 8 parts OFF).
If the machine performs a purge shot when the HMI
is hibernating, the HMI will remain in Hibernate mode.
HMI Startup Animation Sequence
When power is applied to the machine, the
electronics need time to initialize communication.
An “Hour Glass” animation sequence is generated
(
, , , , , ….). Attempts to use the
machine during the startup period will be rejected.
HMI Demo Mode Operation
The machine HMI is equipped with a demonstration
mode. When in “Demo Mode”, the HMI will not send
any requests to the Fluid Control Module and the
machine will not operate. The HMI will simulate
normal operation and provide audio feedback to the
user. All Demo Mode Maintenance and Calibration
screens are identical to screens provided in normal
mode operation.
Demo Mode can be used as a training tool for the
user. The user simply has to connect the HMI unit to
a separate power supply module, and the HMI will
operate normally without the machine attached.
Any calibration, passwords, shot sizes, purge timer
settings, or other miscellaneous settings entered
while operating in Demo mode WILL NOT alter any
normal mode settings. Also, the first time Demo
mode is entered, all the calibration & maintenance
screen setups previously described will need to be
repeated.
To configure the HMI into and out of Demo Mode:
1. Temporarily remove power to the HMI.
2. Re-apply power to the HMI.
3. Immediately after the completion of the startup
sequence (
, , , , , ….), press and
hold the first soft key for at least 6 seconds.
If the press and hold does not start
immediately after the animation sequence,
or the press and hold is interrupted, the
previous and this step may need to be
repeated.
4. After 6 seconds, the HMI will generate a single
tone and the Demo Mode ON or OFF state will
be changed.
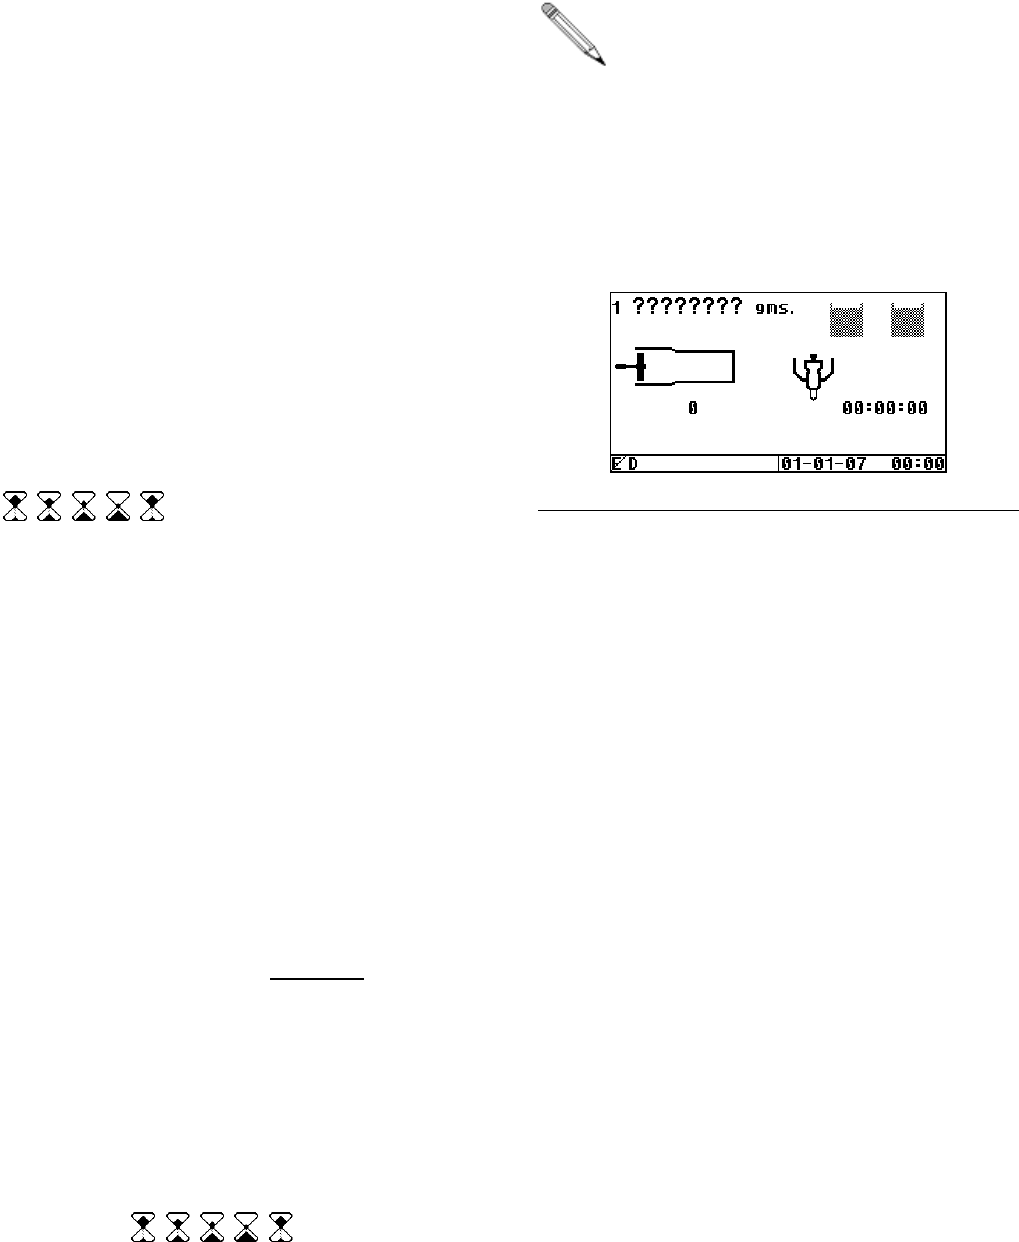
5. When in Demo Mode, a “D” will remain on the
bottom left-hand corner of the Run screen, as
indicated in the following figure.
Figure 33: Typical Run Screen in Demo Mode
6. To switch the HMI out of Demo Mode, repeat the
previous steps.
Limitations of Demo Mode Simulation
Even though Demo Mode provides a good training
simulation for the user, it does have limitations when
compared to the HMI operating in normal mode.
• On the Run screen, all the shot mode shots are
simulated as single piston stroke shots
regardless of the shot size and calibration
numbers entered.
• The run screen animation sequence of the piston
movement is not as gradual as in real operation.
• On the Run screen, during Operator mode
operation, a stalled piston condition is not
simulated.
• The piston cycle counter is not stored for use
after power interruption, so if power is cycled to
the HMI, the cycle count will be reset.
• The piston position numbers provided on the C1
screen are simulated.
• All error codes will be NOT be generated, except
a stuck key error (E11) if the condition exists.


