


1-10
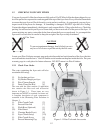
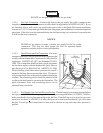
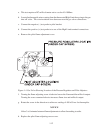
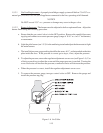
1.5.2.1 Lighting Instructions for Manual Pilot Lights - To light the pilot light refer to these
instructions and Figure 1-2. The numbers in parenthesis refer to Figure 1-2 callouts.
WARNING
Wait 5 minutes before attempting to relight the pilot to allow for any gas in the
fryer to dissipate.
a. Open the gas supply valves to the fryer.
b. Open the fryer's door to gain access to the controls. Turn the thermostat control knob (1)
counterclockwise to the OFF position.
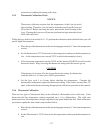
c. Turn the Unitrol valve knob (2) to the PILOT position and push in on the
knob. Hold the knob in for approximately one minute to purge the air out
of the line. Hold a flame to the pilot light until the pilot (3) ignites. This may
take a little while the first time you light the fryer because of air in the lines.
Once lit, hold the knob in for approximately 60 seconds and then release.
d. If the pilot goes out wait 5 minutes and repeat step c. If after three tries the pilot will not
remain lit, refer to the operator troubleshooting section of this manual.
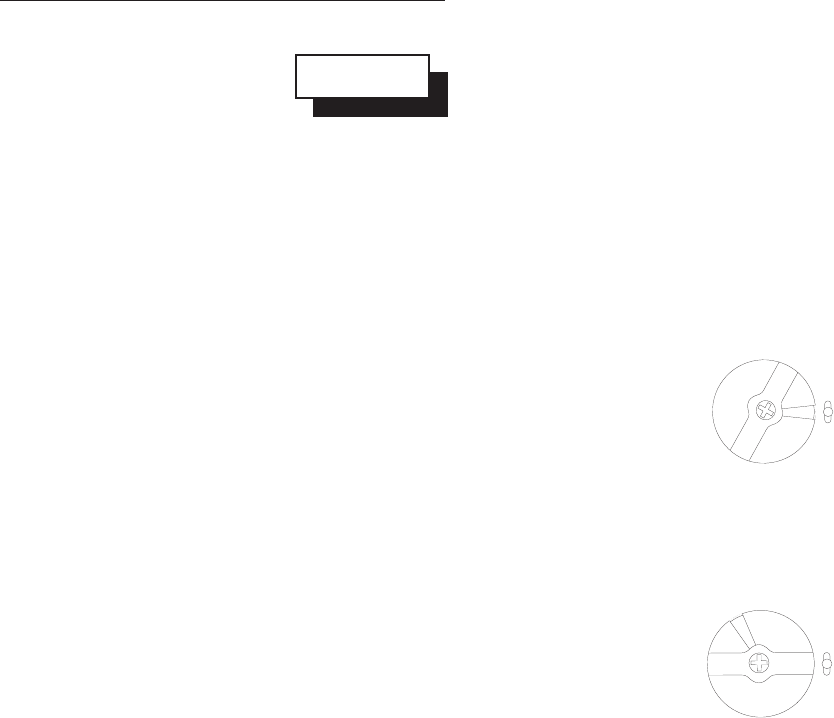
e. Turn the tan knob (main burner gas knob) counterclockwise to the ON
position.
f. Set the thermostat control knob to the desired temperature setting.
g. Turn the fryer ON/OFF/TEST switch (4) to the ON position. Fryers equipped with GS
thermostats are started by rotating the thermostat knob out of the OFF position to the desired
temperature. If the fryer is equipped with the optional melt cycle, place the switch in the
MELT/ON position.
h. The main burner (5) will light and be controlled by the thermostat. The pilot burner will
remain lit regardless of the switch position.
i. The POWER ON light (6) will be on and remain lit as long as the power switch is in the
on position. The HEATING light (7) will be lit when the main burners are on. This light
will cycle on and off to indicate main burner operation.
P
I
L
O
T
ON
OFF
P
I
L
O
T
ON
OFF