39
Models C708 & C716 Operating Procedures
Step 3
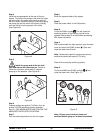
Using a c lean, sanitized towel, wipe down the
freezer door, front panel, the area around the bottom
of the freezer door, and any other areas that
demonstrate a build-up o f e ither moisture or food
substance. Install the front drip tray and splash
shield.
Note: Install the design caps (C716 only).
Step 4
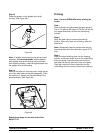
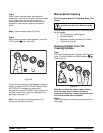
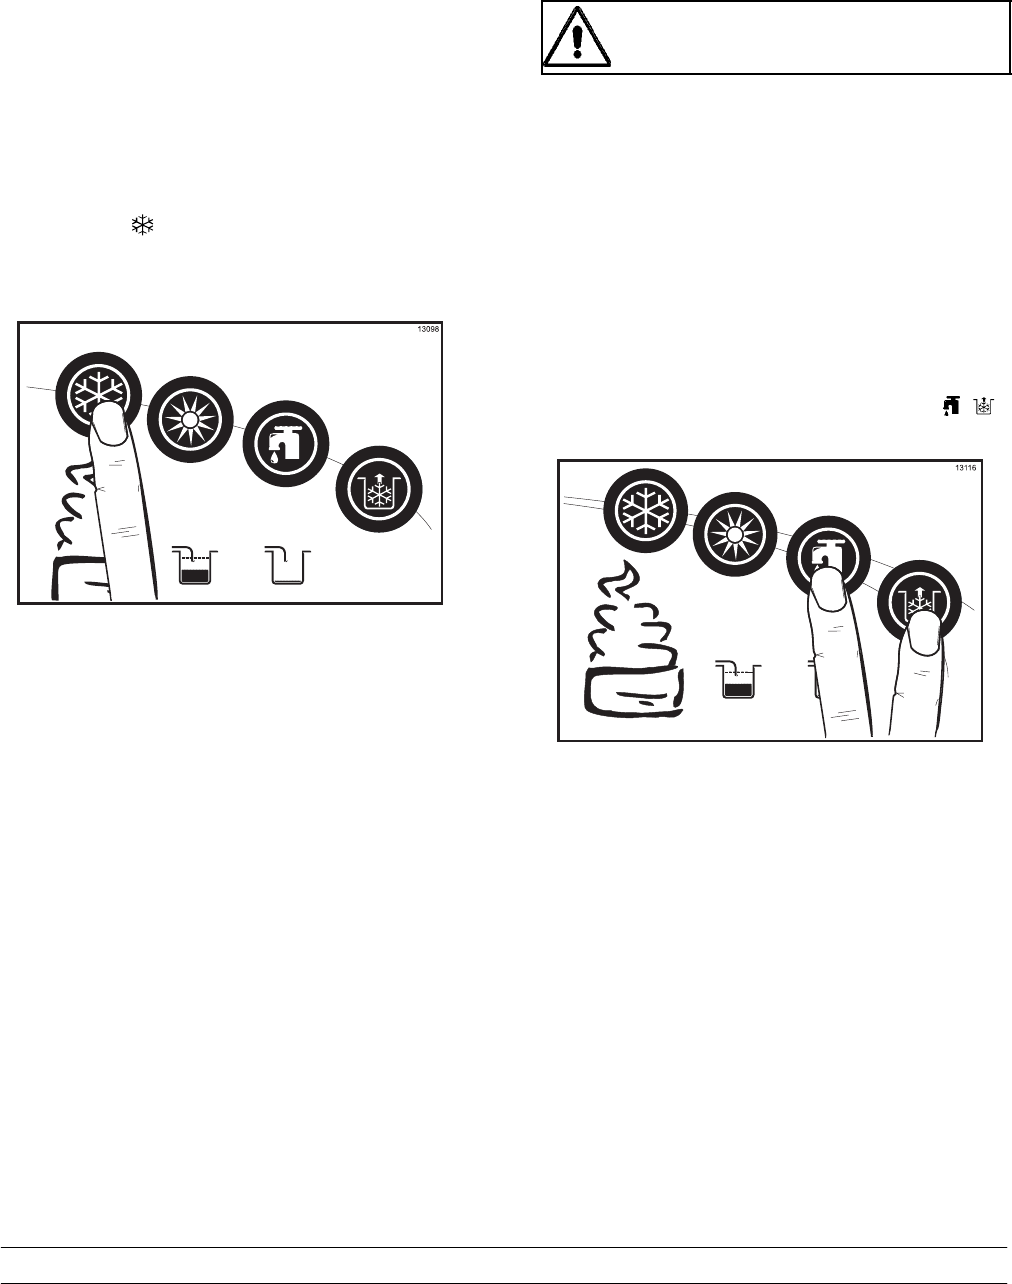
When ready to resume normal operation, touch the
AUTO symbol
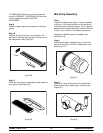
. (See Figure 54.)
Figure 5 4
The control has a feature in the Manager’s Menu to
enable or disable the AUTO START feature. When
AUTO START in enabled, the machine will
automatically exit the STANDBY mode and start the
machine in the A UTO mode at a designated time
each day. (See page 21.)
Note: This procedure should b e performed 15
minutes prior to serving product.
Manual Brush Cleaning
This Procedure Must Be Completed Every Two
Weeks!
ALWAYS FOLLOW LOCAL HEALTH CODES.
To disassemble these machines, the following items
will be needed:
S Two cleaning and sanitizing pails
S Sanitizer/Cleaner
S Necessary brushes (provided with freezer)
S Single service towels
Draining Product From The
Freezing Cylinder
Step 1
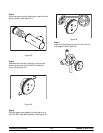
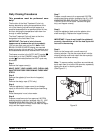
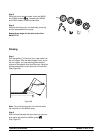
With a pail beneath the door spout(s), open the draw
valve. Touch the WASH and P UMP symbols
.
(See Figure 55.)
Figure 5 5
Note: Do not allow the pump to keep running
when the draw valve is closed. Excessive
pressure will build up, causing product to spurt
out when the draw valve is opened.
Step 2
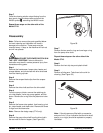
Drain the product from the freezing cylinder and the
mix hopper.


