


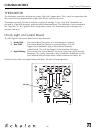
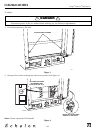
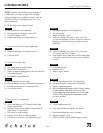
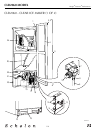
3. Locate the ice cube thickness adjustment dial on the control board (see Figure 4). Turn the dial
clockwise (+ number) to thicken or counterclockwise (- number) to thin the ice bridge.
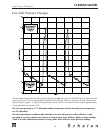
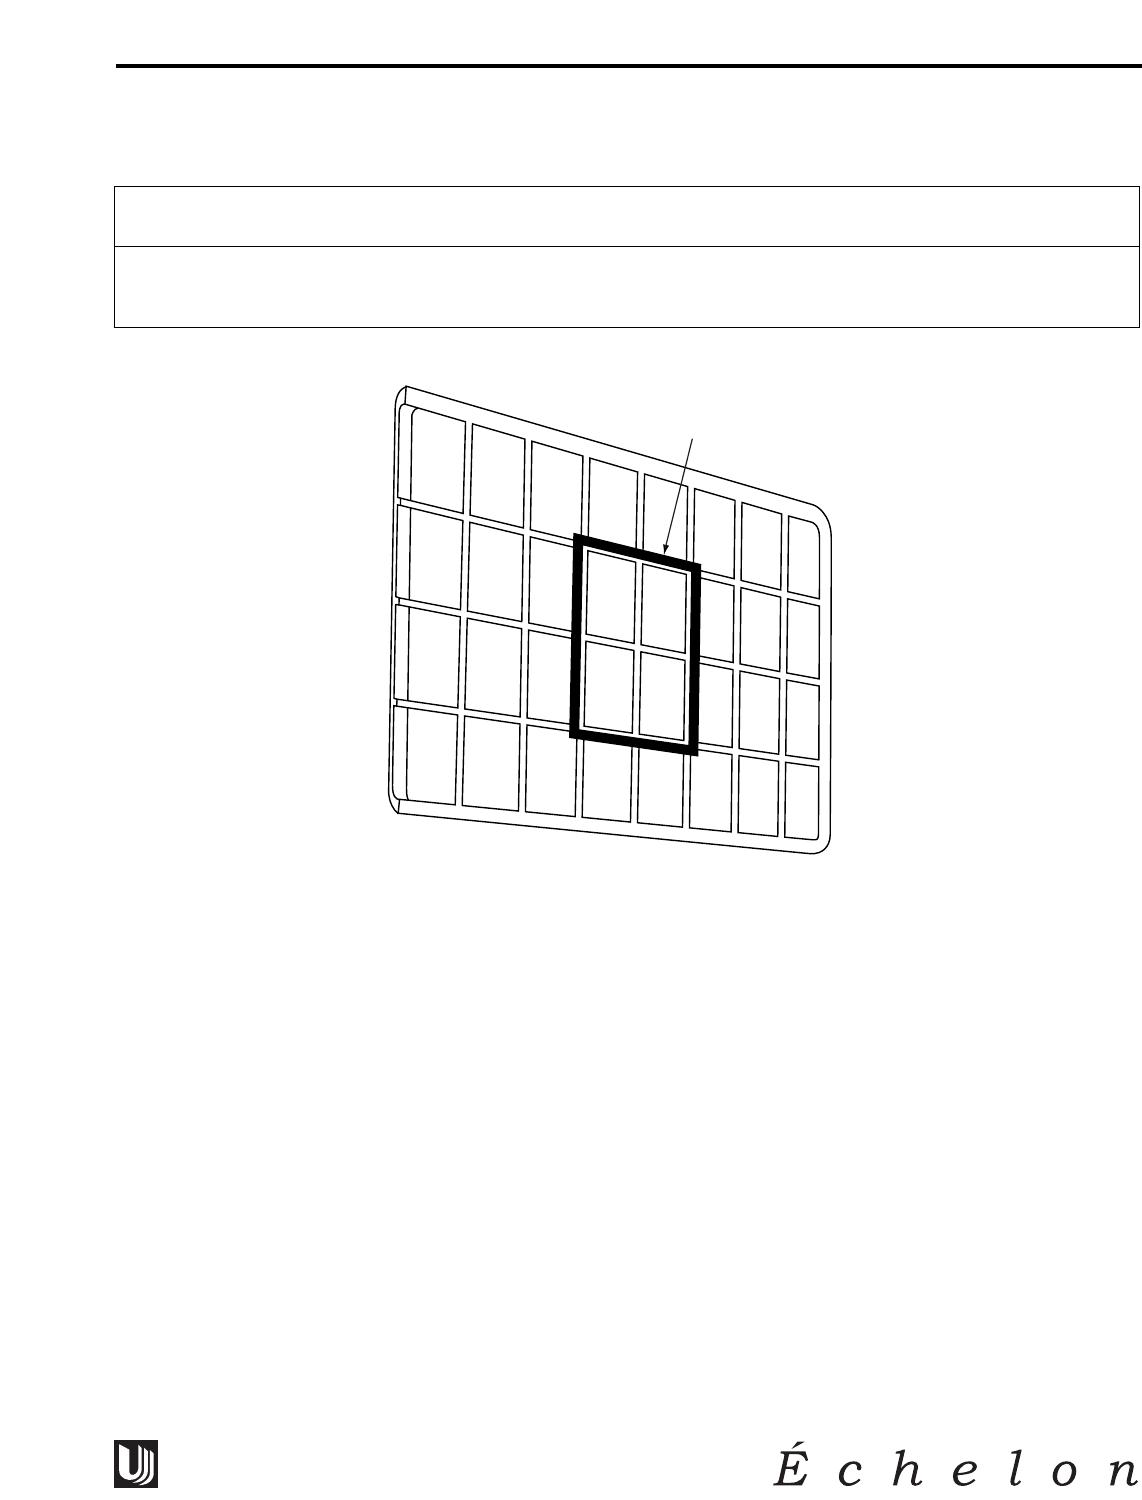
Figure 5
4. Reinstall front access cover.
5. Reconnect power to ice maker.
6. Empty ice bucket.
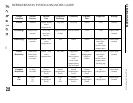
SAMPLE AREA
CLR2060 MODEL
103
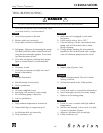
Design
■
Features
■
Performance
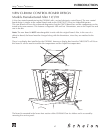
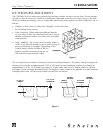
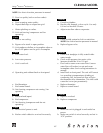
The door should never be flush with the top of the cabinet. Even when level, the top edge of
the door will be 1/8" below the top of the cabinet (see Figure 1).
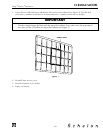
IMPORTANT