ELECTRIC COMBI OVEN - REMOVAL AND REPLACEMENT OF PARTS
Page 17 of 68
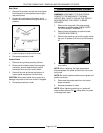
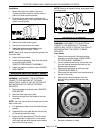
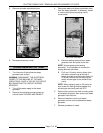
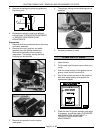
10 LEVEL SHOWN
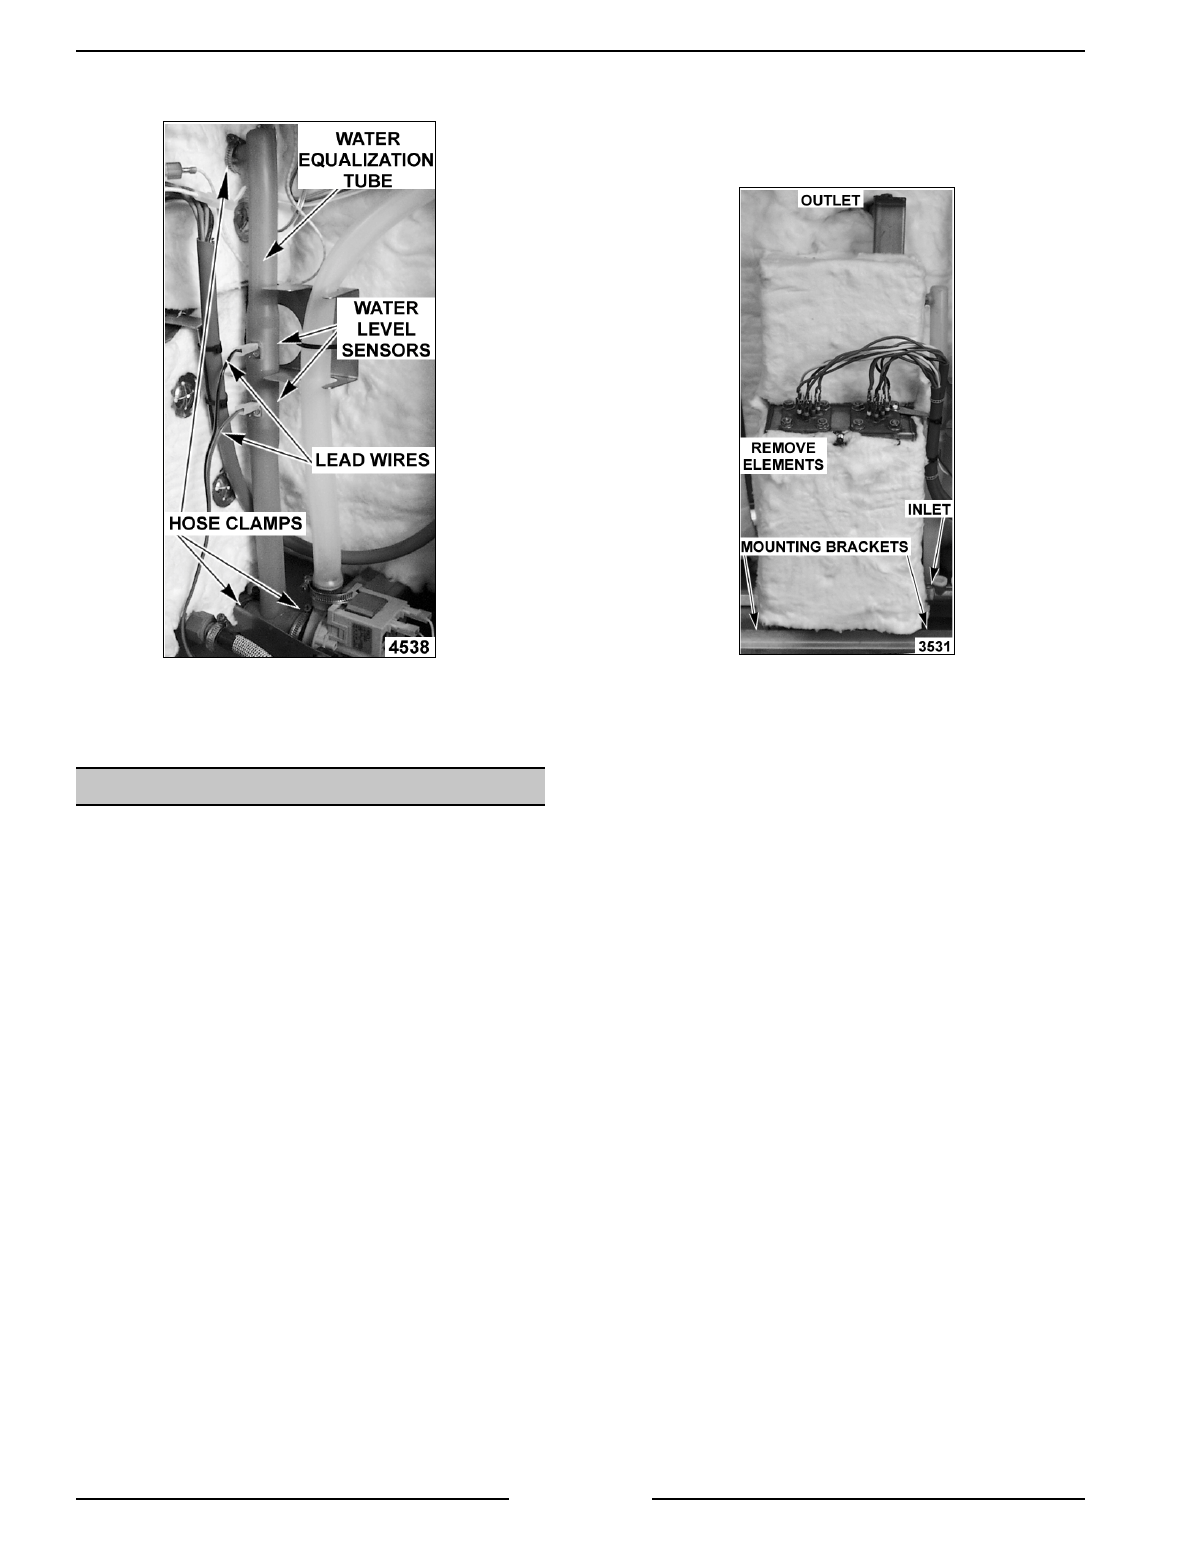
5. Remove the water equalization tube.
6. Reverse procedure to install.
STEAM GENERATOR TANK
1. Turn the oven off and allow the steam
generator tank to drain.
WARNING:
DISCONNECT THE ELECTRICAL
POWER TO THE MACHINE AT THE MAIN
CIRCUIT BOX. PLACE A TAG ON THE CIRCUIT
BOX INDICATING THE CIRCUIT IS BEING
SERVICED.
2. Turn off the water supply to the steam
generator
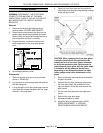
3. Remove the right side and rear panels as
outlined under “COVERS AND PANELS”.
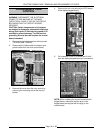
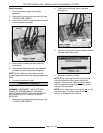
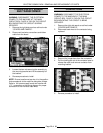
4. Disconnect water and steam equalization tube
from the steam generator. If necessary, loosen
or remove drain pump mounting nuts to
remove tube.
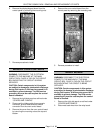
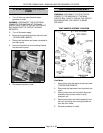
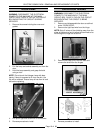
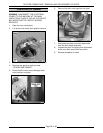
A. Remove heating elements from steam
generator tank and place to the side.
NOTE
: Unless replacing the heating
element(s), it not necessary to remove the
heating element lead wires.
B. On 6 and 10 levels, remove clamp from
the steam exhaust hose at the top of
steam generator and disconnect hose. On
20 levels, remove the nuts securing the
steam exhaust pipe to the outside of the
cavity.
NOTE
: When replacing tank on 20 levels, be
sure to seal the mating surface between the
exhaust pipe and cavity wall with RTV.
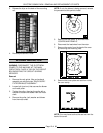
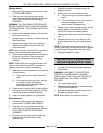
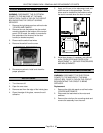
5. Remove the nuts from the tank mounting studs
and bracket (at bottom) then remove the steam
generator from the oven.
6. Remove insulation from the old steam
generator and use on the replacement steam
generator.
7. Reverse procedure to install.


