ELECTRIC COMBI OVENS - SERVICE PROCEDURES AND ADJUSTMENTS
Page 31 of 68
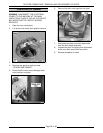
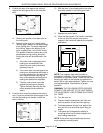
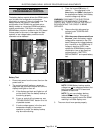
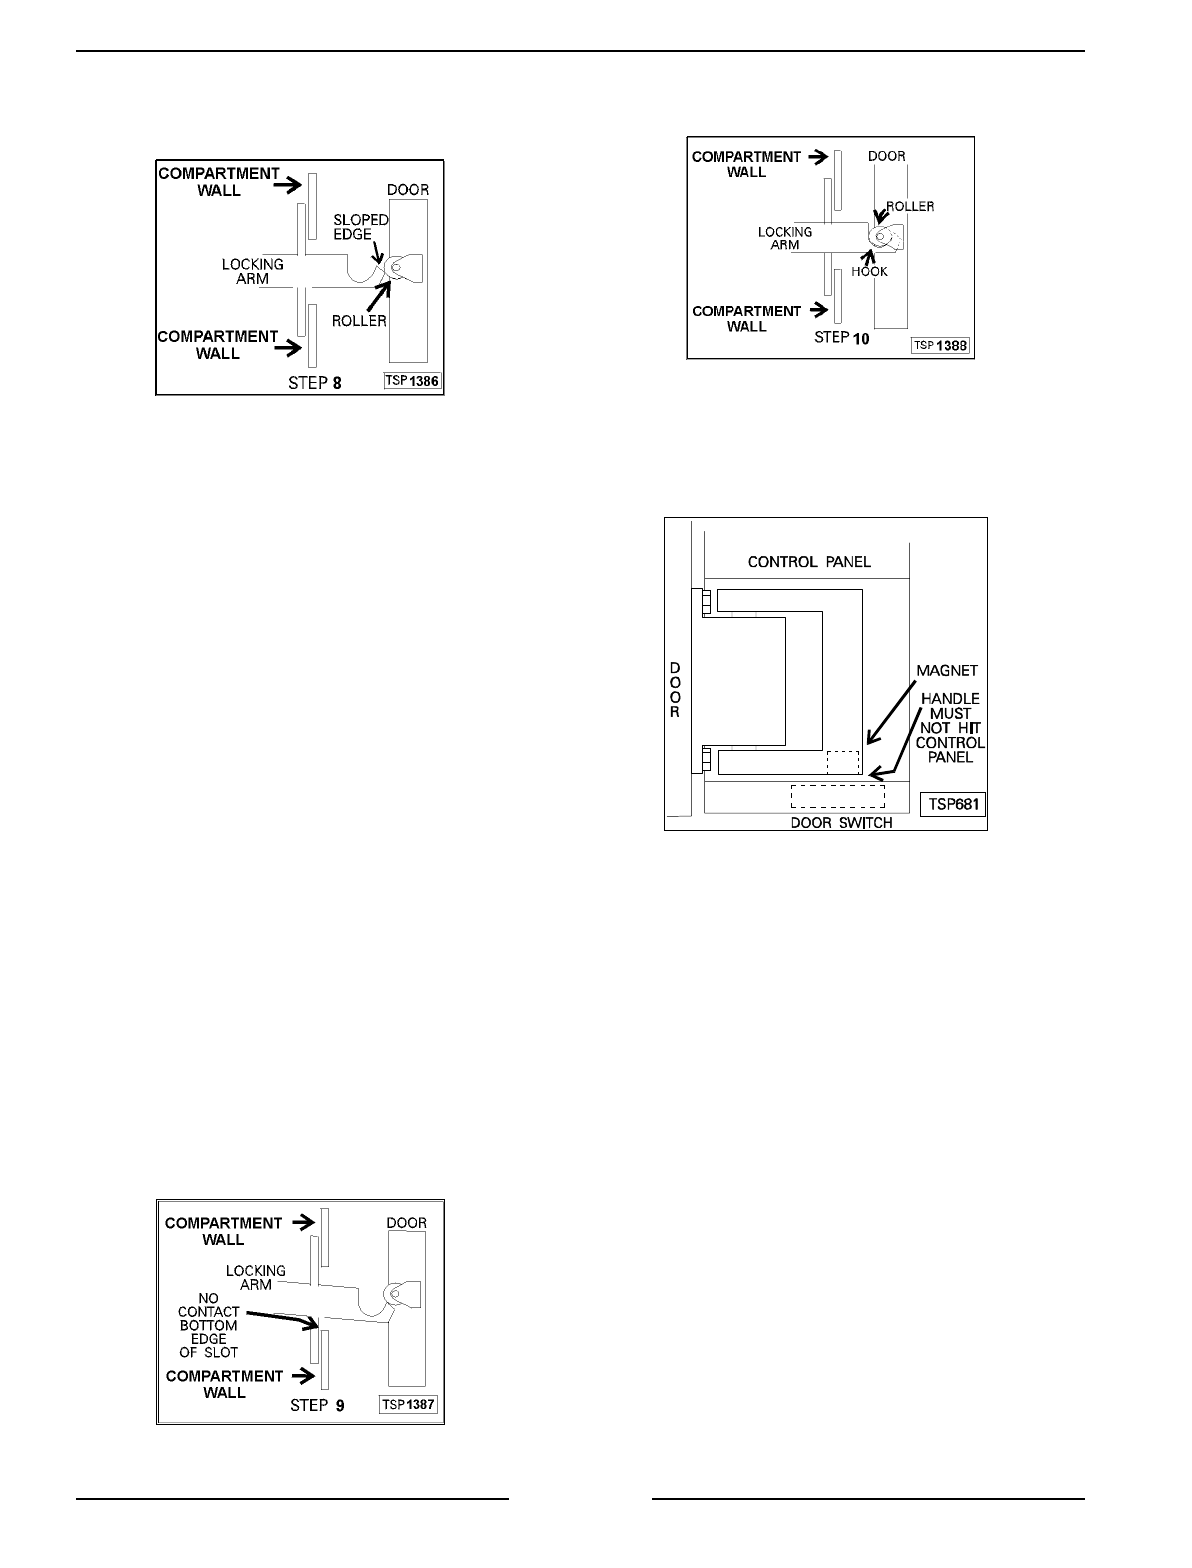
8. Position the door roller against the “striking”
edge of the locking arm but do not close the
door.
A. Observe the position of the door roller to
the locking arm.
B. Adjust the door roller so it mates at the
“striking edge” (bottom of the sloped edge)
of the locking arm. The exact distance of
the “striking” edge to the bottom of the
roller is stated to be 1 mm (0.040 inches).
This position allows the locking arm to be
pushed down during closing, and after
closing the roller will be positioned in the
hook.
1) If the door roller mates against the
locking arm as described, then
tighten the door roller screws and
proceed to step 9.
2) If the roller does not mate against the
locking arm as described and there is
no more adjustment in the door roller,
then loosen the bolts securing the
door motor assembly and adjust the
locking arm position as described.
3) The door roller should now mate
against the locking arm properly.
Tighten the bolts securing the door
motor assembly and proceed to
step 9.
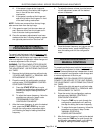
9. Push the door closed and observe the locking
arm. It must not contact the bottom edge of the
slot that the locking arm travels in while the
door is closing.
10. With the door in the closed position the roller
should be cradled in the locking arm hook.
11. Replace the control panel.
12. Close the door handle. The handle is centered
in the cut-out of the control panel so the
magnet in the handle will operate the magnetic
reed switch.
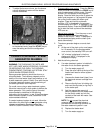
NOTE:
The magnetic reed switch position is
adjustable if necessary. Remove the bracket from
the bottom of the control panel. Loosen the hex nuts
securing the switch to the bracket and position the
switch (left to right) where desired. Tighten hex nuts
and replace bracket. Check switch for proper
operation.
WARNING:
THE FOLLOWING STEPS REQUIRE
POWER TO BE APPLIED TO THE UNIT DURING
THE ADJUSTMENT. USE EXTREME CAUTION AT
ALL TIMES.
13. Turn the oven on.
14. The door should automatically pull shut and
lock into position to seal the oven opening.
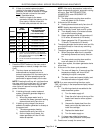
15. The space between the top inner edge of the
door and the oven should be equal along its
length.
16. This space can be adjusted by adding or
removing shims from the door hinges or the
door locking mechanism.
NOTE
: Extra shims are provided under the door
motor assembly mounting bolts.


