ELECTRIC COMBI OVEN - REMOVAL AND REPLACEMENT OF PARTS
Page 21 of 68
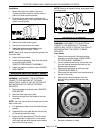
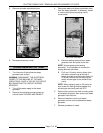
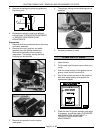
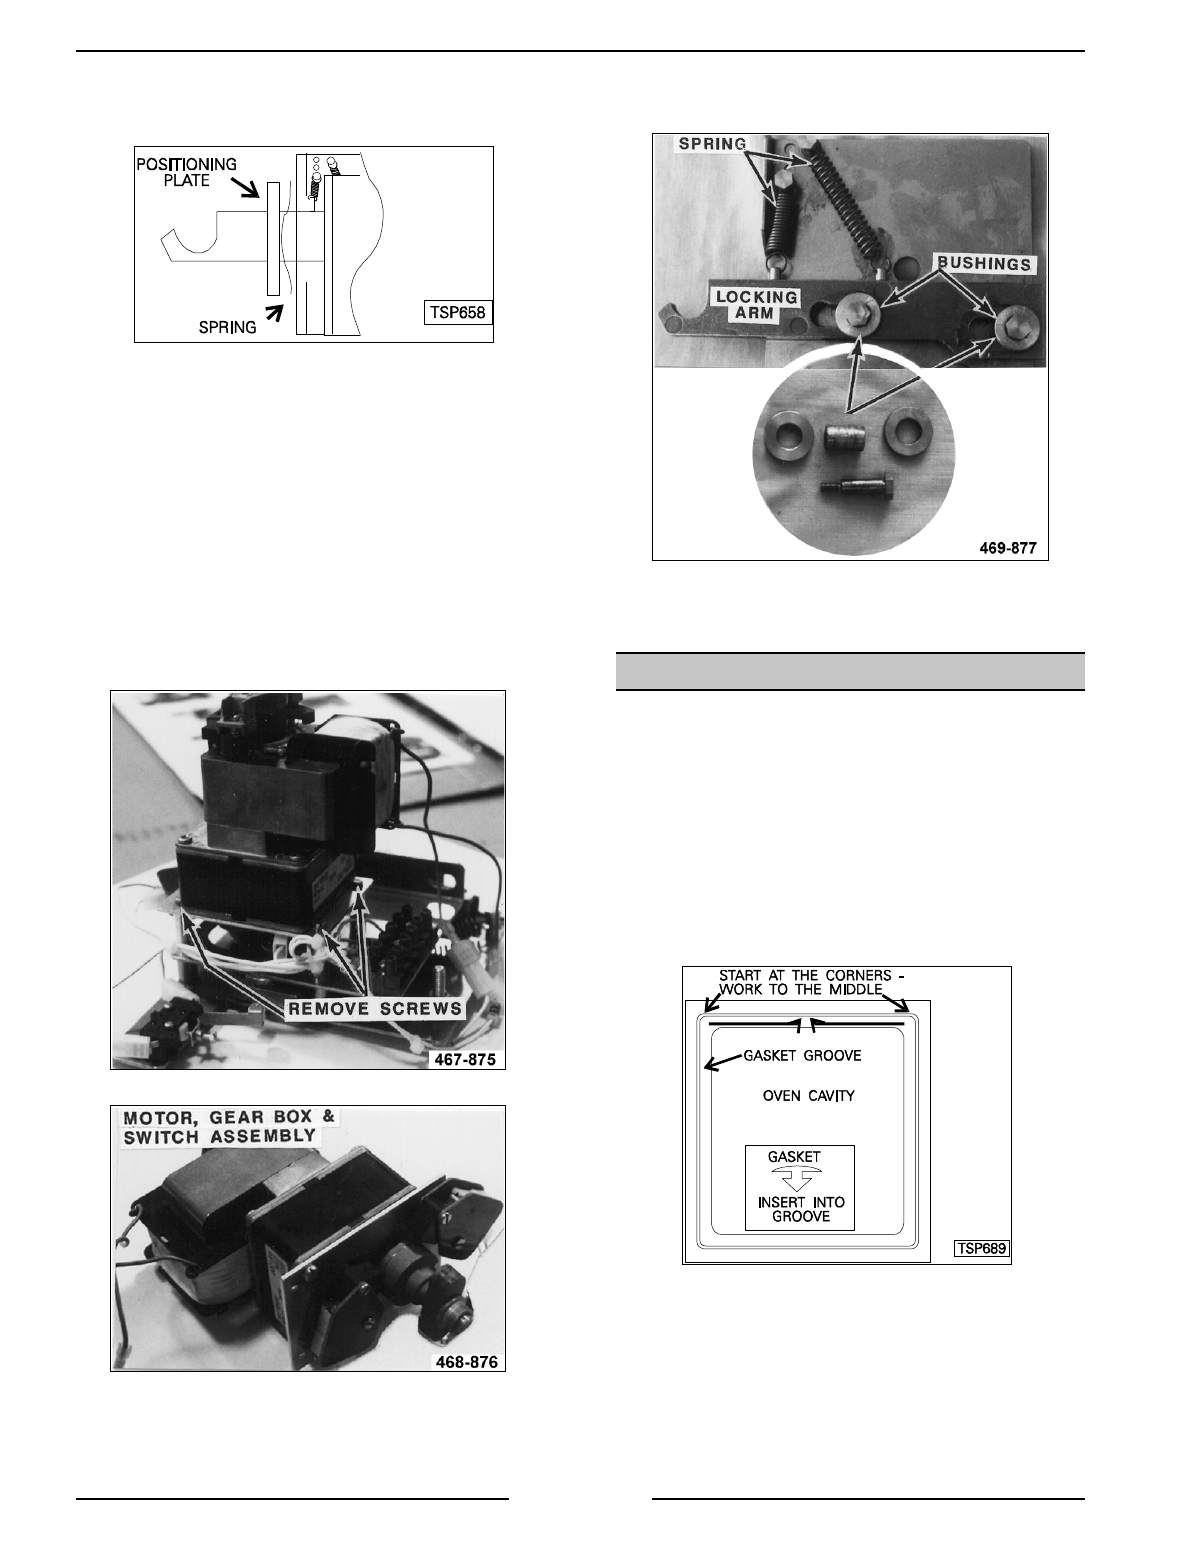
4. Remove the spring and positioning plate from
the locking arm.
5. Reverse procedure to install and adjust as
outlined under “OVEN DOOR ADJUSTMENT”
in “SERVICE PROCEDURES AND
ADJUSTMENTS”.
Disassembly
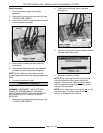
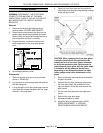
1. Remove the three screws that secure the motor
and switch assembly.
2. Remove the motor, gear box and switch
assembly from the locking mechanism.
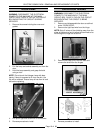
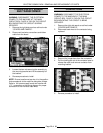
Remove the two bolts from the locking
mechanism. The springs, locking arm and
bushings can be removed.
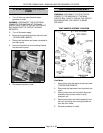
3. Remove the two bolts from the locking
mechanism.
4. The springs, locking arm and bushings can be
removed.
5. Reverse procedure to install.
OVEN CAVITY SEAL
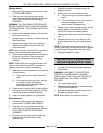
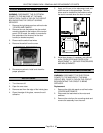
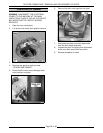
1. Open the door.
2. Pull the seal from the groove around the oven
cavity.
3. Push the arrow head tip of the gasket into the
groove. Install the four corners first.
4. Start at the corners and work to the middle of
each side, being careful not to stretch the
replacement gasket.
5. Check the door for proper operation and adjust
if necessary, as outlined under “OVEN DOOR
AND DOOR LOCK ADJUSTMENT” in
“SERVICE PROCEDURES AND
ADJUSTMENTS”.


