ELECTRIC COMBI OVEN - REMOVAL AND REPLACEMENT OF PARTS
Page 9 of 68
Rear Panel
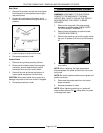
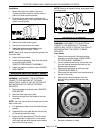
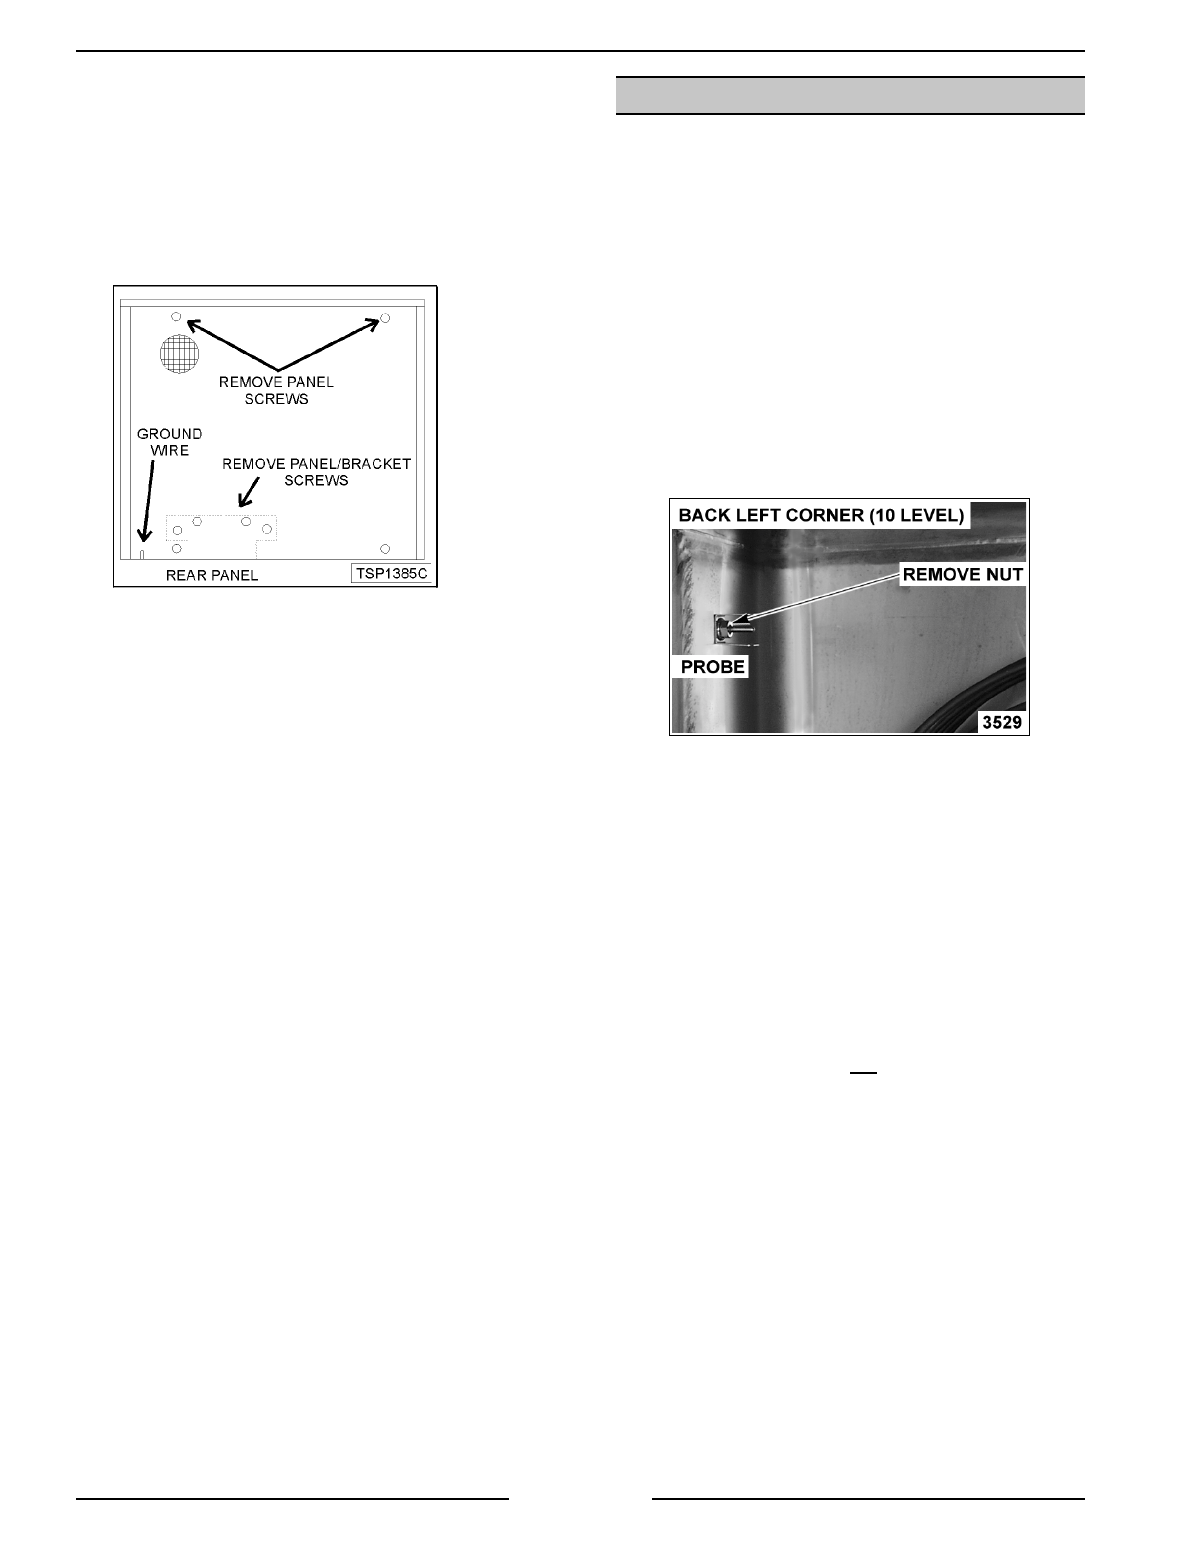
1. Remove the screws from the rear oven panel.
Hold the panel in place before removing the
last panel screw.
2. Access the inside edge of the panel at the
bottom left and disconnect the ground wire (if
present).
3. Lower the panel to remove from oven.
4. Reverse procedure to install.
Control Panel
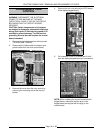
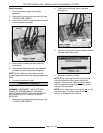
1. Remove the right side panel as outlined.
2. Disconnect the ribbon cable, thermocouple
connector, ground leads and door switch
connector from the oven control board.
3. Remove the nuts at the top and bottom of
control panel that secure it to the frame.
CAUTION
: Hold control panel during removal or
damage may result to the oven control if dropped.
4. Reverse procedure to install.
OVEN TEMPERATURE PROBE
WARNING:
DISCONNECT THE ELECTRICAL
POWER TO THE MACHINE AT THE MAIN
CIRCUIT BOX. PLACE A TAG ON THE CIRCUIT
BOX INDICATING THE CIRCUIT IS BEING
SERVICED.
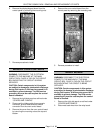
1. Remove the rack guide, filter and exhaust
assembly as outlined under “RACK GUIDE/
FILTER/EXHAUST ASSEMBLY”.
2. Remove both side panels as outlined under
“COVERS AND PANELS”.
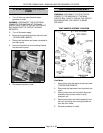
3. Remove the retaining nut from the probe inside
the oven (2 probes on 20 level) and lift bracket
off.
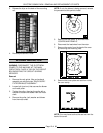
4. Remove probe(s) through the left side of the
oven cavity.
NOTE:
When replacing, use high temperature
silicone between the probe and the hole in the oven
cavity wall.
NOTE:
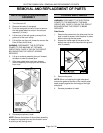
Be sure to replace bracket around probe and
position as shown.
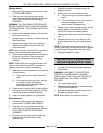
5. Disconnect the probe leads from the control
board connector.
6. Reverse procedure to install.
NOTE
: When tightening retaining nut, probe will
rotate unless secured. Do not
clamp down on probe
or damage may result.


