ELECTRIC COMBI OVENS - SERVICE PROCEDURES AND ADJUSTMENTS
Page 26 of 68
3. The DISPLAY and LED test consists of flashing
all displays and LED’s. The word “test” will flash
intermittently as the temperature display is
tested. Verify all the DISPLAYS and LED’s are
flashing. This test will continue until a key is
pressed to advance to the next step.
4. The RELAY test consist of selecting a
particular relay by its code number (01 to 11)
with the
TEMP UP
and
TEMP DOWN
keys.
The initial code displayed in the temperature
display is 01 for relay K1. Press the
TEMP
key
to energize the selected relay for a maximum
of 2 seconds. Verify that each selected relay
(K1 to K10) is functioning. See table below. To
exit this test and proceed to the next, press the
OFF
key.
CODE RELAY COMPONENT
01 K1 door motor
02 K2 cavity vent motor
03
*
K6 contactor KM1 (half power, full speed)
04 K3 cooling fan(s) and door light only
05 K3, K4 water injection solenoid (humidifier)
06 K5 drain pump
07 K3, K5 water fill solenoid
08
*
K7
contactor KM2 (half power, half speed);
on 20 levels only, contactor KM3 and
drain cool down solenoid.
09
*
K8
contactor KM3 and drain cool down
solenoid on 6 & 10 levels;
contactor KM5 on 20 levels only
(steam generator heating elements)
10
*
K10
contactor KM7
(convection heating elements)
11
*
K9
contactor KM6
(convection heating elements)
NOTE
: Asterisk (
*
) indicates relay is checked but contactor not
engaged. No noticeable external component operates.
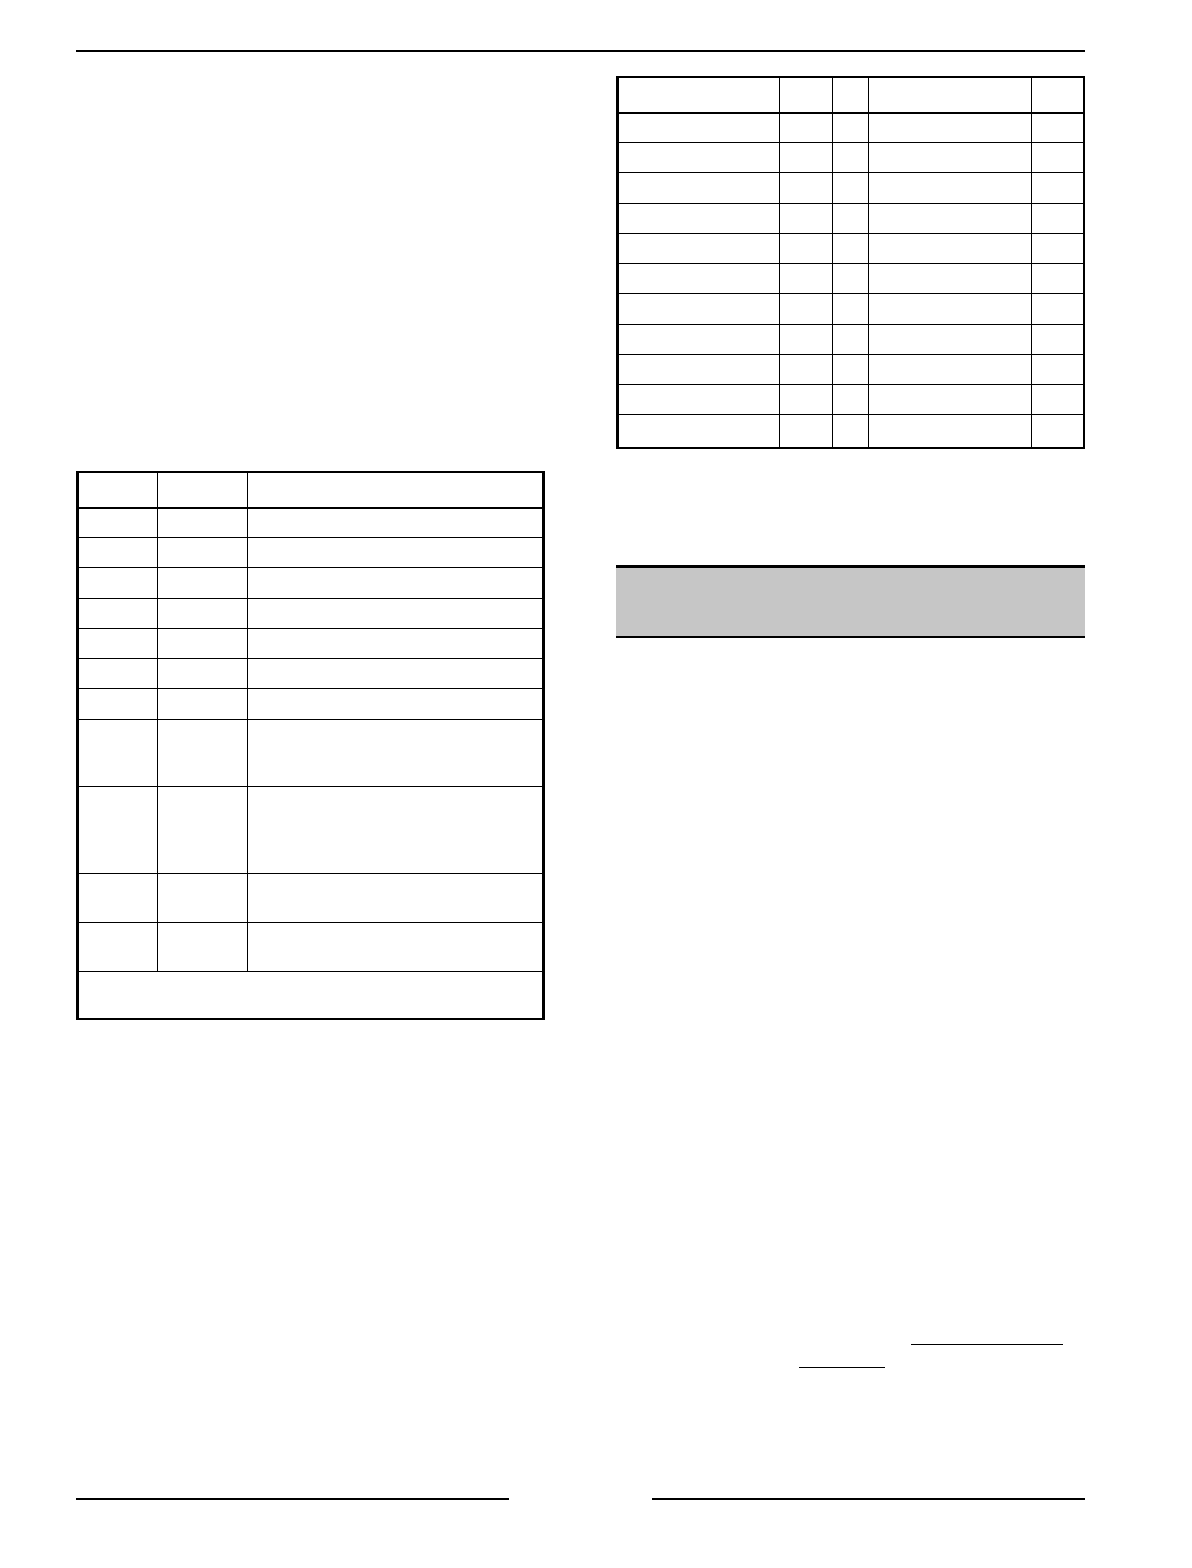
5. The keypad test consist of pressing each key to
check its functionality. Initially, 02 is displayed
in the time display and “test” is displayed in the
temperature display. With each successful key
press, the number of the key is displayed in
the time display. Each key is numbered,
starting with number 01 (ON) in the upper left
corner of the control and ends at 21
(humidifier) on the lower right corner. See table
below. Verify that all keypad buttons are
functioning properly.
KEY NO. KEY NO.
ON 01 TEMP 12
OFF 02 TEMP DOWN 13
HOT AIR 03 TEMP UP 14
STEAM 04 DELTA T 15
COMBI 05 PROG 16
START/STOP 06 ENTER 17
PHASE 07 ENTER DOWN 18
TIME 08 ENTER UP 19
TIME DOWN 09 FAN SPEED 20
TIME UP 10 HUMIDIFIER 21
PROBE 11
6. To exit the diagnostic test mode, press and
hold the
OFF
key for approximately 3 seconds.
CONFIGURATION MODE -
MANUAL CONTROLS
WARNING:
DISCONNECT THE ELECTRICAL
POWER TO THE MACHINE AT THE MAIN
CIRCUIT BOX. PLACE A TAG ON THE CIRCUIT
BOX INDICATING THE CIRCUIT IS BEING
SERVICED.
1. Remove the rear panel as outlined under
“COVERS AND PANELS”.
2. Identify the type of convection fan motor(s) on
the oven before setting the motor values in
step 9 and 10.
3. Reverse procedure to install.
4. Re-connect power to the oven.
The configuration mode can be entered only when
the oven is
OFF
. Returning to the normal operating
mode can be done at any time by pressing the
START
key to save the configuration settings and
exit the configuration mode.
To Perform:
1. To enter the configuration mode press the
TIME
and
TEMP
keys simultaneously for 3
seconds. In the temperature display, “Conf” will
be displayed. Press the
TIME
key to advance
to the next step.
2. C and F will be displayed in the time display.
Rotate the adjustment knob counterclockwise
for Celsius and clockwise for Fahrenheit. The
blinking letter indicates the temperature scale
selected. Accept the selection by pressing the
TIME
key to advance to the next step.


