ELECTRIC COMBI OVENS - SERVICE PROCEDURES AND ADJUSTMENTS
Page 36 of 68
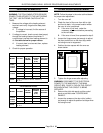
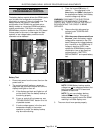
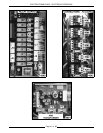
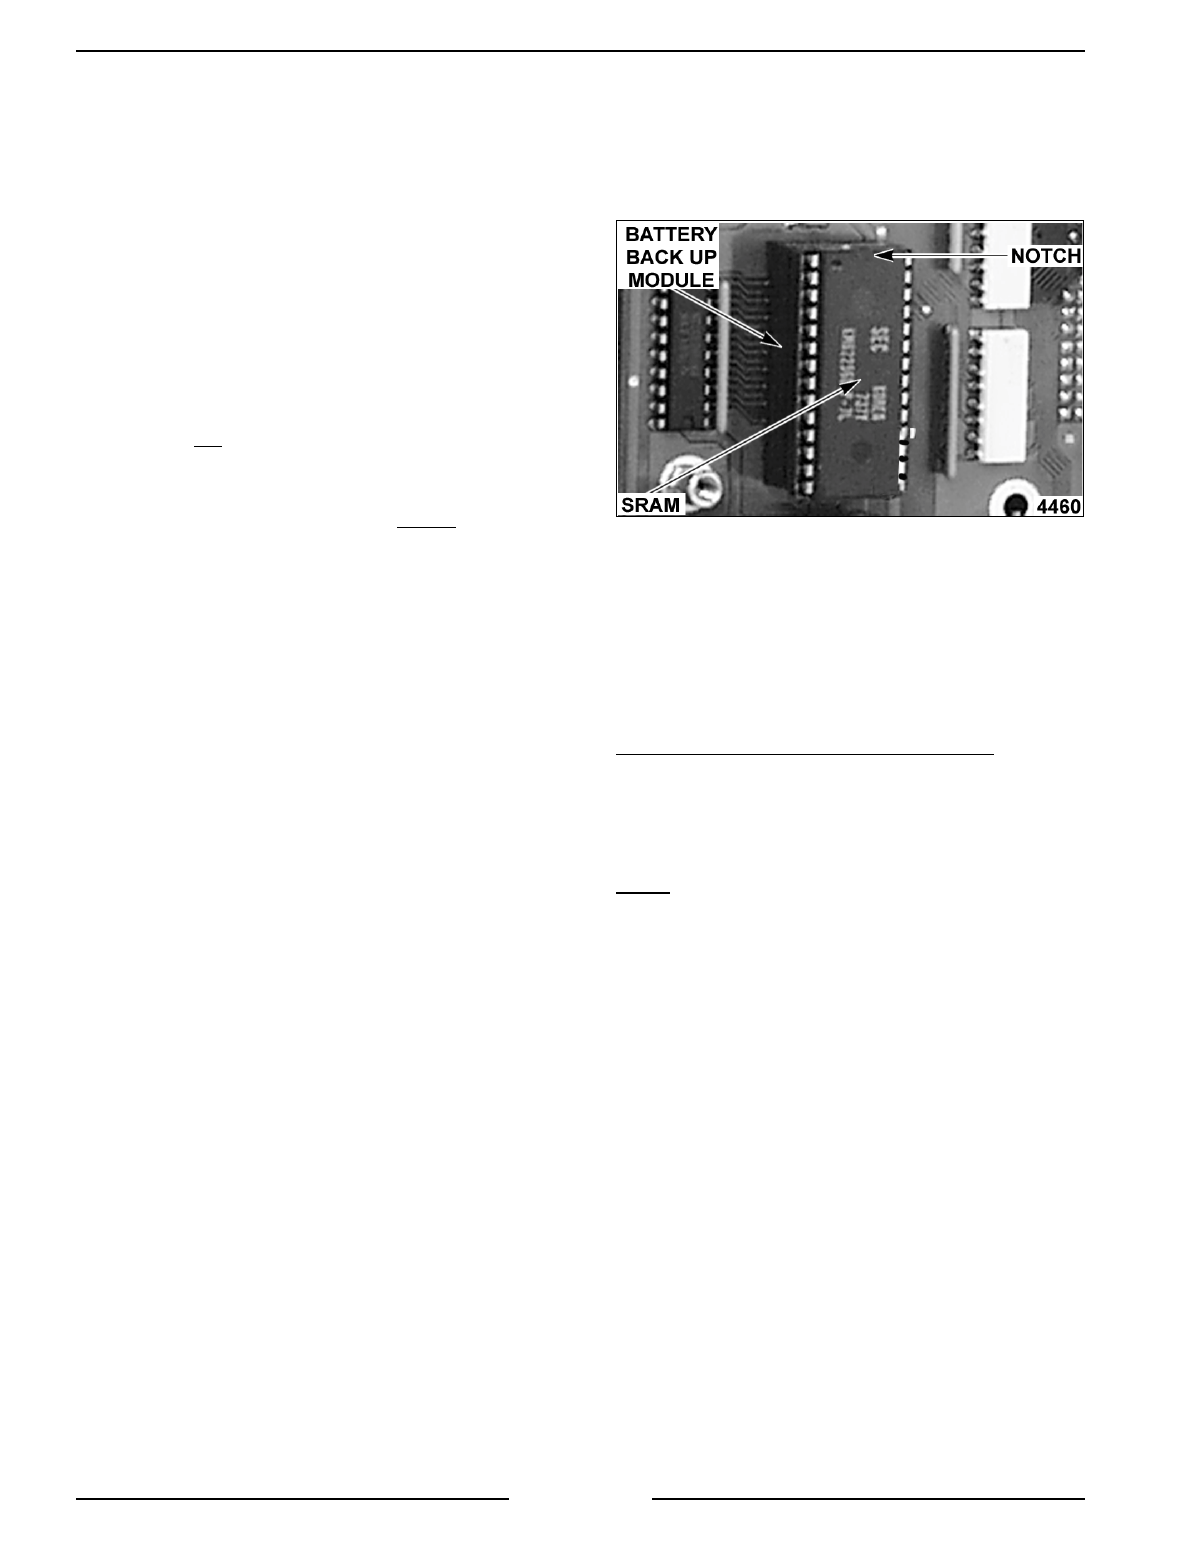
TWO PIECE CONFIGURATION SHOWN
Battery Replacement
WARNING:
DISCONNECT THE ELECTRICAL
POWER TO THE MACHINE AT THE MAIN
CIRCUIT BOX. PLACE A TAG ON THE CIRCUIT
BOX INDICATING THE CIRCUIT IS BEING
SERVICED.
NOTE
: When removing and replacing the
SRAM/Battery module, it is recommended that a 28
pin EPROM extraction tool and a 28 pin EPROM
insertion tool be used.
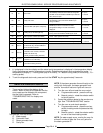
If installing the two piece SRAM and battery backup
configuration, the SRAM and battery module must
be assembled before installing on the board.
Caution
: Do not
place the battery backup module
with the pins down on a metallic or conductive
surface. This may result in component malfunction.
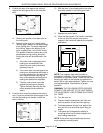
On the two-piece configuration, it is critical
that the
notch on the SRAM and the battery module match
up on the same end. Carefully line up the SRAM
pins and insert them into the battery module. Ensure
that all SRAM pins are inserted properly.
Install the SRAM and battery module assembly onto
the CPU board with the notches pointing up.
Carefully line up the battery module pins and insert
them into the socket on the CPU board. Ensure that
all pins are inserted properly.
For the one piece SRAM and battery module
combination, position the module with the corner
dot/notch pointing up. Carefully line up the battery
module pins and insert them into the socket on the
CPU board. Ensure that all pins are inserted
properly.
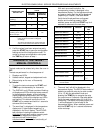
Turn the power to the machine back on
. Wait
while the control performs a power up diagnostic
test, sounds the buzzer and turns the displays and
lights on then off. If the display and lights turn off,
then the battery backup is functioning properly. If
the control or oven does not come back on, turn the
power
off, re-check the mounting of the assembly,
then turn the power back on. If this does not solve
the problem then refer to steps 2B and 2C above as
outlined in “BATTERY TEST”.


