Installation and Initialization AP-700 User Guide
Initialization
29
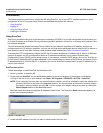
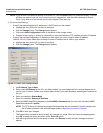
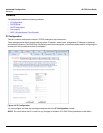
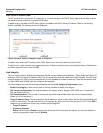
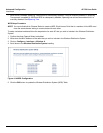
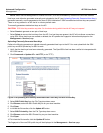
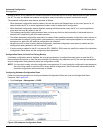
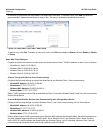
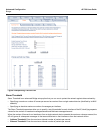
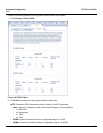
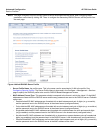
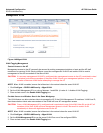
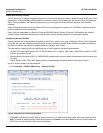
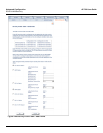
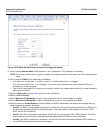
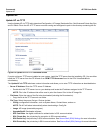
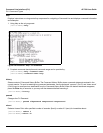
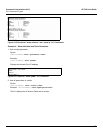
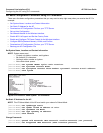
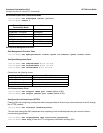
• Save & Next Button: Each Setup Wizard screen has a Save & Next button. Click this button to submit any
changes you made to the unit’s parameters and continue to the next page. The instructions below describe how to
navigate the Setup Wizard using the Save & Next buttons.
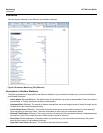
• Navigation Panel: The Setup Wizard provides a navigation panel on the left-hand side of the screen. Click the
link that corresponds to the parameters you want to configure to be taken to that particular configuration screen.
Note that clicking a link in the navigation panel will not submit any changes you made to the unit’s configuration on
the current page.
• Exit: To exit from the Setup Wizard at any time, click Step 1: Introduction on the navigation panel, and then click
the Exit button.
CAUTION: If you exit from the Setup Wizard, any changes you submitted (by clicking the Save & Next button) up
to that point will be saved to the unit but will not take effect until it is rebooted.
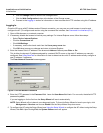
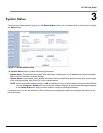
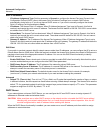
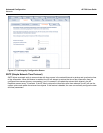
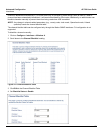
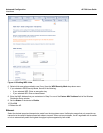
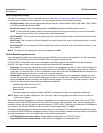
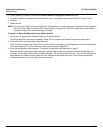
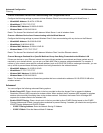
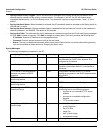
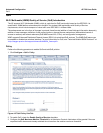
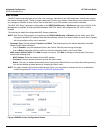
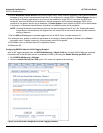
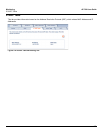
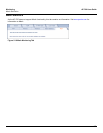
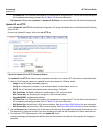
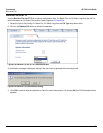
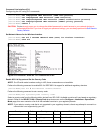
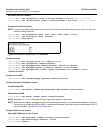
2. Configure the System Configuration settings and click Save & Next. See System for more information.
NOTE: On APs with model numbers ending in -WD, you must select the operating country on this page or on the
Configure > System tab. Setting the country makes the AP automatically compliant with the rules of the
regulatory domain in which it is used by configuring the allowed frequency bands, channels, Dynamic
Frequency Selection status, Transmit Power Control status, and power levels. If the country is not selected, an
informational message will appear on the Status page, and you will be unable to configure interface
parameters.
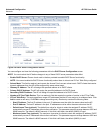
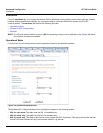
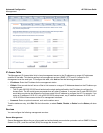
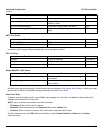
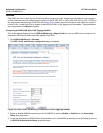
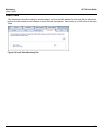
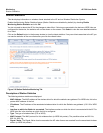
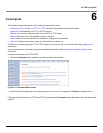
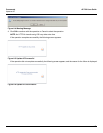
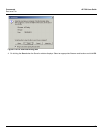
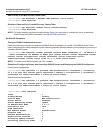
3. Configure the Access Point’s IP Configuration, including basic IP address settings, if necessary, and click Save &
Next. See Basic IP Parameters for more information.
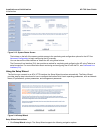
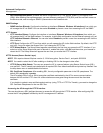
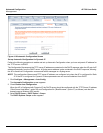
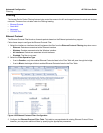
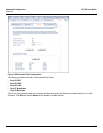
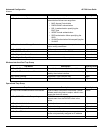
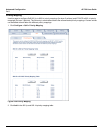
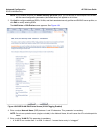
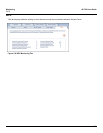
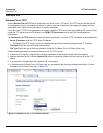
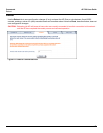
4. On the Password Configuration screen, assign the AP new passwords to prevent unauthorized access and click
Save & Next. Each management interface has its own password:
• SNMP Read Password
• SNMP Read-Write Password
• CLI Password
• HTTP (Web) Password
By default, each of these passwords is set to “public”. See Passwords for more information.
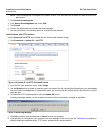
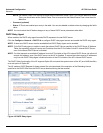
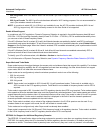
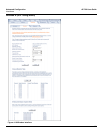
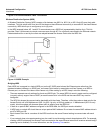
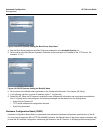
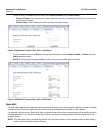
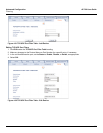
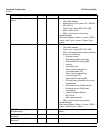
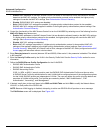
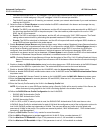
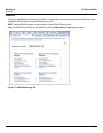
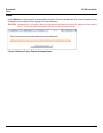
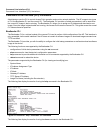
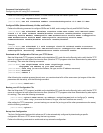
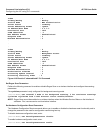
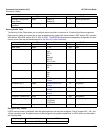
5. Configure the basic Wireless Interface Configuration settings:
• Select the Operational Mode as follows and click Save & Next:
The Wireless (802.11a/b/g) interface can be configured to operate in the following modes:
• 802.11a only mode: The radio uses the 802.11a standard only.
• 802.11b mode only: The radio uses the 802.11b standard only.
• 802.11g mode only: The radio is optimized to communicate with 802.11g devices. This setting will provide the
best results if this radio interface will only communicate with 802.11g devices.
• 802.11b/g mode: This is the default mode. Use this mode if you want to support a mix of 802.11b and 802.11g
devices.
• 802.11g-wifi mode: The 802.11g-wifi mode has been defined for Wi-Fi testing purposes. It is not
recommended for use in your wireless network environment.
NOTE: In countries in which 802.11a (5 GHz) is not available for use, the AP-700 provides dual-band (802.11b
and 802.11g) support only. 802.11a functionality covered in this User Guide is not supported.
In general, you should use either 802.11g only mode (if you want to support 802.11g devices only) or 802.11b/g
mode to support a mix of 802.11b and 802.11g devices.
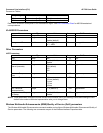
• Configure the following available options and click Save & Next: