


Page 14
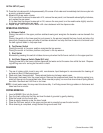
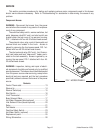
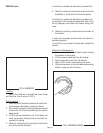
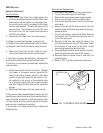
FIG. 4 WARMERS
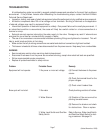
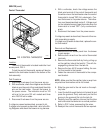
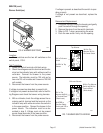
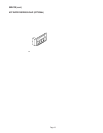
FIG. 5 WARMER WIRING
SERVICE (cont.)
Location:
One of the warmers is beneath the brew funnel
and the other is on the top lid, FIG. 4.
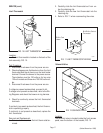
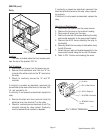
Test Procedure:
1. Once the switch has been tested and switch fail-
ure has been eliminated, proceed as follows.
2. Disconnect the brewer from the power source and
remove the #4-40 screws attaching the warmer
being tested.
3. Lift the warmer assembly from the brewer and
invert the warmer making the wire terminals ac-
cessible for testing.
4. Check for continuity from the switch to the white
wire at the warmer element.
If continuity is present as described, proceed to #5.
5. Check for continuity from the wire terminal of the
blue/black or violet wire to the warmer switch.
If continuity is present as described, proceed to #6.
If continuity is not present as described, refer to the
Wiring Diagrams and check the brewer wiring har-
ness.
6. Check for continuity across the two terminals on
the warmer.
If continuity is present as described, the warmer is
operating properly.
If continuity is not present as described, replace the
warmer.
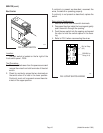
Removal and Replacement:
1. Remove the #4-40 slotted-head screws holding
the warmer to the brewer
2. Lift the warmer assembly from the brewer.
3. Disconnect both wires from the warmer.
4. Refer to FIG. 5 when reconnecting the wires.
5. Place the new warmer into the brewer and securely
attach it using the #4-40 screws.