


16
17
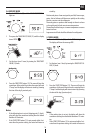
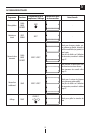
2 Select the keep warm time by turning the TIME/TOAST CO-
LOR knob (12).
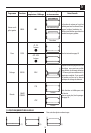
3 Press the START/STOP (13) button. The oven will start the
countdown. At the end of the set time the control will emit
3 beeps and the display will return to stand-by (showing
the time of the day, if previously set).
Notes:
• Ifthekeepwarmtimeisnotset(skippingpoint2),the
display will show the countdown starting from the default
duration of 30 minutes.
• IftheSTART/STOP(13)buttonisnotpressedwithin3mi-
nutes from the previous setting, the control will return to
stand-by.
3.1 CARE AND CLEANING
Frequent cleaning prevents the formation of smoke and bad
odors during cooking. Do not let fat accumulate inside the ap-
pliance.
Before any maintenance or cleaning operation, unplug the oven
and wait for it to cool down.
Clean the door, the inside walls and the enamel or painted
surfacesoftheovenwithasoapandwatersolution;drytho-
roughly.
To clean the aluminum surfaces on the inside of the oven, never
use products that corrode aluminum (detergents in spray cans)
and never scrape the walls with sharp objects.
To clean the outside surface always use a damp sponge.
Avoid using abrasive products that may damage the exterior.
Make sure water or liquid soap does not seep into the vents on
the top of the oven.
Neverimmersetheapplianceinwater;neverwashitundera
jet of water.
All the accessories are washed like normal dishes, either by
hand or in the dishwasher.
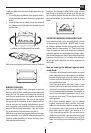
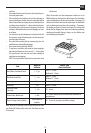
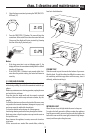
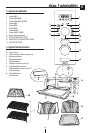
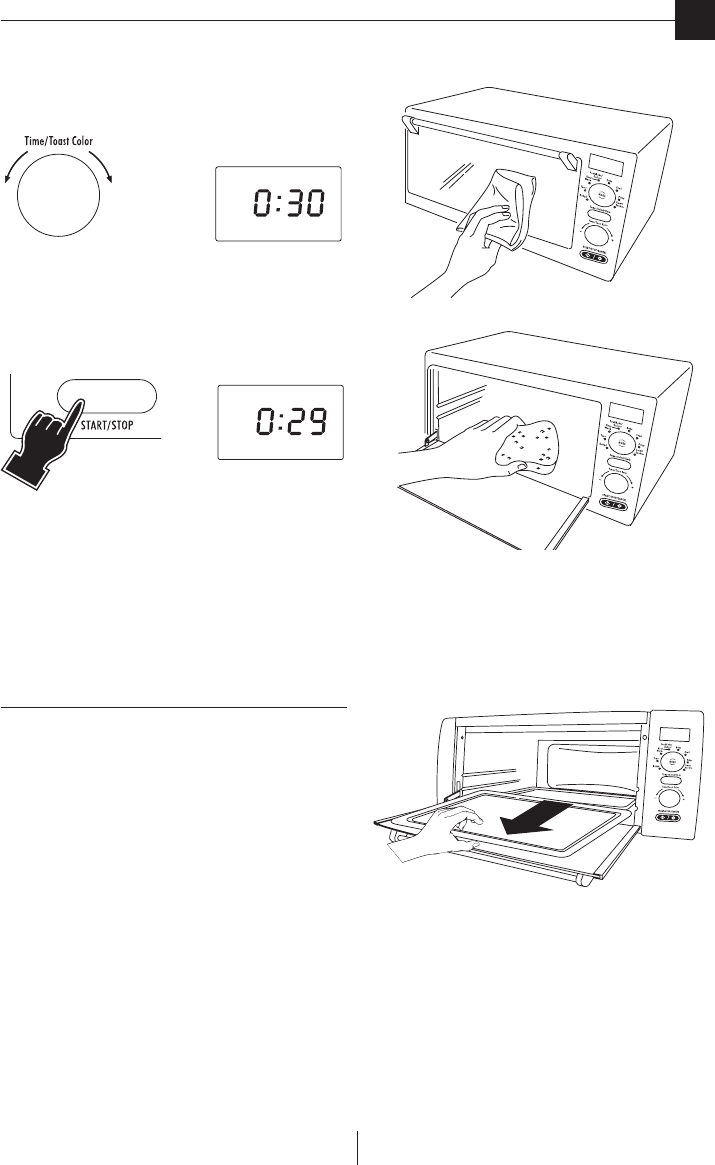
CRUMB TRAY
Slide the crumb tray out from under the bottom of your oven.
Wash by hand. Should the soilage be dicult to remove, rinse
the crumb tray with hot soapy water and if necessary, scour it
delicately, without scratching it.
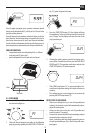
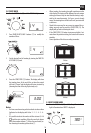
INTERIOR LIGHT
When the oven is on, the light inside the oven is always on.
To replace the bulb, proceed as follows: unplug the appliance
from the power outlet, unscrew the glass cover and replace the
bulb with a new one of the same type (resistant to high tempe-
ratures) and then replace the glass cover.
chap. 3 cleaning and maintenance
en