


Cold Drink Center (327/328) Operator’s Guide
August, 2003 Page 68 3280020
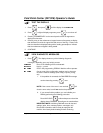
TEST VARIOUS SWITCHES AND SENSORS
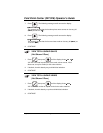
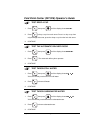
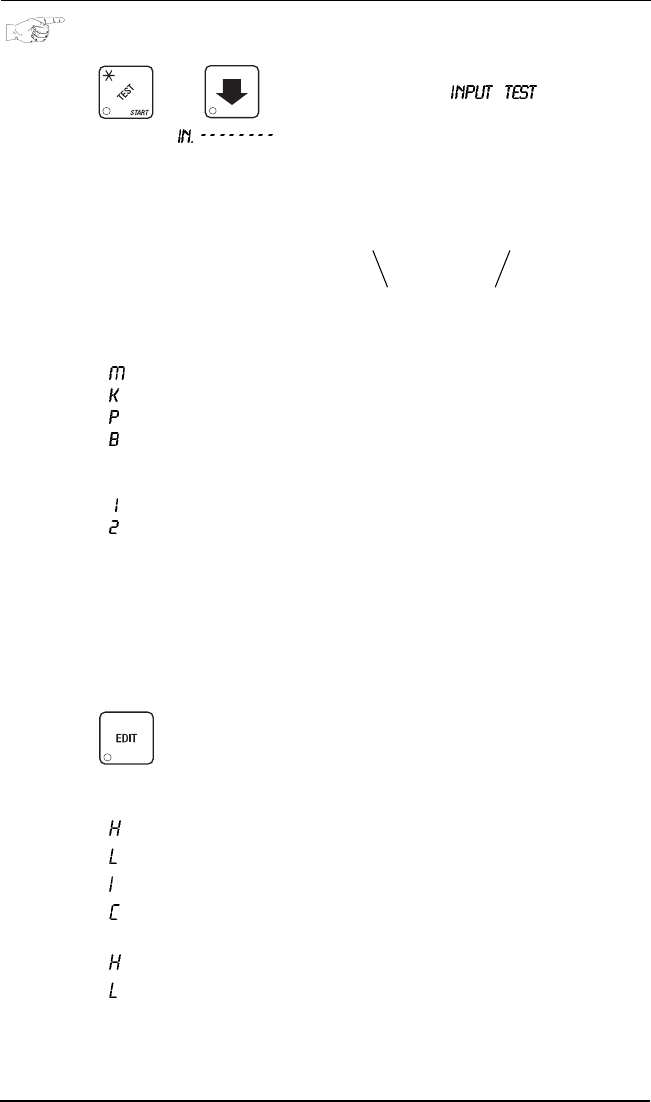
1. Press then until the display shows momentarily,
then switches to . This is the first input screen, consisting of 8
positions. Depending on the condition of switches or sensors, the dashes in
the display are replaced by letters or numbers. The positions are numbered
as shown:
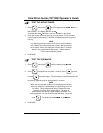
Input Screen 1 Definitions:
Position 1: Mug switch
2: Key switch
3: Waste pail switch
4: Ice bath probe (a decimal point means the ice bath compressor
is on)
5: Not used
6: Cup ring 1 is empty
7: Cup ring 2 is empty
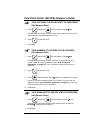
2. Actuate each switch or sensor to test its function. As you actuate each input,
the display element representing that switch blinks on. Releasing the switch
causes that element to blink off again.
3. Pressing B cancels any delays and forces the compressor to start
immediately if a block of ice is not yet formed to its maximum size. This is
useful for troubleshooting compressor problems.
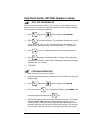
4. Press to switch to input screen #2.
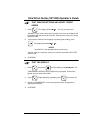
Input Screen 2 Definitions:
Position 1: Feeder cup high
2: Feeder cup low
3: Ice maker full (a decimal point means the ice maker is on)
4: No CO2 (a decimal point means the CO2 valve is on)
5: Not used
6: Carbonator level high
7: Carbonator level low (a decimal point means the carbonator
pump is on)
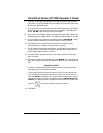
Position
Diagram
fkK==J=J=J=J=J=J=J=J
Position 1 Position 8