


11
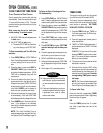
Oven Vent
When the oven is in use, the area near the
vent may become hot enough to cause
burns. NEVER block the vent opening.
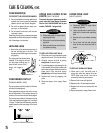
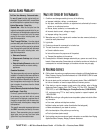
➢
On a coil element
surface, be sure the
drip bowl in the vent
location has a hole
in the center. Do not
cover the drip bowl with aluminum
foil.
When high moisture foods are cooked in
the upper oven, steam may be visible
coming from the oven vent. This is nor-
mal.
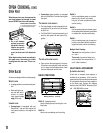
Oven Racks
All racks are designed with a lock-stop edge.
U
PPER
OVEN
➢
Is equipped with one rack and rack posi-
tion.
➢
When pulling the up-
per oven rack out to
remove or check
food, grasp the top
edge of the rack.
L
OWER
OVEN
➢
Conventional: Is equipped with one
RollerGlide™ rack and one regular flat
rack (select models) or two regular flat
racks.
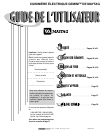
RACK POSITIONS
RACK 5: (highest position)
Use for toasting bread or broiling thin, non-
fatty foods.
RACK 4:
Use for two-rack baking and for broiling.
RACK 3:
Use for most baked goods on a cookie
sheet or jelly roll pan, layer cakes,
fruit pies, or frozen convenience foods,
and for broiling.
RACK 2:
Use for roasting small cuts of meat, casse-
roles, baking loaves of bread, bundt cakes
or custard pies, and two-rack baking.
RACK 1:
Use for roasting large cuts of meat and
poultry, frozen pies, dessert souffles or
angel food cake, and two-rack baking.
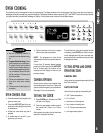
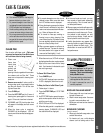
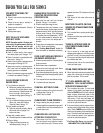
Multiple Rack Cooking:
Two rack: Use rack positions 2 and 4,
or 1 and 4.
Three rack: (convection baking only,
select models) Use rack positions 1, 3
and 5. (See illustration.)
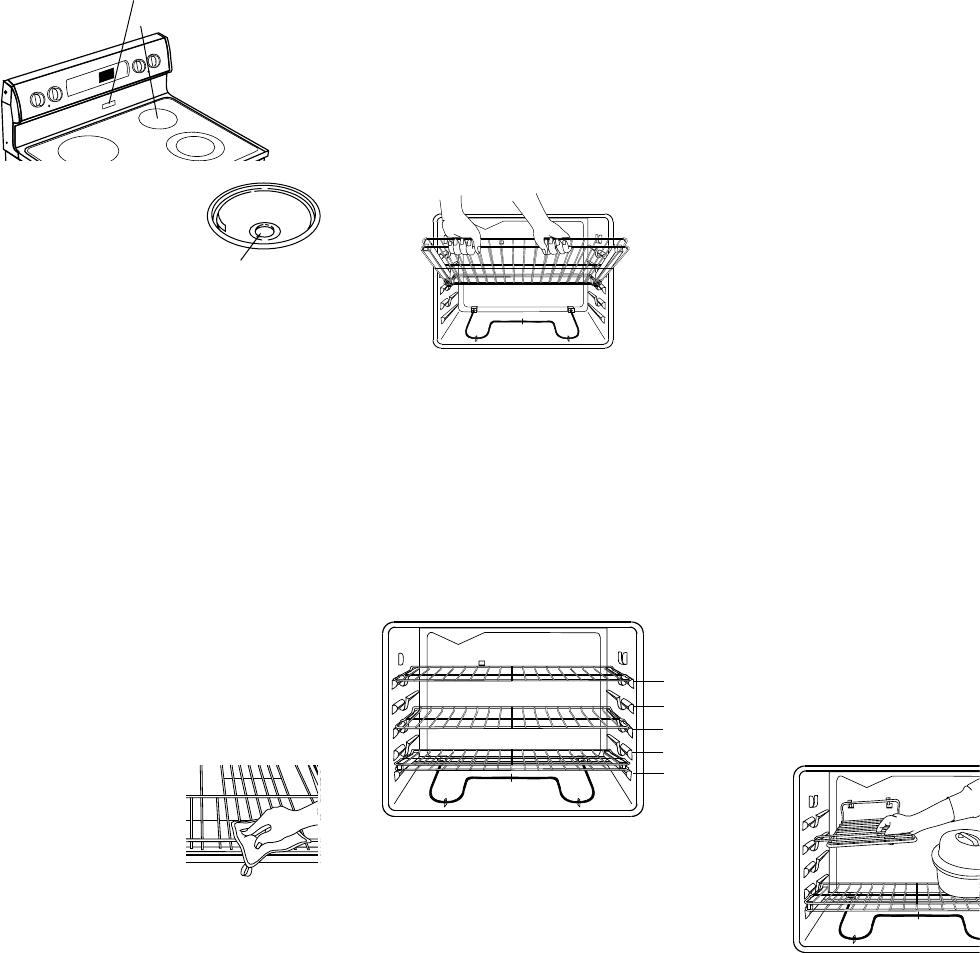
HALF RACK ACCESSORY
(L
OWER
OVEN
ONLY
)
A half rack, to increase oven capacity, is
available as an accessory. It fits in the left,
upper portion of the oven and provides space
for a vegetable dish when a large roaster is
on the lower rack. Contact your Maytag
dealer for the “HALFRACK” Accessory Kit or
call 1-800-688-8408 to order.
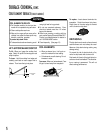
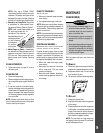
OVEN VENT LOCATION
• on glass-ceramic range
• on coil element range
➢
Convection (select models): Is equipped
with one RollerGlide™ rack and two regular
flat racks.
T
O
REMOVE
OVEN
RACKS
:
➢
Pull rack straight out until it stops at the lock-
stop position; lift up on the front of the rack
and pull out.
➢
For RollerGlide™ rack (select models), pull
both the rack glide and rack base out to-
gether.
T
O
REPLACE
OVEN
RACKS
:
➢
Place rack on the rack support in the oven;
tilt the front end up slightly; slide rack back
until it clears the lock-stop position; lower
front and slide back into the oven.
Three-rack Convection
Baking (Racks 1, 3 and 5)
5
4
3
2
1
Oven Cooking, cont.
OVEN VENT
OPENING