122
ENGLISH
4
IV. PILOT ORIFICE CONVERSION
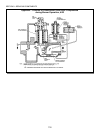
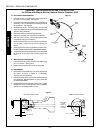
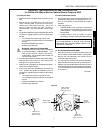
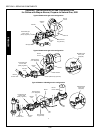
1. Unscrew the two 1/2" nuts that secure the gas train to
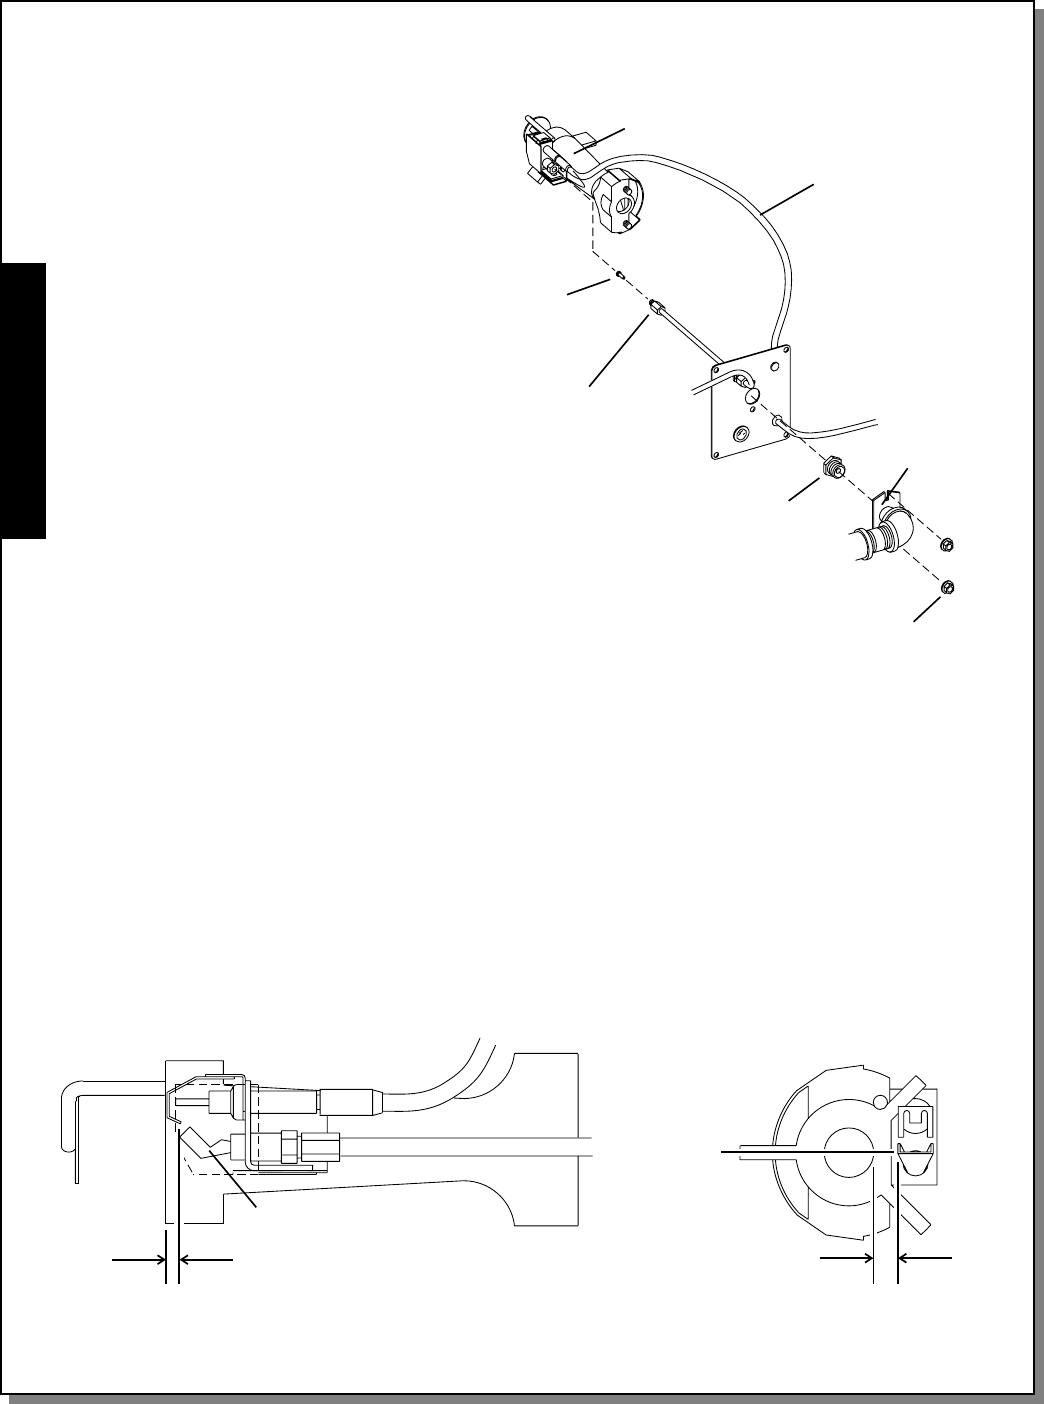
the venturi mounting plate. See Figure 4.
2. Unscrew the pilot tube compression nut, and slide it out
of the way. Then, pull the tube from the fitting to expose
the pilot orifice. See Figure 4.
3. Separate the venturi, mounting plate, and gas train
assembly. Leave the main orifice holder attached to the
gas train piping assembly.
4. Remove and discard the existing pilot orifice.
5. Slip the kit-supplied pilot orifice into the pilot tube.
6. With the orifice in place, push the tube back into the
compression fitting until it bottoms.
7. While holding the tube in place, slide the compression
nut into place. Tighten the nut to a snug fit with your
fingers.
8. Gently tighten the nut one complete turn with a wrench.
DO NOT OVERTIGHTEN THE COMPRESSION NUT.
9. To allow the main orifice to be replaced, do not reassemble
the gas train to the venturi and mounting plate at this
time.
V. MAIN ORIFICE CONVERSION
1. Unscrew the existing main orifice from its holder using
an 11/16 wrench. See Figure 4.
2. Install the kit-supplied main orifice into the holder.
VI. REASSEMBLY
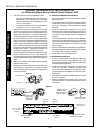
1. Check that the pilot assembly is correctly aligned with
the venturi, as shown in Figure 5. If necessary,
reposition the pilot assembly.
2. Reassemble the venturi and mounting plate to the gas
train assembly. Replace the two 1/2 hex nuts to hold
the assembly together.
3. Replace the assembled gas train into the oven. Tighten
the gas pipe union (on the inlet side of the combination
gas valve) to hold the gas train in place.
Figure 4
1/2 hex nuts
Orifice
holder
Main
orifice
Pilot
orifice
Compression
nut
Venturi
Spark
cable
Figure 5
3/8 (9.5mm)
11/16 (17.5mm)
View from side of venturi View from rear of venturi
Pilot hood
Rear edge
of pilot
hood is on
centerline
of venturi
SECTION 3 - SERVICING COMPONENTS
Appendix - Instructions for All Gas Conversion Kits
for Ovens with Wayne Burner, Natural Gas to Propane, 8/00


