4. Remaining battery power indication
The remaining battery power is indicated for 12
seconds after the printer is turned ON and during
printing.
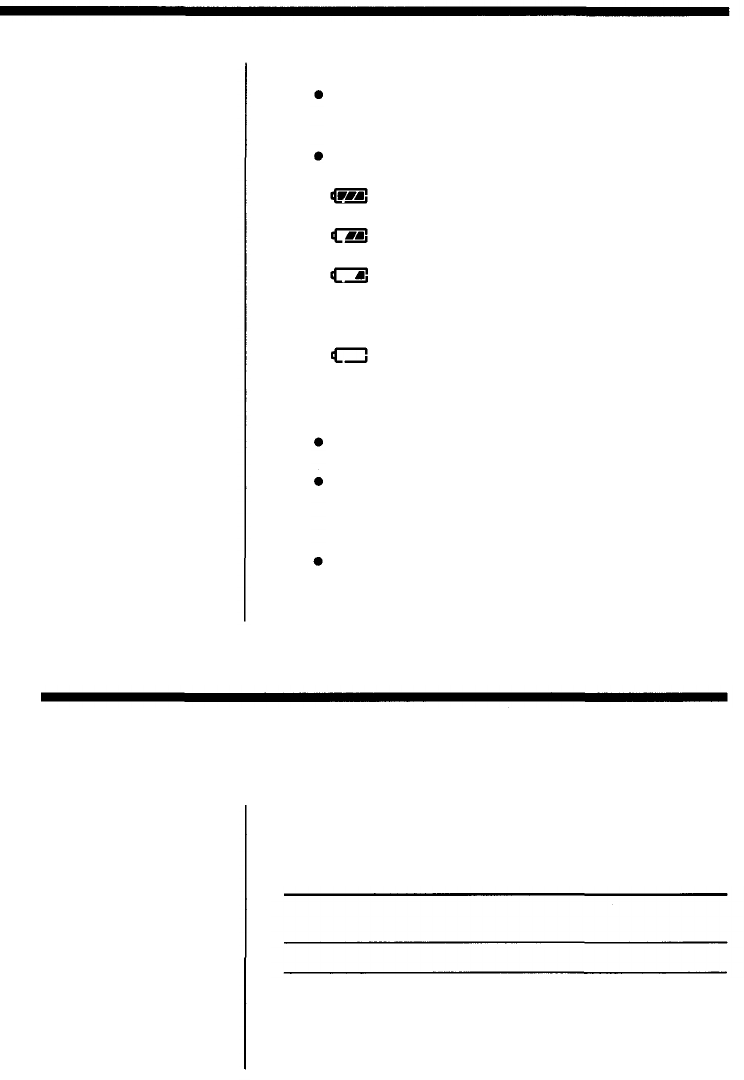
The remaining battery power indicator segments light
according to the following.
lights (turns off automatically): The battery is
fully charged. You can print.
lights (turns off automatically): The remaining
battery power is sufficient. You can print.
lights (turns off automatically): The remaining
battery power is too low. A few pages may be
printed but battery power may run out before
printing is complete.
lights: No remaining battery power. Turn the
printer OFF and recharge the battery.
5. Removing the battery
Turn the printer OFF and make sure that the AC
adapter is not connected.
Slide the battery unlock lever toward the paper feed
cassette position (by about 2 mm), then remove the
battery by sliding it in the opposite direction from
when it was installed.
Install the rear cover in the same way as installing the
battery. Store the removed battery with the provided
cover installed to it.
Using print packs
Notes
• Always use the ink
ribbon cartridge and
print paper supplied
together in the same
carton.
• Do not print on used
print paper.
You need the provided sample kit or an optional print
pack (set of ink ribbon cartridge and print paper) for
printing.
Setup
Purpose
(Printing)
Print Pack
Print Paper
Ink Ribbon
Cartridge
Standard
P-25N
Standard
For 25 prints
17


