


Chapter 2
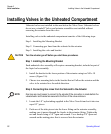
Valve Installation Installing Valves in the Heated Oven
24 Operating Manual
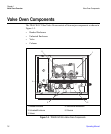
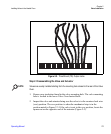
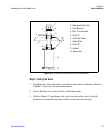
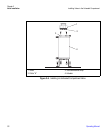
Figure 2-3. Mechanical Stop Positions for both CW and CCW
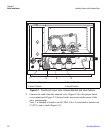
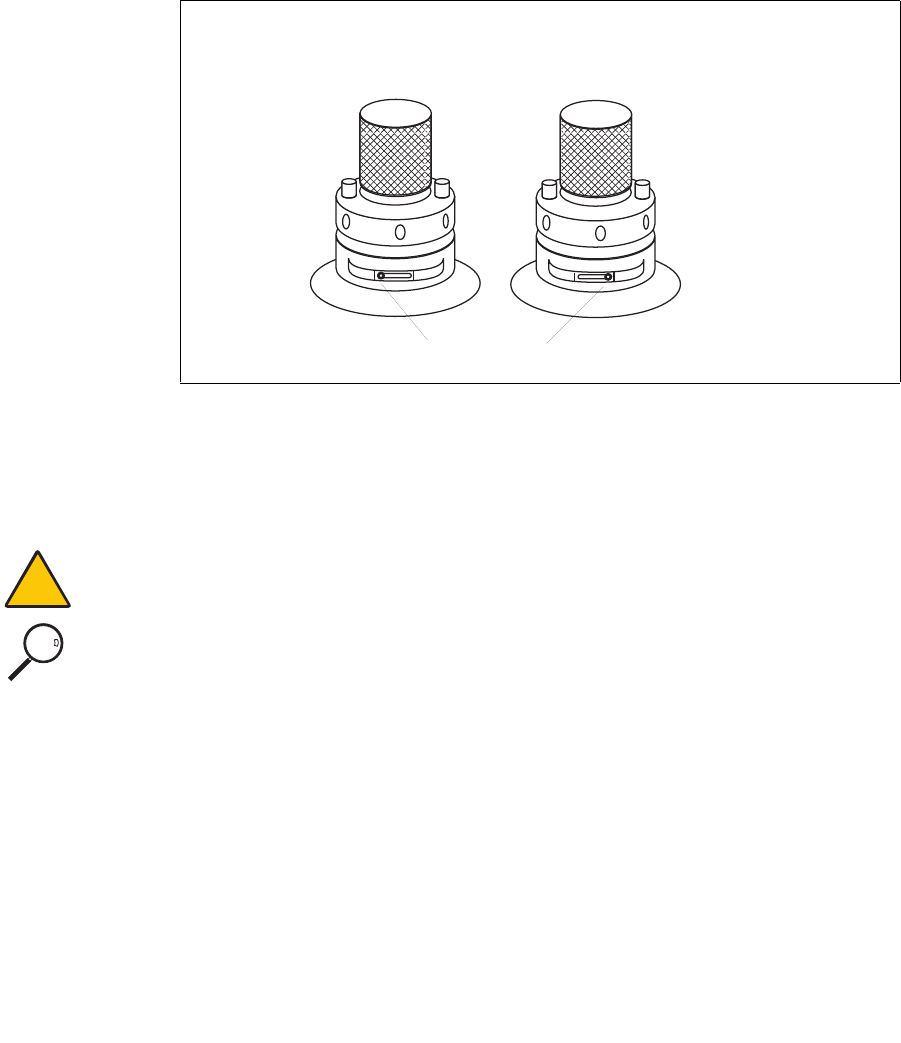
3. Using a 5/16” or 8mm wrench, rotate the nut to the ccw position (Figure 2-5).
4. Once the valve is in the ccw position, separate the actuator from the valve and
standoff by loosening the allen screw in collar B (Figure 2-5).
CAUTION Be careful to pull the actuator away from the valve standoff by gripping the standoff
but without rotating the actuator or the valve.
NOTE Handle the valve and standoff with care so the two pieces do not separate.
5. Remove the collar attached to the valve standoff (collar A, Figure 2-5) by
loosening the screw that secures the collar to the valve standoff. This collar
mounts to the Valve Oven heater block.
Step 3. Installing the Valve and Standoff
1. Locate the desired valve position in the heater block and place the collar over
the hole in the heater block.
2. Secure the collar using two M 4 x10 mm screws. Be sure the 7/64” set screw
in the collar is accessible from the outer edge of the Valve Oven.
Mechanical stop
C
lockwise (CW) Position
Counterclockwise (CCW) Position