


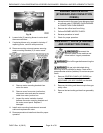

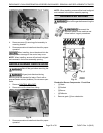
TOP BURNER ASSEMBLY
Disconnect the
electrical power to the machine and
follow lockout / tagout procedures.
Shut off the gas before servicing the
unit.
All gas joints disturbed during
servicing must be checked for leaks. Check with a
soap and water solution (bubbles). Do not use an open
flame.
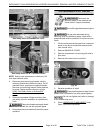
1. Remove top burner grates (front and rear) from
the module section being serviced.
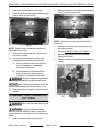
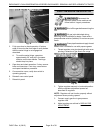
2. Remove pilot from mounting clip on the top
burner assembly. Move pilot away from burner
assembly.
Fig. 31
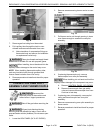
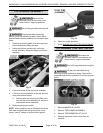
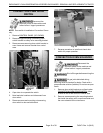
3. Lift burner heads off the top burner assembly.
4. Lift the top burner assembly at the rear and pull
away from manual valves.
A. Remove pilot mounting clip and flash tube
from the top burner assembly for resuse on
replacement burner assembly.
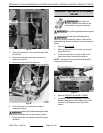
5. Reverse procedure to install.
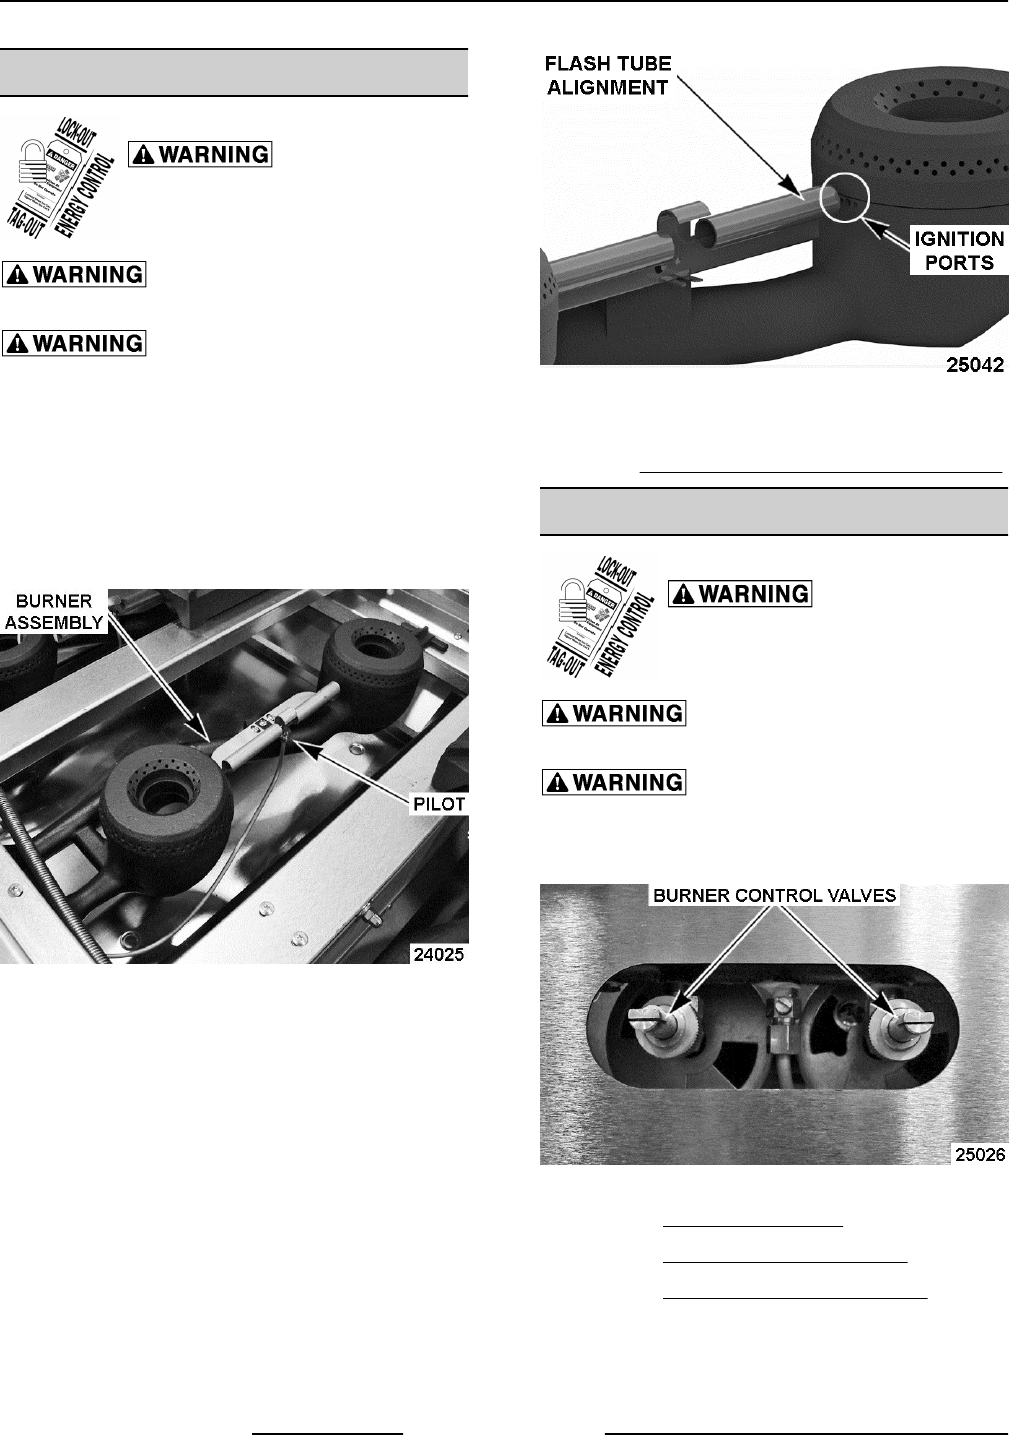
NOTE: When installing, ensure that each end of the
flash tube is aligned with the ignition ports on the
burner “venturi” casting for proper burner ignition.
Fig. 32
6. Check for proper operation.
7. Verify BURNER AIR SHUTTER ADJUSTMENT.
TOP BURNER CONTROL VALVE
Disconnect the
electrical power to the machine and
follow lockout / tagout procedures.
Shut off the gas before servicing the
unit.
All gas joints disturbed during
servicing must be checked for leaks. Check with a
soap and water solution (bubbles). Do not use an open
flame.
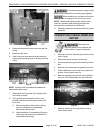
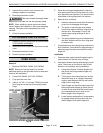
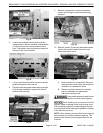
Fig. 33
1. Remove MANIFOLD COVER.
2. Remove TOP BURNER ASSEMBLY.
3. Remove TOP BURNER PILOT VALVE.
4. Remove top burner control valve from the
manifold.
ENDURANCE / CHALLENGER MODULAR SERIES GAS RANGES - REMOVAL AND REPLACEMENT OF PARTS
F45471 Rev. A (0615) Page 16 of 38