


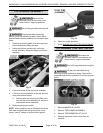

5. Inspect the top control valve for wear and
damage, replace as necessary.
6. Reverse procedure to install.
Clean pipe threads and apply thread
sealant that is suitable for use with propane gases.
NOTE: When installing, ensure top burner control
valve is aligned and centered in the burner assembly
opening. The valve must be perpendicular to the
manifold.
7. Check for proper operation.
TOP BURNER ORIFICE HOOD
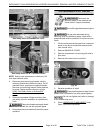
1. Access top burner orifice hood as outlined under
TOP BURNER ASSEMBLY.
2. Remove the orifice hood from top burner control
valve.
3. Reverse procedure to install.
4. Check for proper operation.
OVEN DOOR
Removal
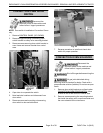
1. Remove CONTROL PANEL (30" OVENS).
NOTE: Removal of control panel is to provide
additional space on the right side of door to ease door
removal and installation.
2. Lower KICK PANEL (24" & 30" OVENS).
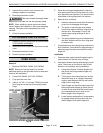
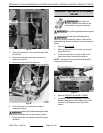
3. Fully open the oven door.
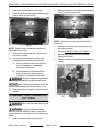
4. Insert a 1/4"-20 x 1" bolt (see TOOLS) into each
door hinge slot at the top of the spring loaded
hinge.
Fig. 34
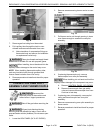
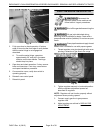
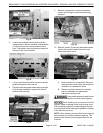
5. Close door leaving enough space to clear the
oven gas manifold cover during removal. As the
door approaches this position, you should notice
a decrease in the spring tension on the door.
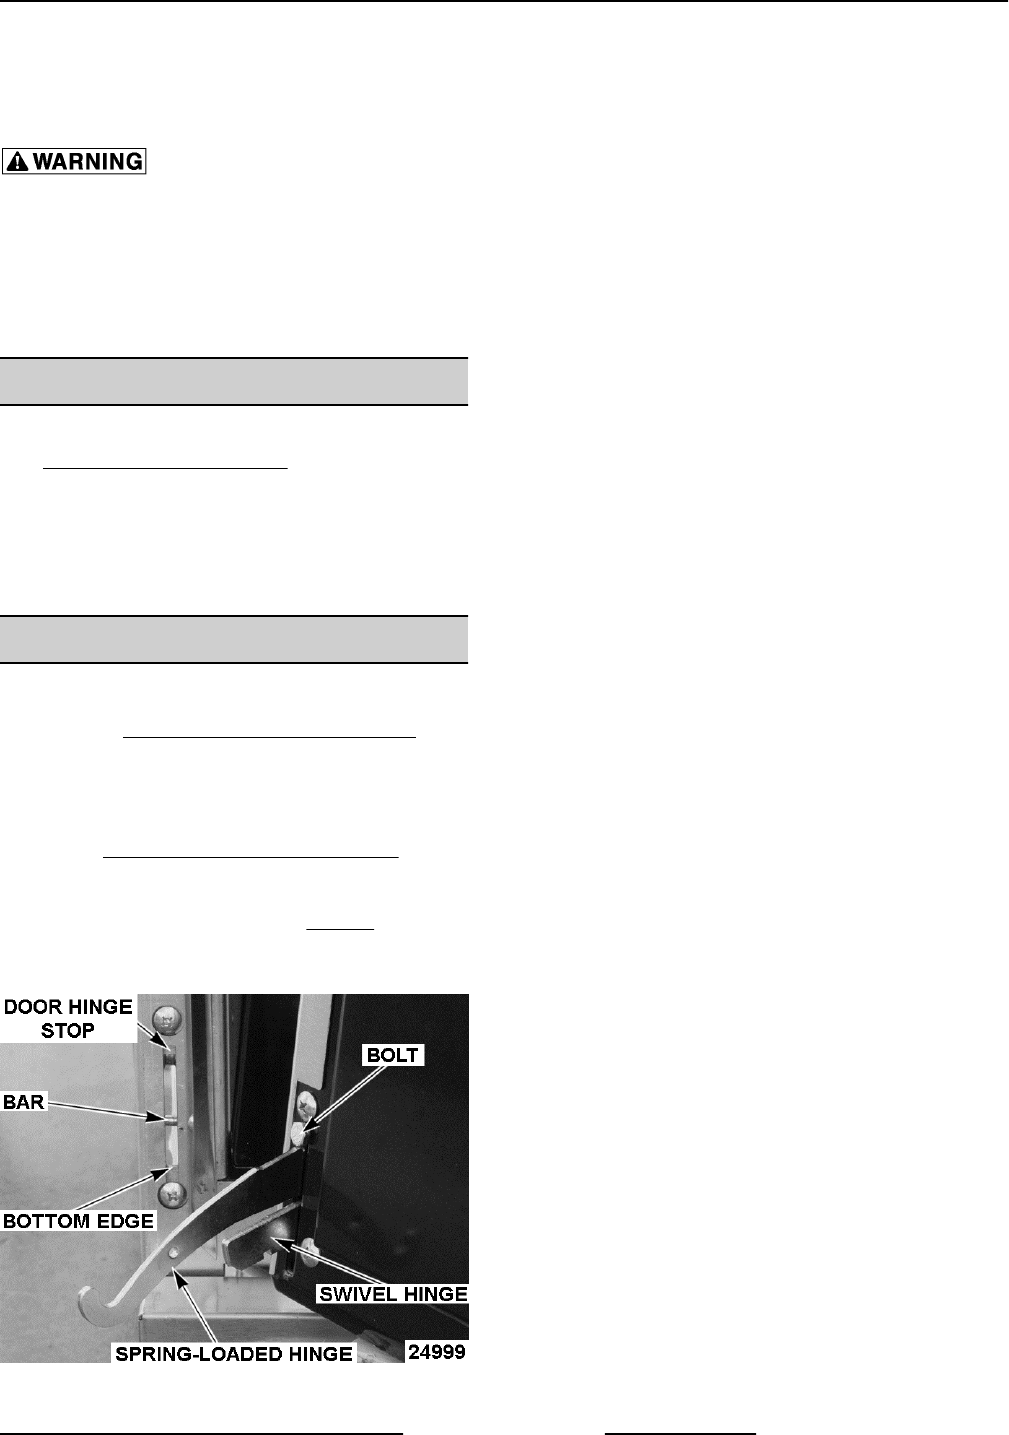
6. Remove door as follows:
A. Hold door at bottom corners then lift the door
up and out to disengage the hinges.
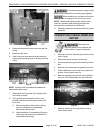
B. The notch on swivel hinge must release
from bottom edge of the door hinge stop to
remove door. As needed, lift up on the
swivel hinges using forefinger to aid in
releasing.
C. The spring-loaded hinge must release from
the roller inside the slot on door hinge stop
to remove door.
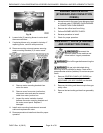
7. If replacing door or door spring hinge, position the
door face down. Press down on hinge enough to
relieve spring force then remove bolt from door
hinge slot.
Installation
1. Compress each spring-loaded hinge enough to
insert the bolt into the slot at top of hinge.
2. Hold door at bottom corners while facing the oven
cavity. Place knee on the front of door to help
balance it as necessary during installation.
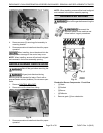
A. Using index fingers, lift swivel hinges until
they touch the spring-loaded hinges and
hold in place.
B. Tilt the top of door toward the oven so that
the swivel hinge is at a slightly downward
angle to pass between the bar and bottom
edge of door hinge stop.
C. Insert hinges into the slots making sure that
the spring-loaded hinges go above the bar
to catch on the roller and the swivel hinges
go underneath the bar to catch on the
bottom edge of door hinge slot.
D. Lower the door and position it as necessary
to engage the swivel hinge slots with the
bottom edge of both door hinge slots.
ENDURANCE / CHALLENGER MODULAR SERIES GAS RANGES - REMOVAL AND REPLACEMENT OF PARTS
Page 17 of 38 F45471 Rev. A (0615)