


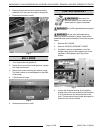

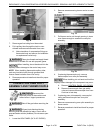

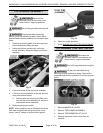
2. Remove screws securing kick panel mounting
brackets (2) to the oven and remove kick panel.
3. Reverse procedure to install.
Fig. 5
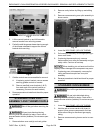
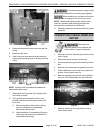
BULL NOSE
1. Turn top burners and griddle off.
2. Remove front row of top burner grates on ranges
with open top burners.
3. Remove all screws securing bull nose to range.
The total number of screws depend on the width
of the range.
4. Lift bull nose off range.
Fig. 6
5. Reverse procedure to install.
CONTROL BRACKET
Disconnect the
electrical power to the machine and
follow lockout / tagout procedures.
Shut off the gas before servicing the
unit.
All gas joints disturbed during
servicing must be checked for leaks. Check with a
soap and water solution (bubbles). Do not use an open
flame.
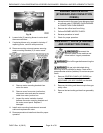
1. Remove BULL NOSE.
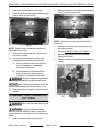
2. Remove CONTROL BRACKET COVER.
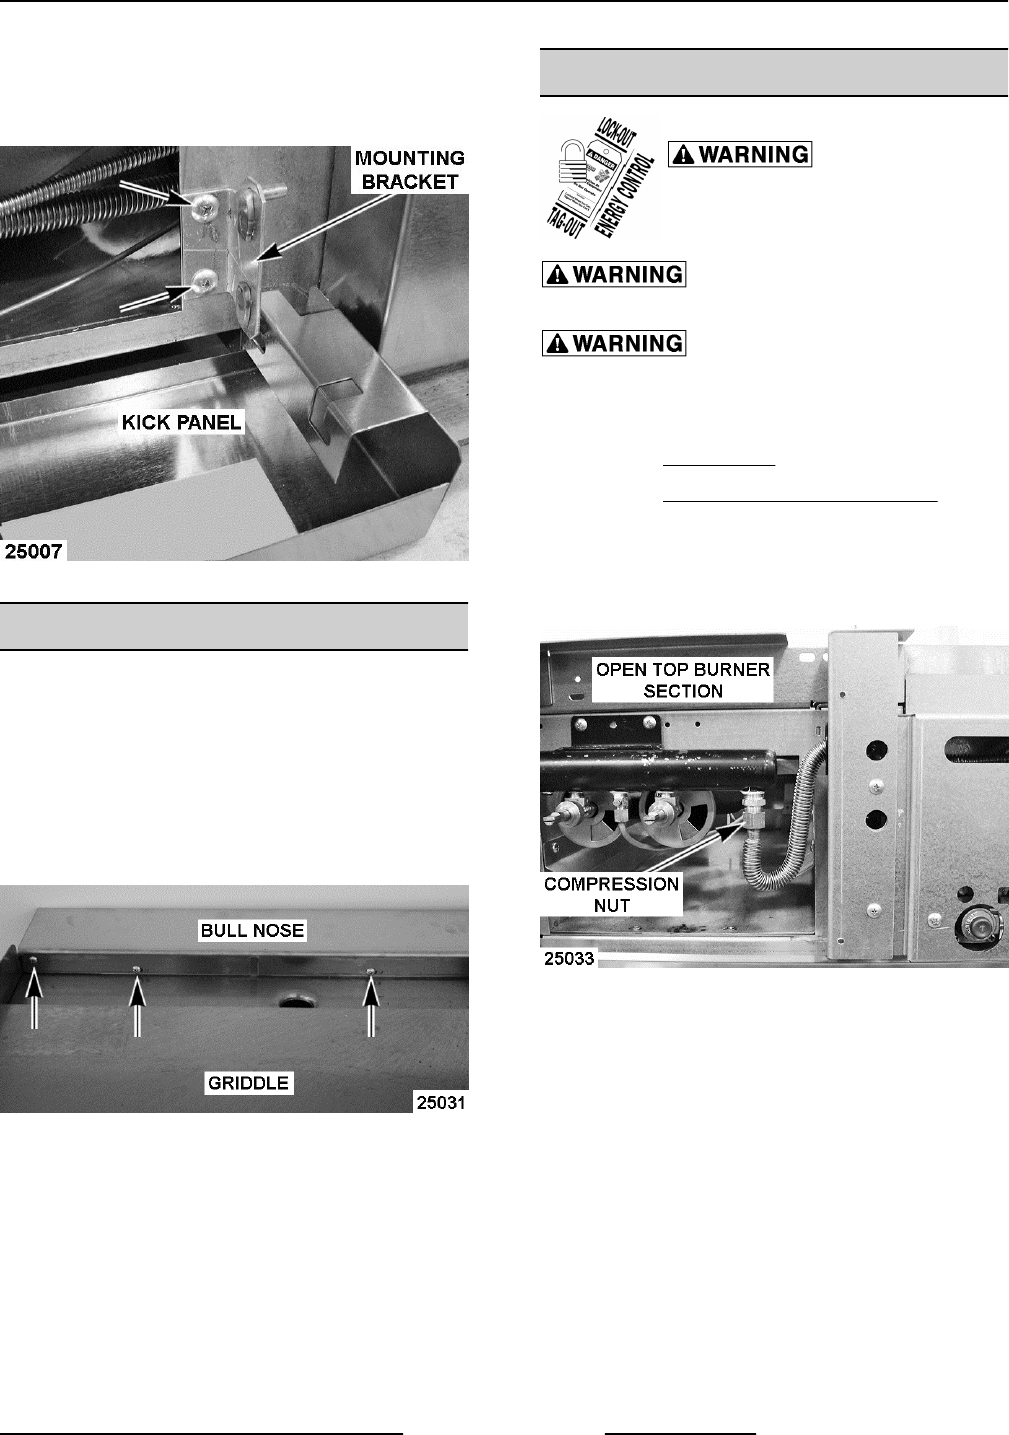
3. If installed, remove compression nut on the
flexible tubing gas line that supplies gas to the
manifold on the adjacent open top burner
section.
Fig. 7
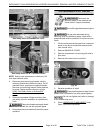
4. Loosen the recessed screws (4) through the
access holes on the two manifold cover brackets
(L & R) that secure the control bracket to the
oven. The bracket mounting holes are keyed for
removal of the control bracket.
ENDURANCE / CHALLENGER MODULAR SERIES GAS RANGES - REMOVAL AND REPLACEMENT OF PARTS
Page 7 of 38 F45471 Rev. A (0615)