11
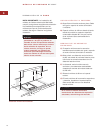
MODULE INSTALLATION
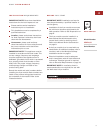
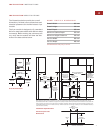
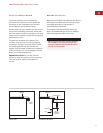
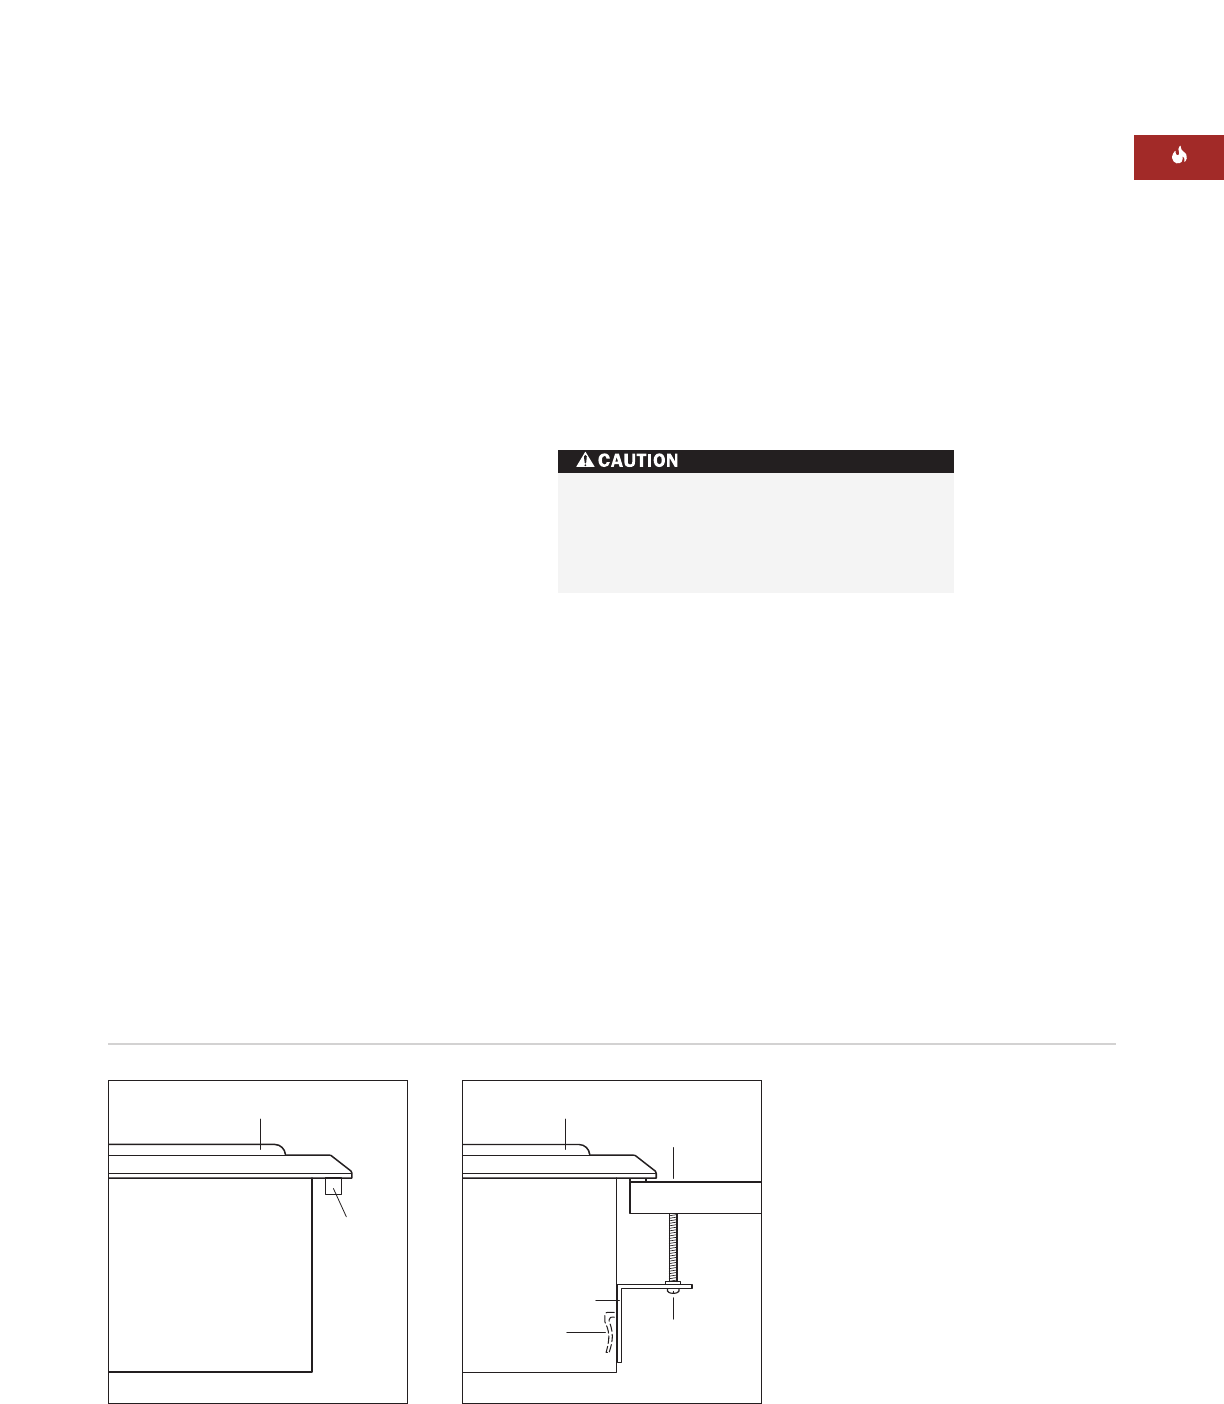
To prevent pollution from entering the
controller and transformer area, attach the
f
oam strip to the underside of the module
frame. Refer to the illustration below.
Gently lower the fryer module into the cut-out
area in the countertop and center. Check that
t
he front edge of module is parallel to the front
edge of the countertop. Check that all required
clearances are met.
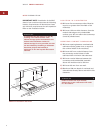
To attach the brackets to the sides of the
module, insert the clip into the rectangular
punchout in the pan, and push down. Install
the clamping screw into the bracket and
tighten until the screw contacts the underside
of the countertop. Do not overtighten screws.
Refer to the illustration below.
IMPORTANT NOTE:
Do not use caulk or
silicone to seal the module to the countertop.
The unit must be readily removable for
service.
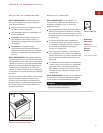
BEFORE OPERATING
Read the entire Wolf Fryer Module Use & Care
Information included with the module. Impor-
t
ant safety and service information is
contained within the book.
Thoroughly clean the stainless steel fryer
basin, wire basket hanger and fryer baskets
w
ith mild soap and water before use.
MODULE
FOAM
STRIP
89
mm
CLAMPING
SCREW
MODULE
COUNTERTOP
BRACKET
CLIP
Foam strip Installation brackets
INSTALLATION INSTRUCTIONS
Never operate the fryer module without
oil; damage to the unit may result. Oil
must be added to the fryer basin before
turning on the module.


