


Part # 1844063 (08/06) Page 7
INSTALLATION continued
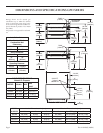
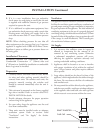
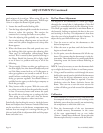
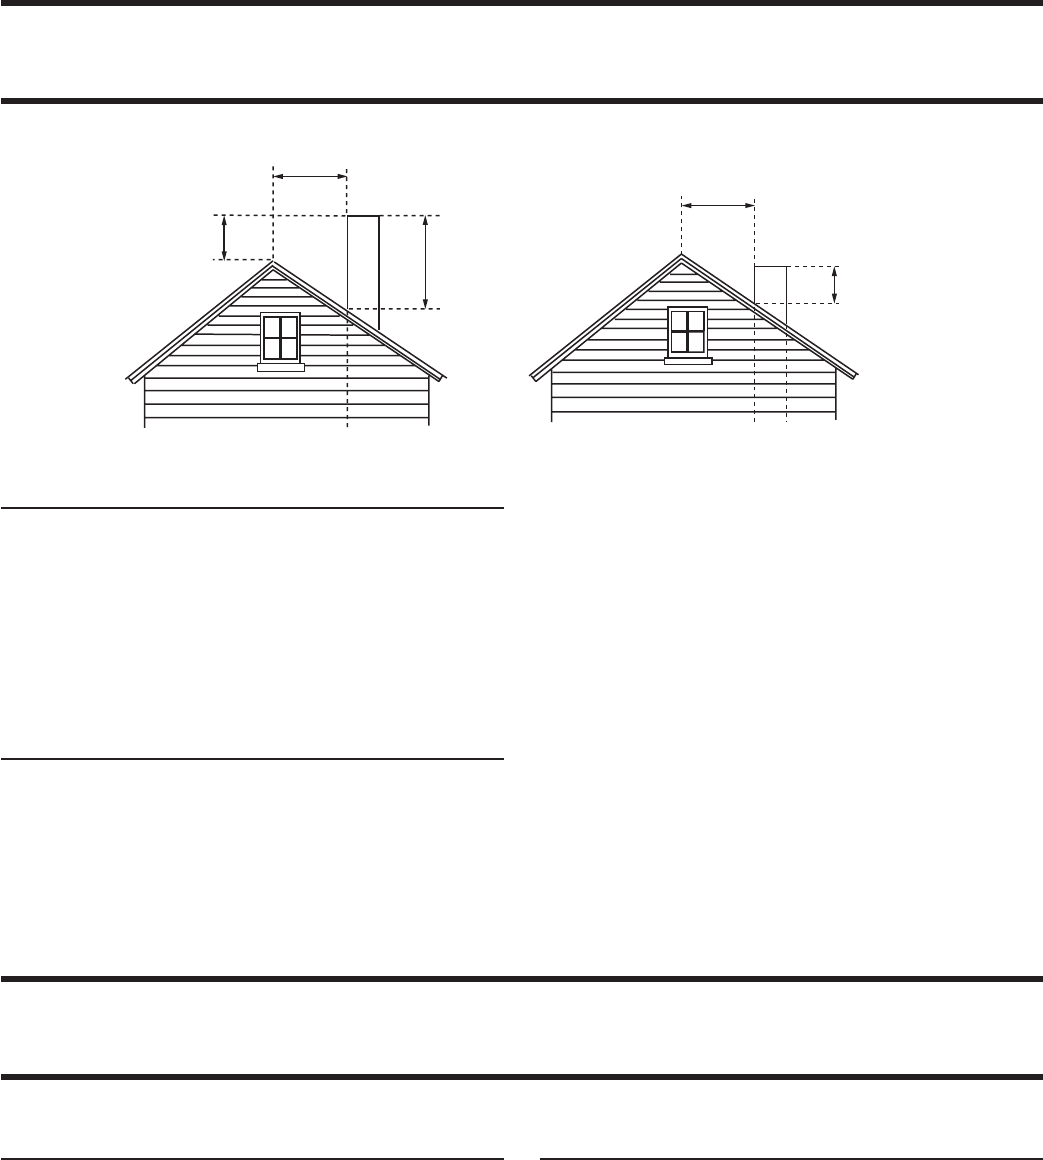
Termination Less than 10 feet (3 meters) from ridge Termination More than 10 feet (3 meters) from ridge
Less than 10 feet (3 meters)
More than 10' (3 meters)
2' (60cm) Min.
3' (90cm) Min.
3' (90cm) Min.
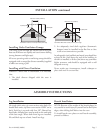
Installing Under Ventilation Canopy:
Too strong a pull through the exhaust system will pull
heat out of the oven too rapidly and cause uneven baking
(strong bottoms and light tops).
All ovens, operating under a ventilating canopy should be
equipped with a canopy flue diverter assembly (supplied
to offset too strong a pull.
Installing with Direct Ventilation
Wherever a direct flue is unavoidable, it is necessary
that:
1. e draft diverter shipped with the oven is
installed.
2. An adequately sized draft regulator (barometric
damper) must be installed in the flue line as close
to the oven connection as possible.
An adequately sized prefabricated metal vent should rise
at least feet (m) above the roof of the building in
which it is installed, or feet (m) above any proximate
higher structure, and should be equipped with a well
designed vent cap.
Never, under any circumstances, install a damper or
place steel wool in an oven flue.
ASSEMBLY INSTRUCTIONS
Leg Installation
On single deck units, tip oven section units back. On
double-deck units, tip lower oven section ONLY on its
back. Each leg is secured with four /” (mm) hex
head bolts, threaded into nuts located on the underside
of the base angle. When both front legs are installed,
lift and block up rear of unit. Install rear legs.
Hearth Installation
NOTE: Because of the weight of the hearth plates, be
very careful to avoid injury to yourself and to shelf joint
edges, when sliding shelf halves into the oven.
To install hearth core plates or steel hearth assembly,
proceed as follows: