


8
Metro / Legacy Series
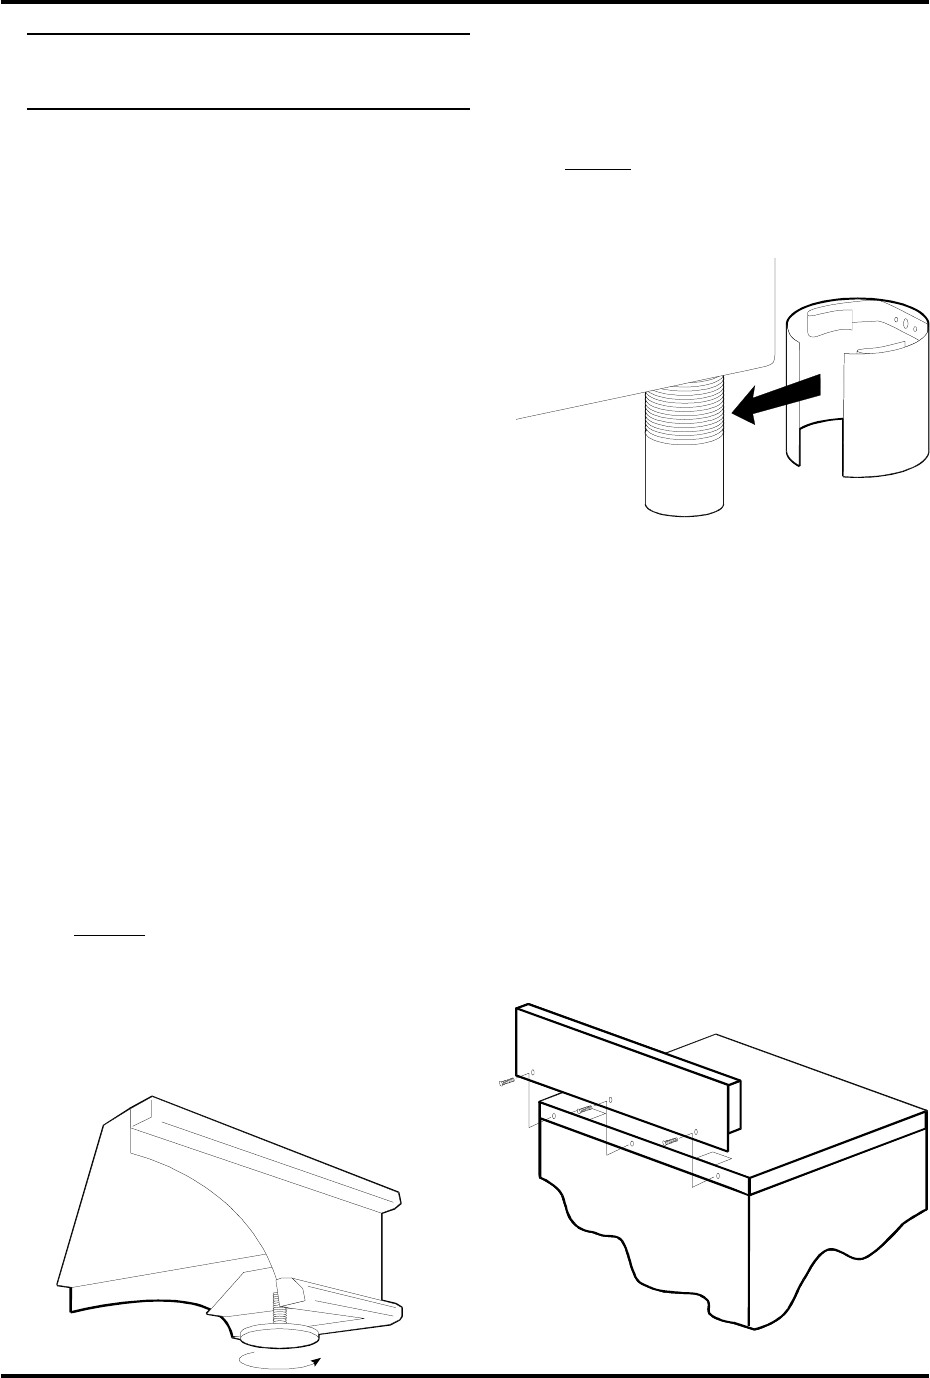
(fig 6)
Preparing the Range for
Installation
1. Carefully remove banding with metal
shears. Caution: banding may be under
pressure, wear gloves to protect hands
from accidental cuts.
2. Remove crating, cardboard, and plastic
packaging material. To avoid damage to
the finish of the range, please use caution.
3. Remove grates, oven racks, baking trays,
and accessory package from the oven.
Set them aside. Oven racks and grates
should be washed in warm soapy water,
prior to use.
4. Remove packaging from top of burners.
The burners are shipped completely
assembled and are pre-adjusted for the
gas setting ordered – natural gas or pro-
pane.
5. Carefully lift the range off pallet and onto
the floor directly in front of the gas and
electrical connections. Two people are
required to lift the stove into position. In
order not to damage the range, refrain
from lifting by the top. Only lift the range
around the bottom of the oven body – one
person on each side.
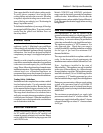
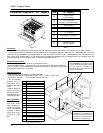
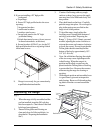
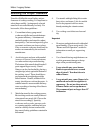
6. Leg assembly.
i. Legacy.
Adjust base leveling bolts (with Teflon
glider attached) so that they extend
beyond the bottom of the leg by ap-
proximately 1/8”–1/4” (0.3cm-0.6cm).
(fig 4)
(fig 5)
Adjusting the levelling bolts in too far
will cause the leg to drag on the floor.
This could potentially cause damage to
flooring. (see fig 4)
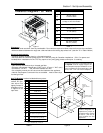
ii. Metro.
Legs are pre-adjusted for level. They
may require only a slight adjustment.
Locate the leg covers inside the oven.
Unwrap and snap covers into position.
(fig 5)
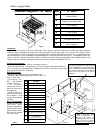
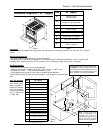
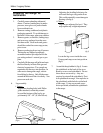
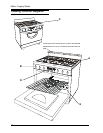
7. Assemble the splashback. (fig 6) Locate
the splashback at the back of the stove.
Remove screws and splashback. Do not
throw these screws away – they are
required to reinstall the splashback. Posi-
tion splashback on range. Line up holes in
the splashback with the holes at the back
of the range. Using screws and screw-
driver provided, assemble the splashback
to the range.