


Air Shutter Adjustment - Metro & Legacy II
Serial Numbers HPF#####
IMPORTANT: ALL GAS WORK TO BE PERFORMED BY A QUALIFIED GAS TECHNICIAN.
Air Shutter Adjustments may be needed in the field after conversion or new appliance installation.
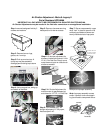
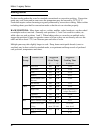
Step 1:
remove backguard held by 3
screws and washers.
Step 2:
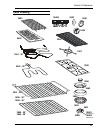
Remove burner rings,
grates, etc. from top.
Step 3:
Push up on stove top. A
sturdy tap may be needed to
dislodge pems holding top to stove
Step 4:
Using support bar, swing up
and attach to manifold.
PUSH UP
Step 3:
Remove 4 screws securing
metal partition for burner access.
Step 4:
Air shutter adjustment for
simmers: intake hole covered 1/4 for
LP & 1/2 for Nat Gas. Simply move
metal sleeve to open or close the air
shutter as needed.
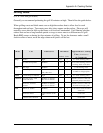
Step 5
: Air Shutter Adjustment for
main burners: air gap between jet
and sleeve is 1/2” L/P; 1/4” Nat Gas
Step 6:
Grill models only. Air
shutter adjustment: LP fully open,
Nat Gas open 0.40”.
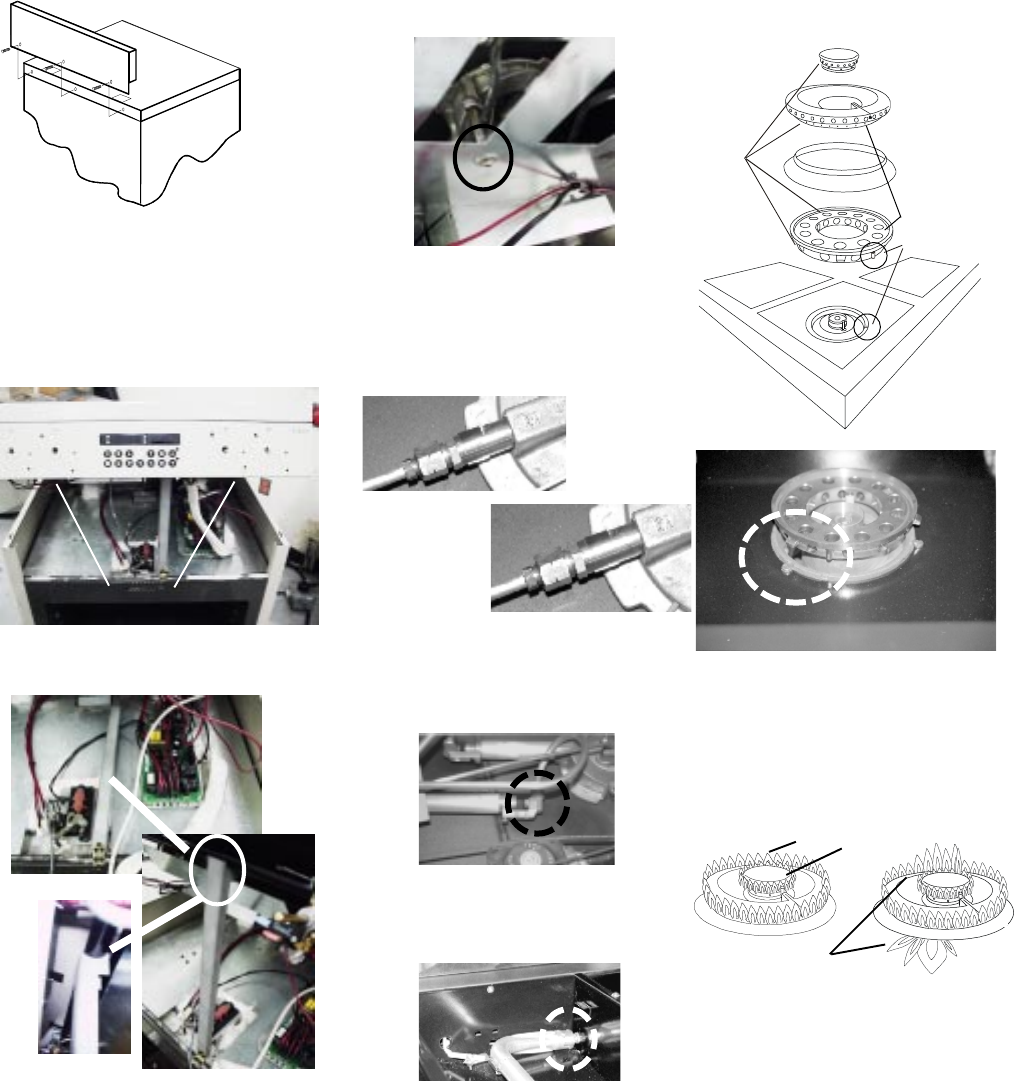
Step 7:
Burner cap assembly: caps
must “lock” in place to ensure a flat
surface is provided and flames are
evenly distributed out of cap ports.
example of improper assembly.
Note:
Improper assembly causes
erratic flames & continuous spark-
ing (could lead to component failure
Ports
Important: tab must
be locked in position
on the burner base
correct
incorrect