


‘!
j
>,
-.,.. .
-.
———.—
.——
~“
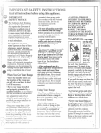
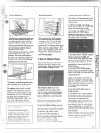
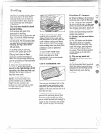
The shelves
are designedwith stop-
locksso when placed correctlyon-
the shelf supports,they will stop
beforecoming completelyoutof
the oven and will not tiltwhen you
are removingfood from them or
placing food on them.
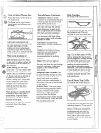
When placing cookware on a shelf,
pull the shelf out to the “stop”
position. Place the cookware on
the shelf, then slide the shelf back
into the oven. This will eliminate
reaching into the hot oven.
pull it toward you, tilt front end
upward and pull shelf out.
To rep!ace, piace shelf
on shelf
support with stop-locks (curved
extension of shelf) facing up and
toward rear of oven. Tilt up front
a~]dpush shelf toward back of
oven until it goes past “stop” on
oven wall. Then lower front of
shelf and push it all the way back.
.-.——
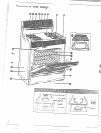
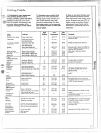
The ovenhas five shelfsupports
for normalbakingandroasting—
A (bottom),B, C, D andE (top).
It alsohas a speciallow shelf
position (R)for roastingextra large
items, such as a large turkey—the
shelf is not designedto slideout at
this position.Shelf positionsfor
cooking are suggestedon Baking
and Roastingpages.
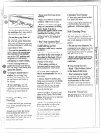
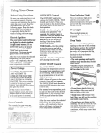
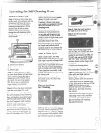
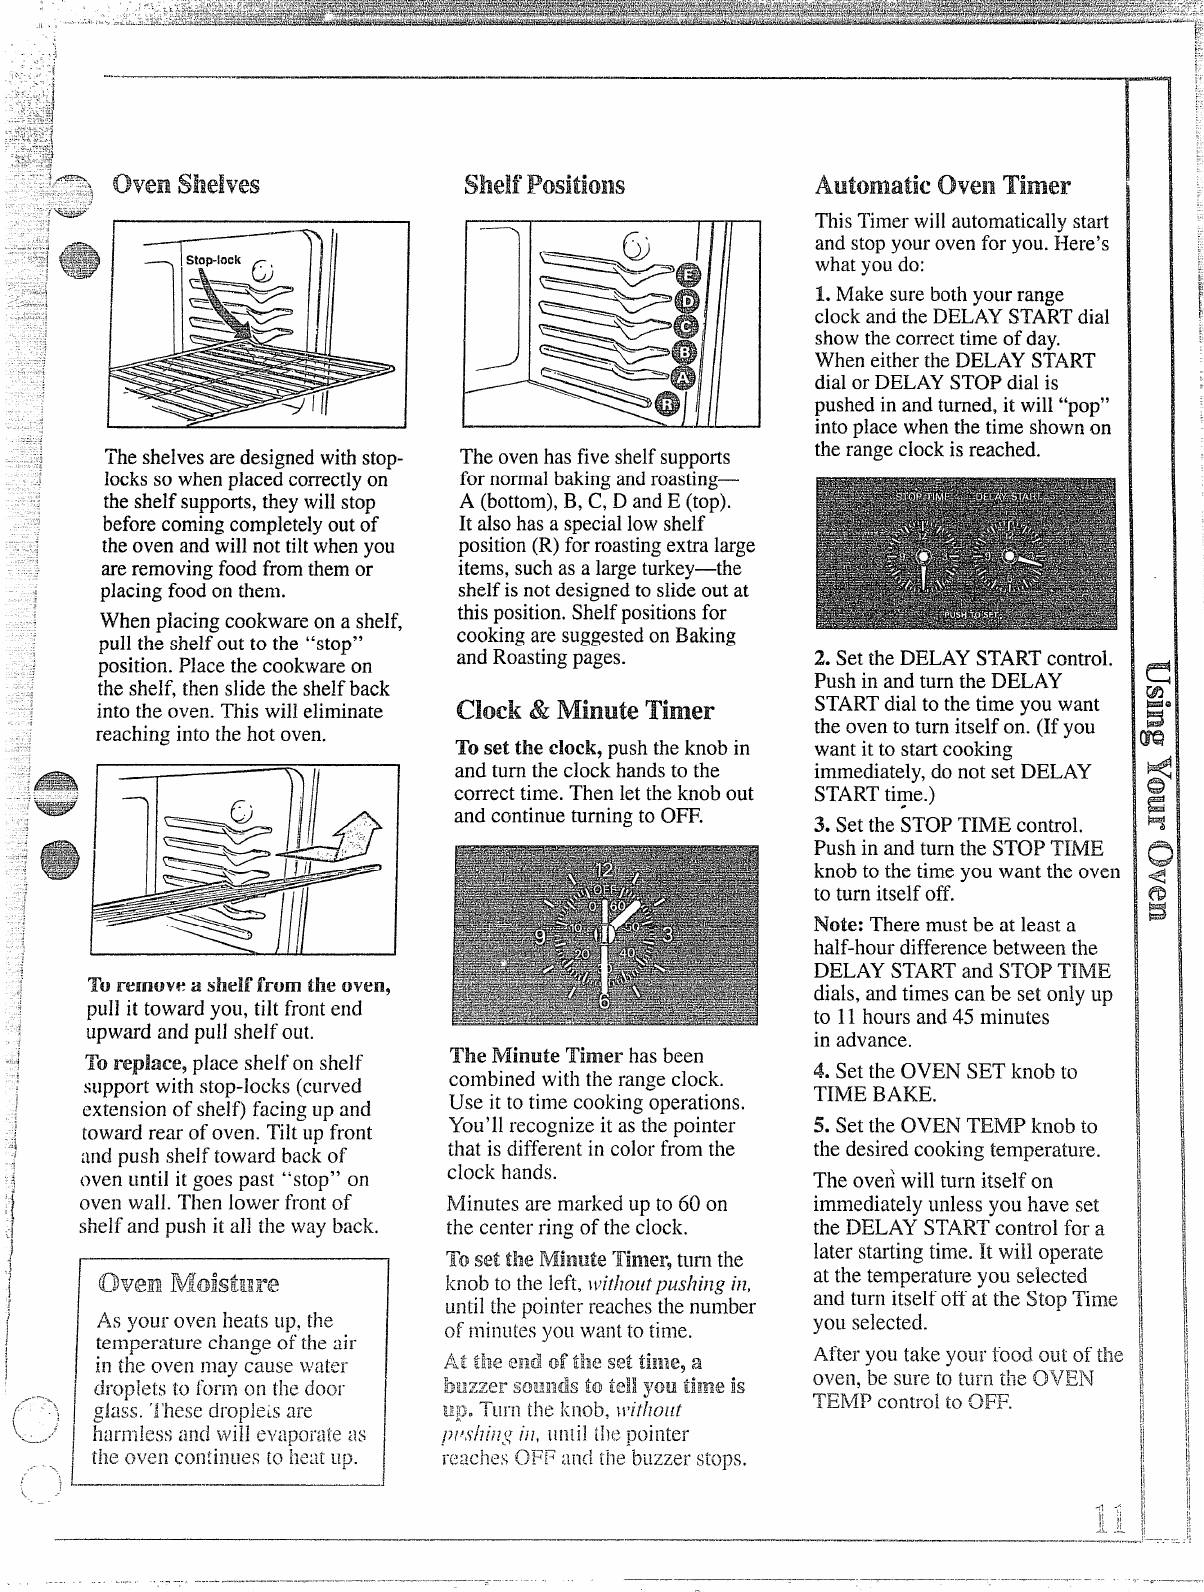
clock & Minute Timer
To set the clock, push the knob in
and turn the clock hands to the
correct time. Then let the knob out
and continue turning to 0~.
The Minute Time~-has been
combined with the range clock.
Use it to time cooking operations.
You’ll recognize it as the pointer
that is different in color from the
clock hands.
Minutes are marked up to 60 on
the center ring of the clock.
To
setthe Minute Tilner9turnthe
knob to the lePL,
}t~itl?oz[t]JUSl?i;lcqi}z,
until the pointer reaches the number
of fllinu~esyou want 10time.
—.
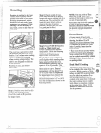
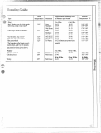
This Timer will automaticallystart
and stop your oven for you. 13ere’s
what you do:
1. Make sure both your range
clock and the DELAY STARTdial
show the comecttime of day.
When either the DELAY START
dial or DELAY STOP dial is
pushed in and turned, it will “pop”
into place when the time shown on
the range clock is reached.
2. Set the DELAY STARTcontrol.
Push in and turn the DELAY
STARTdial to the time you want
the oven to turn itself on. (If you
want it to start cooking
immediately,do not set DELAY
STARTti~e.)
3. Set the STOP TIME control.
Push in and turn the STOP TIME
knob to the time you want the oven
to turn itself off.
Note: There must be at least a
half-hour difference between the
DELAY START and STOP TIklE
dials, and times can be set only up
to 11 hours and 45 minutes
in advance.
4. Set the OVEN SET knob to
TIME BAKE,
5. Set the OVEN TEMP knob to
the desired cooking temperature.
The ove~ will turn itself on
immediately unless you have set
the lIELAY STARTcontrol for a
later starting time. It will operate
at the temperature you selected
and turn itself off at the Stop Time
you selected.
After you take your food out of tl~~
oven, be sure to turn tl~eOi~EIN
TEMP control to 0~.