


C)peratingthe self”c~eaningoven
Step 1: Remove the broilerpan,
broiler rack, all cookwareand any
aluminum foil from theoven—
-.
they can’t withstand thehigh
cleaning temperatures. (Oven
shelves may be left in oven.
NOTE: Shelves will discolor
during the self-cleaningcycle.)
StepI2: Wipe up heavy soilon the
oven bottom.
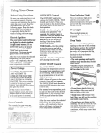
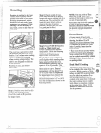
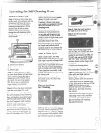
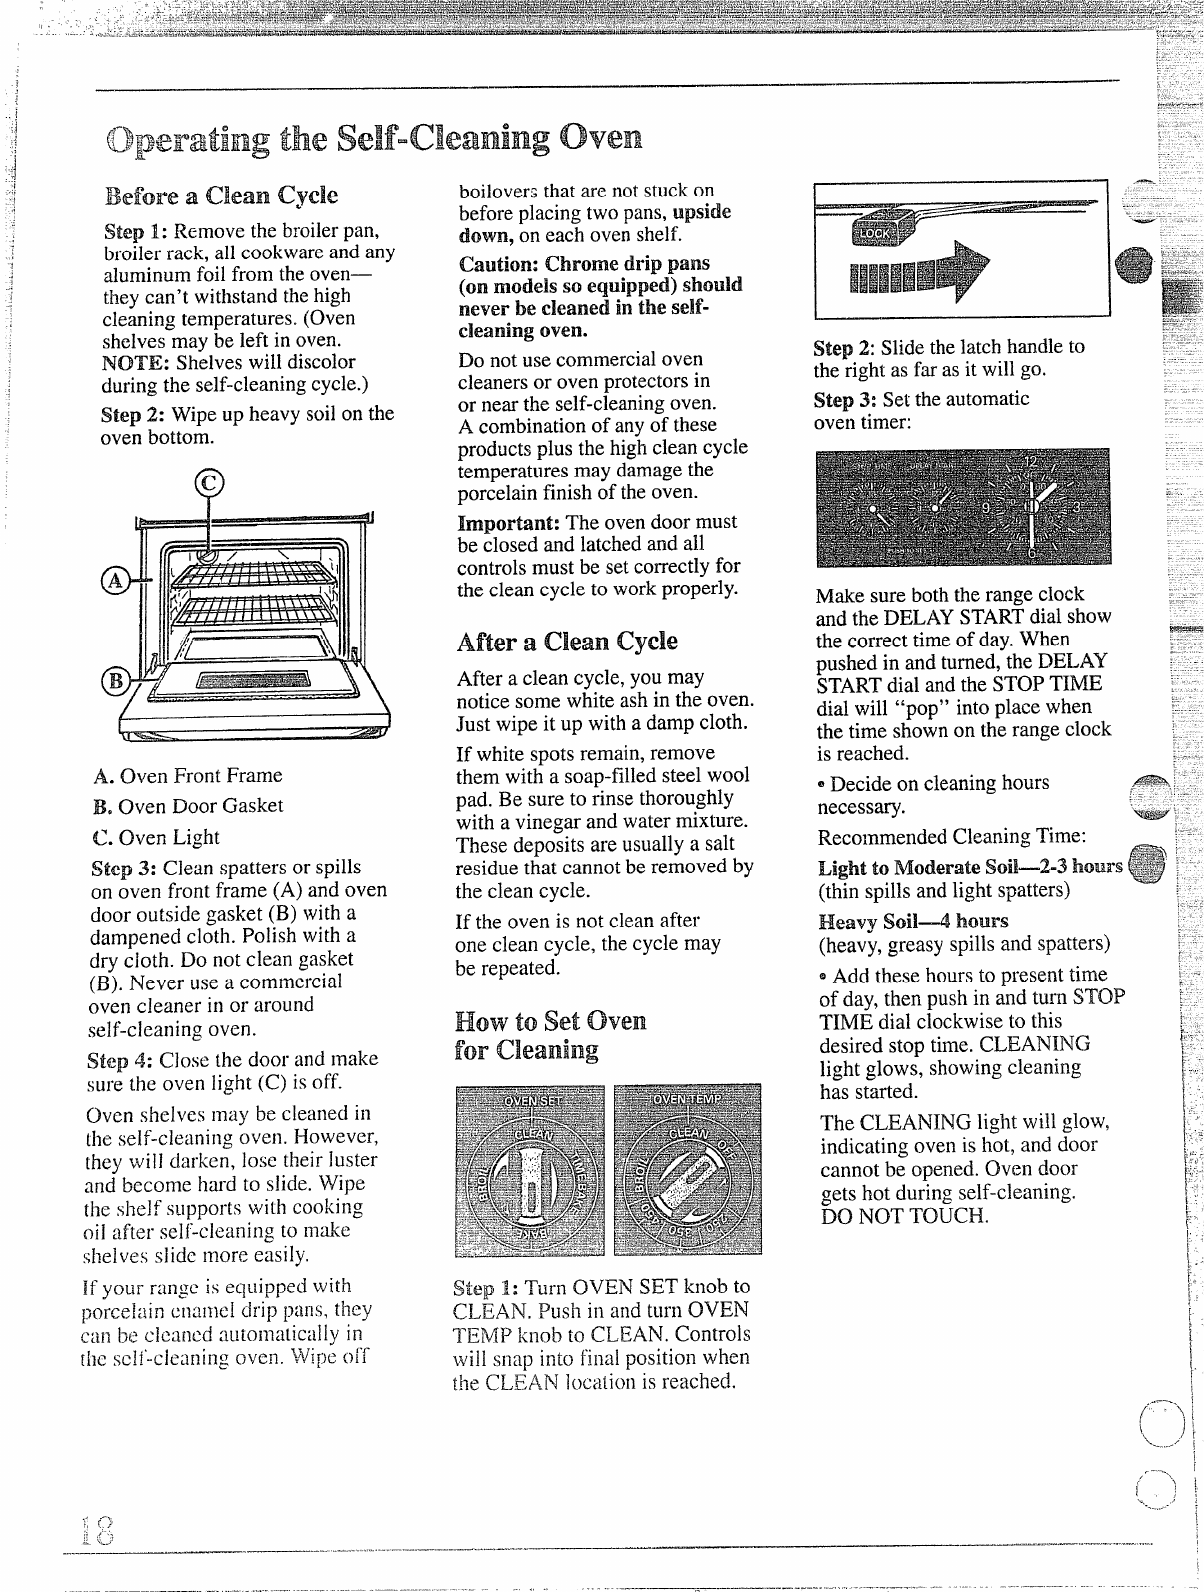
A. Oven Front Frame
B. Oven Door Gasket
C. Oven Light
Step 3: Clean spatters or spills
on oven front frame (A) and oven
door outside gasket (B) with a
dampened cloth. Polish with a
dry cloth. Do not clean gasket
(B). Never use a commercial
oven cieaner in or around
self-cleaning oven.
Step 4: Close the door and make
sure the oven light (C) is off.
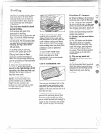
Oven shelves may be cleaned in
the self-cleaning oven. l;owevcr,
[hey will darken, 10SCtheir luster
and become hard to slide, Wipe
the shelf supports with cooking
oil after self-cleaning to make
shelves slide more easily.
boiloversthat are not stuckon
before placing two pans, upside
down, on each oven shelf.
caution: chrome drip pans
(on modeis so equipped) should
never be cleaned in the seBf-
Cieaningoven.
Do not use commercialoven
cleaners or oven protectorsin
or near the self-cleaningoven.
A combinationof any of these
products plus the high clean cycle
temperatures may damage the
porcelain finish of the oven.
lmpor@nt: The oven door must
be closed and latched and all
controls must be setcorrectly for
the clean cycle to work properly.
After a clean cycle
After a clean cycle, you may
notice some white ash in the oven.
Just wipe it up with a damp cloth.
If white spots remain, remove
them with a soap-filled steel wool
pad. Be sure to rinse thoroughly
with a vinegar and water mixture.
These deposits are usually a salt
residue that cannot be removed by
the clean cycle.
If the oven is not clean after
one clean cycle, the cycle may
be repeated.
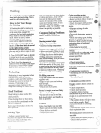
Hovv to set oven
Step 1: Turn OVEN SET knob to
CLEAN. Push in and turn OVEN
TENIP knob to CLEAN. Controls
~lli]]silap into fillai position when
the CLEAN ]{)cationis reached.
Step 2: Slide the latch handleto
the right as far as it will go.
Step 3: Set the automatic
oven timer:
Make sure both the range clock
and the DELAY STARTdial show
the correct time of day.When
pushed in and turned,the DELAY
STARTdial and the STOP TIME
dial will “pop” into place when
the time shown on the range clock
is reached.
~Decide on cleaning hours
necessary.
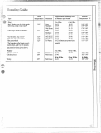
Recommended Cleaning Time:
Lightto Moderatesoil—2-3 hours
(thin spills and light spatters)
Heavy
soi14 hours
(heavy, greasy spills and spatters)
~Add these hours to present time
of day, then push in and turn STOP’
TIME dial clockwise to this
desired stop time. CLEANING
light
glows,showingcleaning
has started.
The CLEANING light will glow,
indicating oven is hot, and door
cannot be opened. Oven door
gets hot during self-cleaning.
DO NOT TOUCH.
-.-—.
—.
-..... ...,........———----—--~-.--~--—-
.—
I
————-----—-..-—”, --- ...... .-, .