


Oven Light Bulb
Before replacing bulb, disconnect power to oven at the main fuse or circuit breaker
panel and at the electric receptacle. Be sure that the entire oven cavity including
the light bulb is cool before attempting to remove.
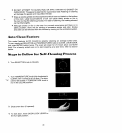
To replace light builT:
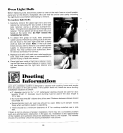
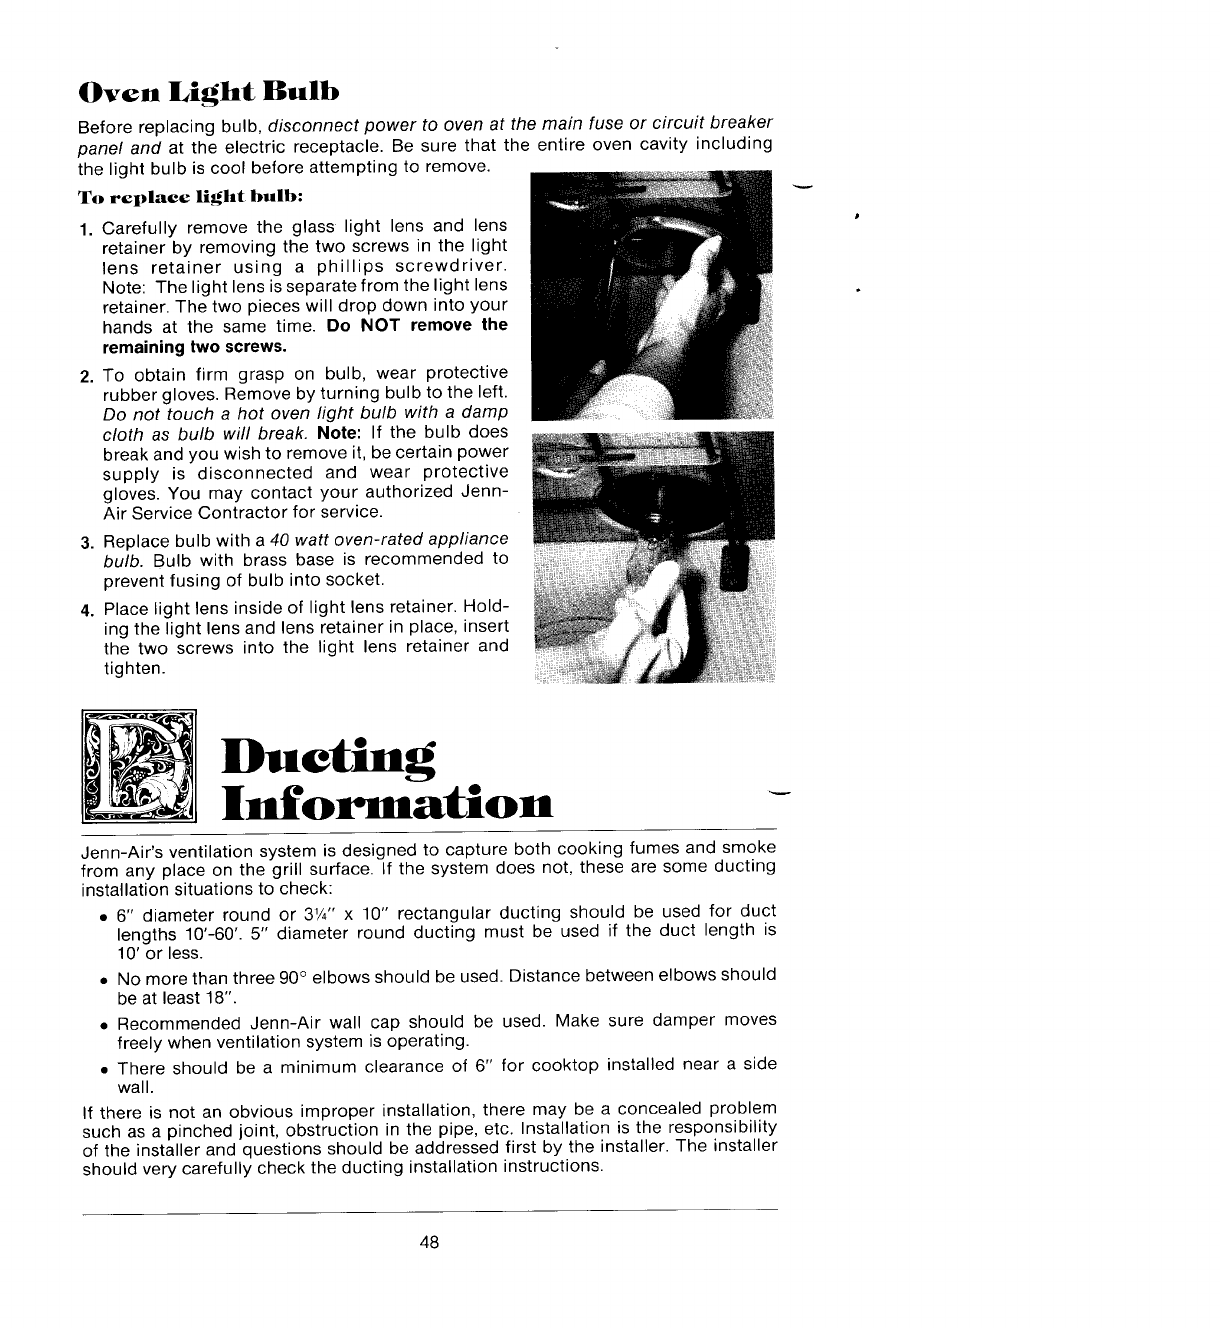
1. Carefully remove the glass light lens and lens
retainer by removing the two screws in the light
lens retainer using a phillips screwdriver.
Note: The light lens is separate from the light lens
retainer. The two pieces will drop down into your
hands at the same time. Do NOT remove the
remaining two screws.
2. To obtain firm grasp on bulb, wear protective
rubber gloves. Remove by turning bulb to the left.
Do not touch a hot oven light bulb with a damp
cloth as bulb will break. Note: If the bulb does
break and you wish to remove it, be certain power
supply is disconnected and wear protective
gloves. You may contact your authorized Jenn-
Air Service Contractor for service.
3. Replace bulb with a 40 watt oven-rated appliance
bulb. Bulb with brass base is recommended to
prevent fusing of bulb into socket.
4. Place light lens inside of light lens retainer. Hold-
ing the light lens and lens retainer in place, insert
the two screws into the light lens retainer and
tighten.
IN
Information
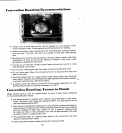
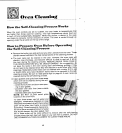
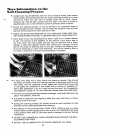
Jenn-Air's ventilation system is designed to capture both cooking fumes and smoke
from any place on the grill surface. If the system does not, these are some ducting
installation situations to check:
• 6" diameter round or 31/4'' x 10" rectangular ducting should be used for duct
lengths 10'-60'. 5" diameter round ducting must be used if the duct length is
10' or less.
• No more than three 90 ° elbows should be used. Distance between elbows should
be at least 18".
• Recommended Jenn-Air wall cap should be used. Make sure damper moves
freely when ventilation system is operating.
• There should be a minimum clearance of 6" for cooktop installed near a side
wall.
If there is not an obvious improper installation, there may be a concealed problem
such as a pinched joint, obstruction in the pipe, etc. Installation is the responsibility
of the installer and questions should be addressed first by the installer. The installer
should very carefully check the ducting installation instructions.
48