


14
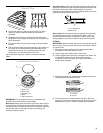
Meat Thermometer
On models without a temperature probe, use a meat
thermometer to determine whether meat, poultry and fish, are
cooked to the desired degree of doneness. The internal
temperature, not appearance, should be used to determine
doneness. A meat thermometer is not supplied with this
appliance.
■ Insert the thermometer into the center of the thickest portion
of the meat or inner thigh and breast of poultry. The tip of the
thermometer should not touch fat, bone or gristle.
■ After reading the thermometer once, push it into the meat
½" (1.3 cm) more and read again. If the temperature drops,
cook the meat or poultry longer.
■ Check all meat, poultry and fish in 2 or 3 different places.
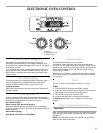
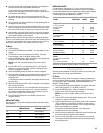
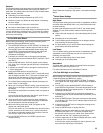
Oven Vent
The oven vent should not be blocked or covered since it allows
the release of hot air and moisture from the oven. Blocking or
covering the vent will cause poor air circulation, affecting cooking
and cleaning results. Do not set plastics, paper or other items
that could melt or burn near the oven vent.
TRADITIONAL COOKING
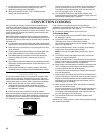
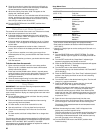
Baking and Roasting
The BAKE function is ideal for baking, roasting or heating
casseroles.
During baking or roasting, the bake and broil elements will cycle
on and off in intervals to maintain oven temperature.
If the oven door is opened during baking or roasting, the broil and
bake elements will turn off immediately. They will come back on
once the door is closed.
Before baking and roasting, position racks according to the
“Positioning Racks and Bakeware” section.
To Bake or Roast:
When roasting, it is not necessary to wait for the oven to preheat
before putting food in, unless recommended in the recipe.
1. Turn the SELECTOR knob to BAKE. The display will read
350°F (175°C).
2. Turn the SET knob to desired temperature. See the
“Changing Oven Timer or Temperature” section.
The bake range can be set between 175°F and 500°F (80°C
and 260°C).
3. Press the ENTER button. “0:00” will appear in the display,
and the Oven Timer indicator light will flash.
NOTE: If you wish to bypass setting a cook time, skip to
Step 5.
4. Turn the SET knob to the desired cook time. The time will
change in 1-minute increments.
5. Press the ENTER button. The cooking time will be accepted,
“PrE” will appear in the display, and the oven will begin to
preheat. If the Oven Timer was set, it will not begin counting
down until preheating is complete.
The display will alternate between “PrE” and actual
temperature as the oven preheats.
6. When the set oven temperature is reached a tone will sound
and the selected time will appear on the display.
The oven timer will begin to count down from the set time and
the display will alternate the set temperature and the
remaining time.
If a baking time was not selected, the display will show only
the oven temperature.
7. When the cooking time ends, “0:00” will appear on the
display and 4 tones will sound.
The oven will remain on. Four reminder tones will sound every
minute and the time will count up in 1-minute increments. The
display will alternate between “0:00” and the count-up time
until you reset or turn off the oven.
8. Turn the SELECTOR knob to the RESET position when
finished cooking.
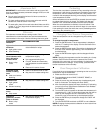
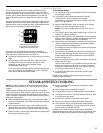
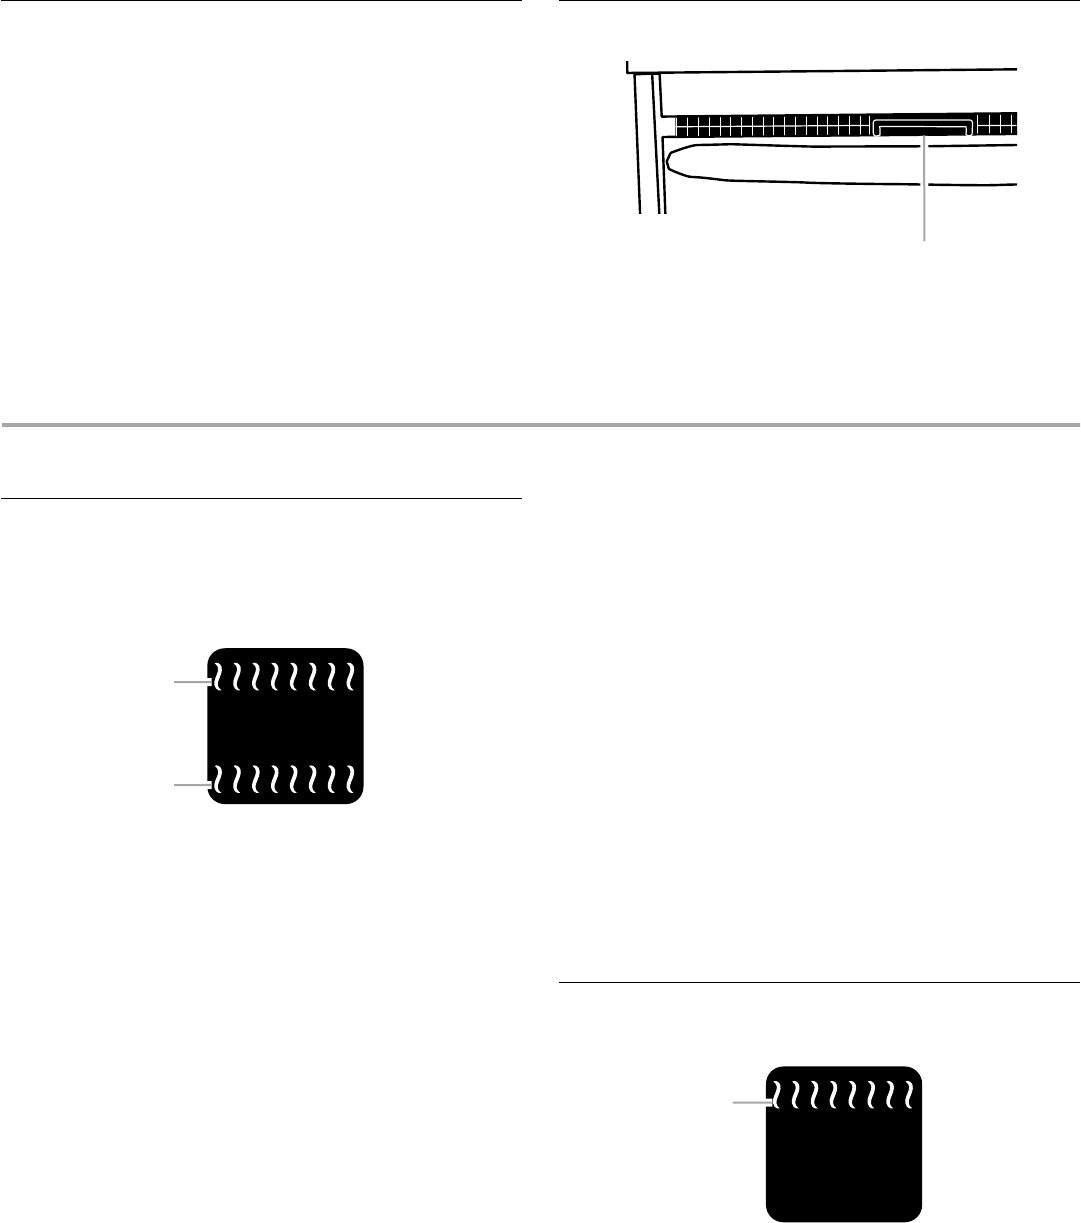
Broiling
Broiling uses direct radiant heat to cook food.
Changing the broil setting allows more precise control when
cooking. Thicker cuts and unevenly shaped pieces of meat, fish
and poultry may cook better at lower broiling temperatures. See
the following Broil Settings chart.
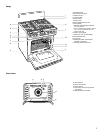
A.Oven vent
A
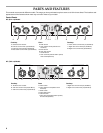
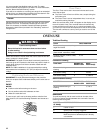
A.Broil element (example only)
B.Bake element (example only)
A
B
A.Broil element (example only)
A