


©2004 Maytag Services 16023522 21
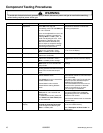
WARNI NG
!
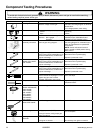
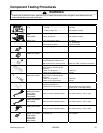
Disassembly Procedures
To avoid risk of electrical shock, personal injury, or death:
disconnect electrical and gas supply before servicing.
5. Maneuver ignitor wire terminal plug through the rear
of the oven cavity.
6. Disconnect ignitor wire terminal plug.
7. Remove screws securing broiler to oven cavity.
8. Carefully maneuver burner off of the broiler orifice
spud and remove from cavity.
9. Remove screws securing ignitor to broiler.
10.Remove wing nut securing flame spreader to broiler.
11.Replace and reassemble in reverse order.
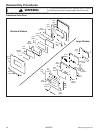
Valve / Regulator Assembly
NOTE: Requires removal of range from installation
position.
1. Turn off electrical power and gas to the range.
2. Disconnect gas and power from unit.
3. Remove nut securing broiler tubing to gas valve.
4. Remove nut securing bake tubing to gas valve.
5. Remove screws securing assembly to unit chassis.
6. Disconnect wires and gas lines to gas valve.
7. Replace and reassemble in reverse order.
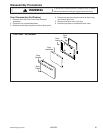
Manual Oven Door Latch Assembly
1. Remove maintop assembly, see "Maintop Assembly"
procedure, steps 1 through 6.
2. Remove screws securing latch assembly to the front
of the oven cavity outer shell.
3. Label and disconnect wire terminals from latch
assembly.
4. Reverse procedure to reinstall door latch assembly.
Spark Module
NOTE: Requires removal of range from installation
position.
1. Remove screws securing lower rear access panel.
2. Disconnect and label wire connections from the spark
module.
3. Remove screws securing spark module to unit
chassis.
4. Replace and reverse procedure to reassemble.
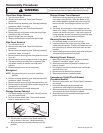
Oven Door Removal
WARNI NG
!
To avoid risk of personal injury or property damage,
do not lift oven door by the handle.
1. Open oven door and place door hinge locking device
into lock position.
2. Place oven door in first stop position, then grasp both
sides and lift up off the hinges.
3. Reverse procedure to reinstall oven door.
Open Burner
1. Remove maintop assembly, see "Maintop Assembly"
procedure, steps 1, 4 and 5.
2. Remove clip securing burner tubing to surface valve.
3. Lift surface burner and gently move burner up and
toward the rear of the range.
4. Replace and reassemble in reverse order.
Oven Sensor
1. Disconnect power before servicing.
2. Open oven door and remove screws securing sensor
to oven cavity.
NOTE: Gently pull wiring through cavity wall.
3. Disconnect oven sensor at the connector terminal
and remove.
4. Reverse procedure to reinstall sensor.
NOTE: Verify connection is pushed through the
insulation.
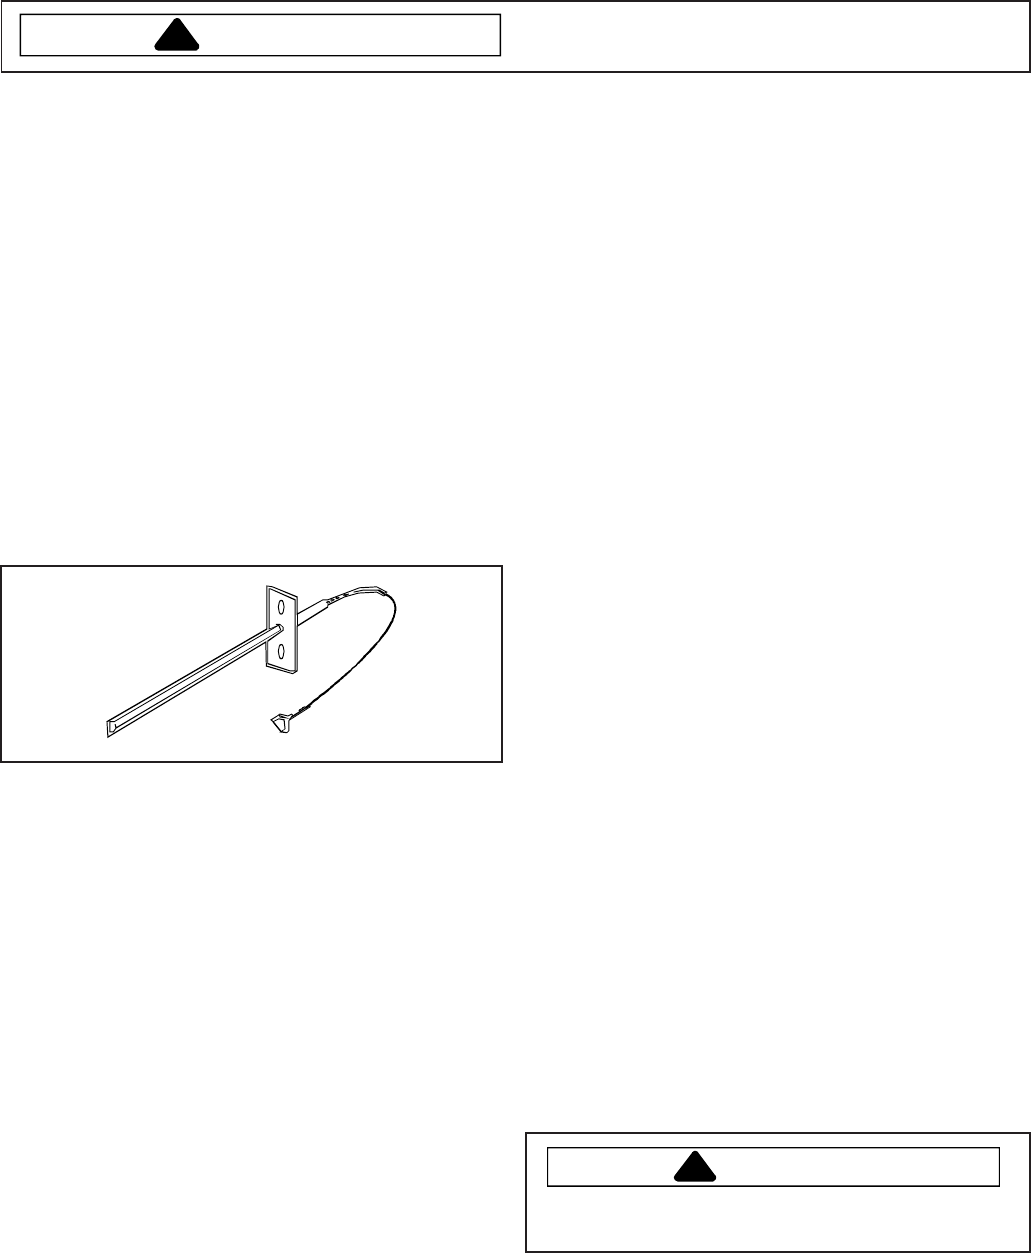
Bake Burner and Ignitor
1. Turn off electrical power and gas to the range.
2. Disconnect gas and power from unit.
3. Remove oven door and racks.
4. Remove screws securing bottom bake cover.
5. Raise the back of the bake burner cover and slide
cover back to release the front edge of cover and lift
out of oven cavity.
6. Remove screws securing bake burner assembly to
the oven chassis.
7. Maneuver bake burner from the burner orifice and out
of the slotted location.
8. Pull forward on assembly to allow the ignitor terminal
plug to pass through the back of the oven cavity.
9. Disconnect terminal plug and remove assembly from
the oven cavity.
10.Remove screws securing ignitor to bake burner.
11.Replace and reassemble in reverse order.
Broil Burner and Ignitor
1. Turn off electrical power and gas to the range.
2. Disconnect gas and power from unit.
3. Remove oven door, and racks.
4. Remove screws securing ignitor wire plate cover to
back of the oven cavity.