


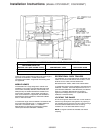
22 16023522 ©2004 Maytag Services
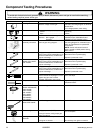
WARNI NG
!
Disassembly Procedures
To avoid risk of electrical shock, personal injury, or death:
disconnect electrical and gas supply before servicing.
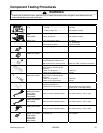
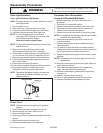
Storage Drawer Track Removal
1. Remove the storage drawer by pulling it out to the
fully open or stop position, lifting the drawer at the
rear to disengage the drawer track rollers from the
drawer runners, and sliding the drawer out of the
range.
2. The tracks are mounted to a rear support and the
frame of the range. Remove the two track mounting
screws and remove the track. If the track support is
being replaced, remove the mounting screw securing
it to the side frame and remove the support.
Warming Drawer Removal
1. Pull warming drawer out as far as it will go.
2. Located on each side of the track is a plastic lever
inside the track location. Push the left side down and
the right side up to release slide from track and pull
forward.
3. When installing warming drawer, align slide with track
and push warming drawer into place.
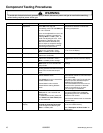
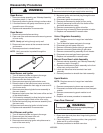
Warming Drawer Element
1. Remove warming drawer, See "Warming Drawer
Removal" procedure, steps 1 and 2.
2. Remove screws securing element to bottom and
back of chassis.
3. Pull element forward until element end are through
the back of the unit.
4. Disconnect wire terminal from element.
5. Reverse procedure to reinstall element.
Convenience Outlet/Circuit Breaker
(Canadian Models)
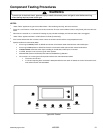
1. Remove control panel, see "Control Panel" procedure
for removal.
2. Label and disconnect wire terminals from
convenience outlet and/or circuit breaker.
3. Remove screws securing outlet and/or circuit breaker
to backguard and push outward to release.
4 . Reverse procedure to reinstall convenience outlet
and/or circuit breaker.
Oven Door Hinge Receiver
1. Turn off power to unit.
2. Remove oven door, see "Oven Door Removal"
procedure.
3. Remove maintop assembly, see "Maintop Assembly"
procedure, steps 1 through 5.
4. Remove side panel, see "Side Panel Removal"
procedures.
5. Remove the top and bottom screws securing hinge
assembly to the front frame.
6. Remove hinge from oven chassis.
7. Reverse procedure to reinstall oven door hinge.
Side Panel Removal
1. Turn off power to unit.
2. Remove oven door, see "Oven Door Removal"
procedure.
3. Remove maintop assembly, see "Maintop Assembly"
procedure, steps 1 through 5.
4. Remove screws securing lower rear galvanized cover
from unit.
5. Remove screws securing top and back of side panel.
6. Pull rear of side panel away from range then slide
side panel forward to release from side panel
spacers.
7. Reverse procedure to reinstall side panel.
Backguard
NOTE: Requires removal of oven from installation
position.
1. Remove maintop assembly, see "Maintop Assembly"
procedure, steps 1 through 6.
2. Remove screws securing upper back panel form unit.
3. Remove screws securing bottom outside edges of the
backguard to unit chassis.
4. Reverse procedure to reinstall backguard.
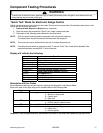
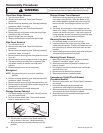
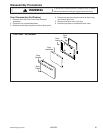
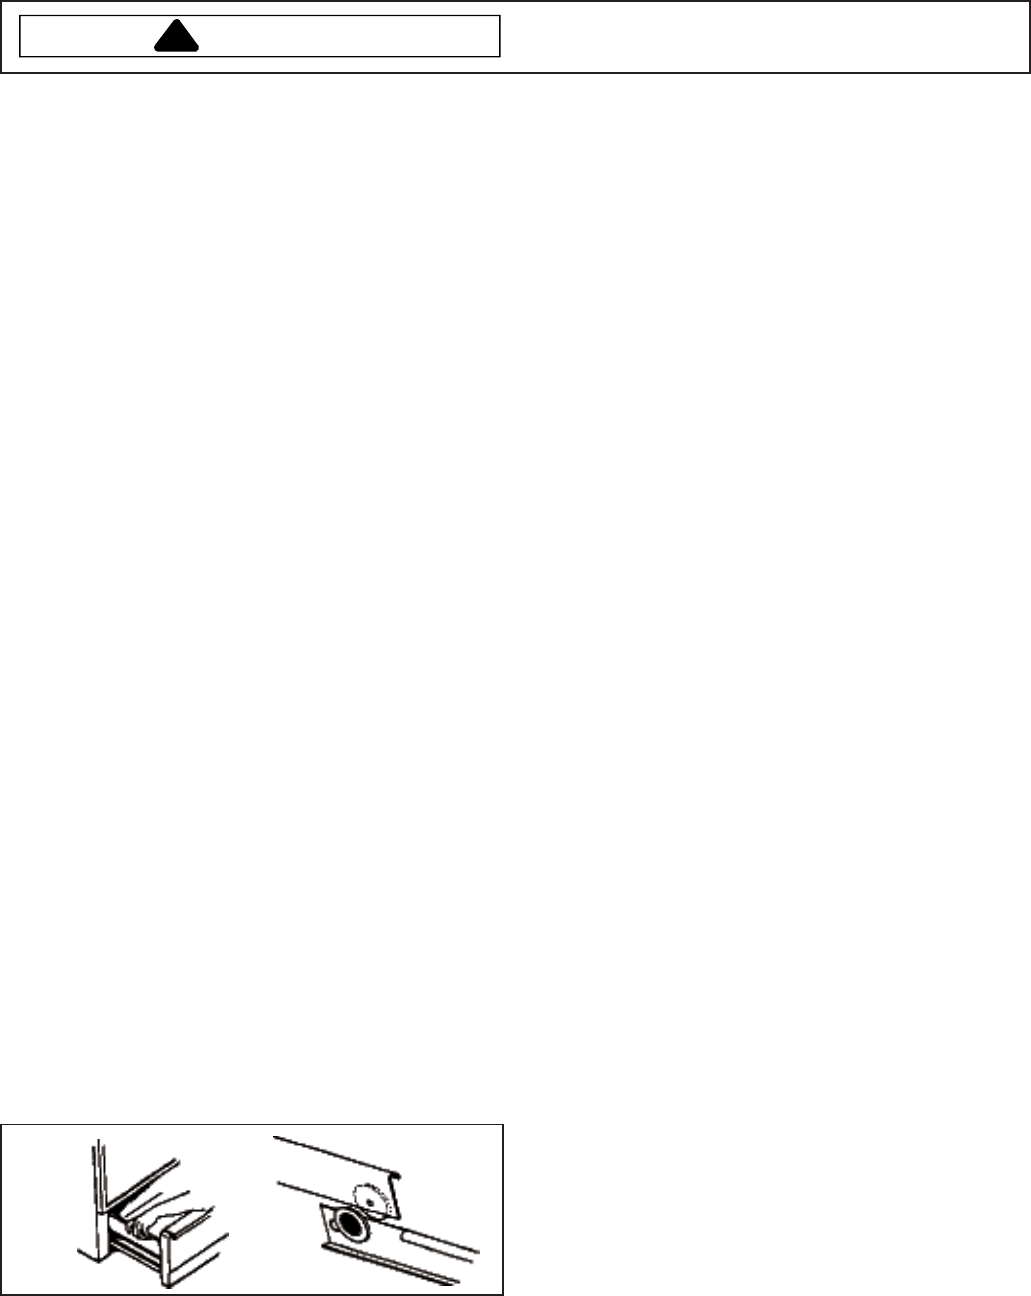
Storage Drawer Removal
1. Pull drawer straight out to first stop. Lift the front and
pull out to second stop.
2. Let front of door rest on floor. Place hands toward
back of drawer and lift it out.
3. To replace:
a. Place the set of rollers on the drawer behind the
set of rollers on the oven. (As shown above.)
b. Align the guides and push the drawer back into
position.