


6
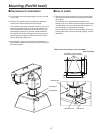
Mounting (Pan/tilt head)
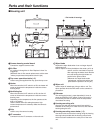
Precautions for installation
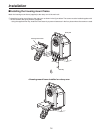
Do not install this unit by suspending it, and do not install
it on its side.
Using the four pan/tilt head mounting holes, fasten the
unit securely with bolts which are long enough.
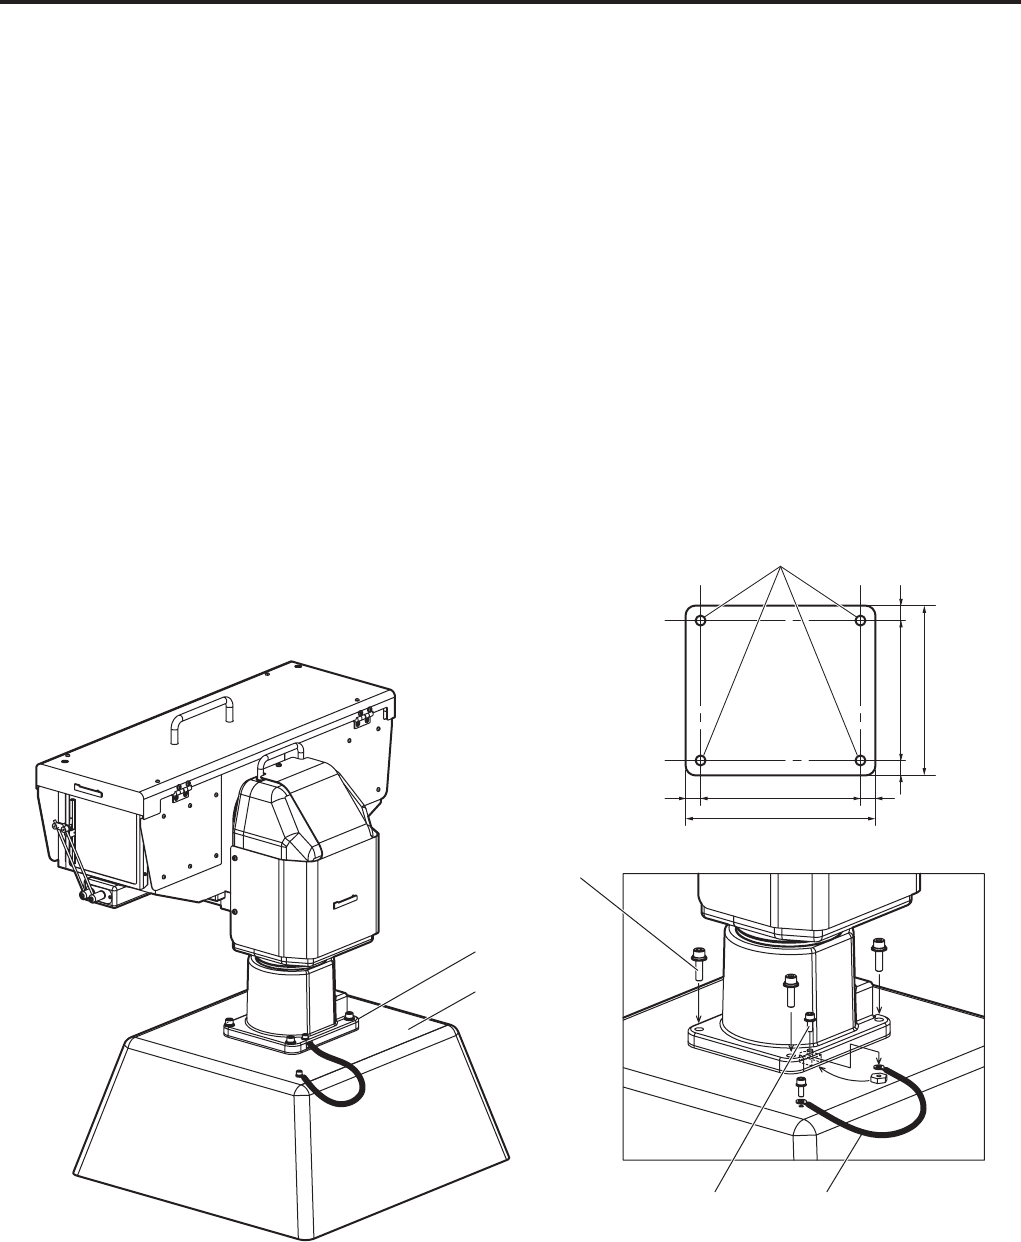
The mounting holes have a diameter of 3/8
” (10 mm). Use
sufficiently long bolts with an 5/16” (8 mm) diameter. Do
not use bolts with a diameter smaller than 5/16” (8 mm).
Use hexagon head bolts or hexagon socket head bolts,
for instance, which can be tightened up securely using a
tool and which are made of a material and with a finish
that will withstand outdoor use.
Be absolutely sure to use parts such as flat washers or
spring washers together with the bolts to prevent the bolts
from coming loose.
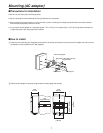
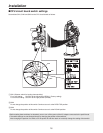
How to install
Attach one end of the anti-fall wire to the mounting hole,
and secure the other end to the mounting base or other
sturdy place.
The diameter of the hole where the anti-fall wire is
attached is 6.5 mm. Attach the wire using the anti-fall wire
mounting bolts with a 6 mm diameter and a length of 16
mm, flat washers, spring washers and nuts.
Ensure that the anti-fall wire is strong enough to bear the
weight of the entire pan/tilt head (head, housing, camera
and cable).
The diameter of the four pan/tilt
head mounting holes are 3/8 (10).
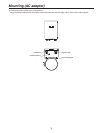
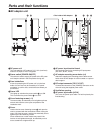
<Dimensions of area where unit is mounted>
6-5/16 (160)
7-1/2 (190)
5-1/2 (140)
6-11/16 (170)
Mounting area
Mounting base
Mounting bolts
Anti-fall wire bolt Anti-fall wire
Unit: inch (mm)
9/16
(15)
9/16
(15)
9/16
(15)
9/16
(15)