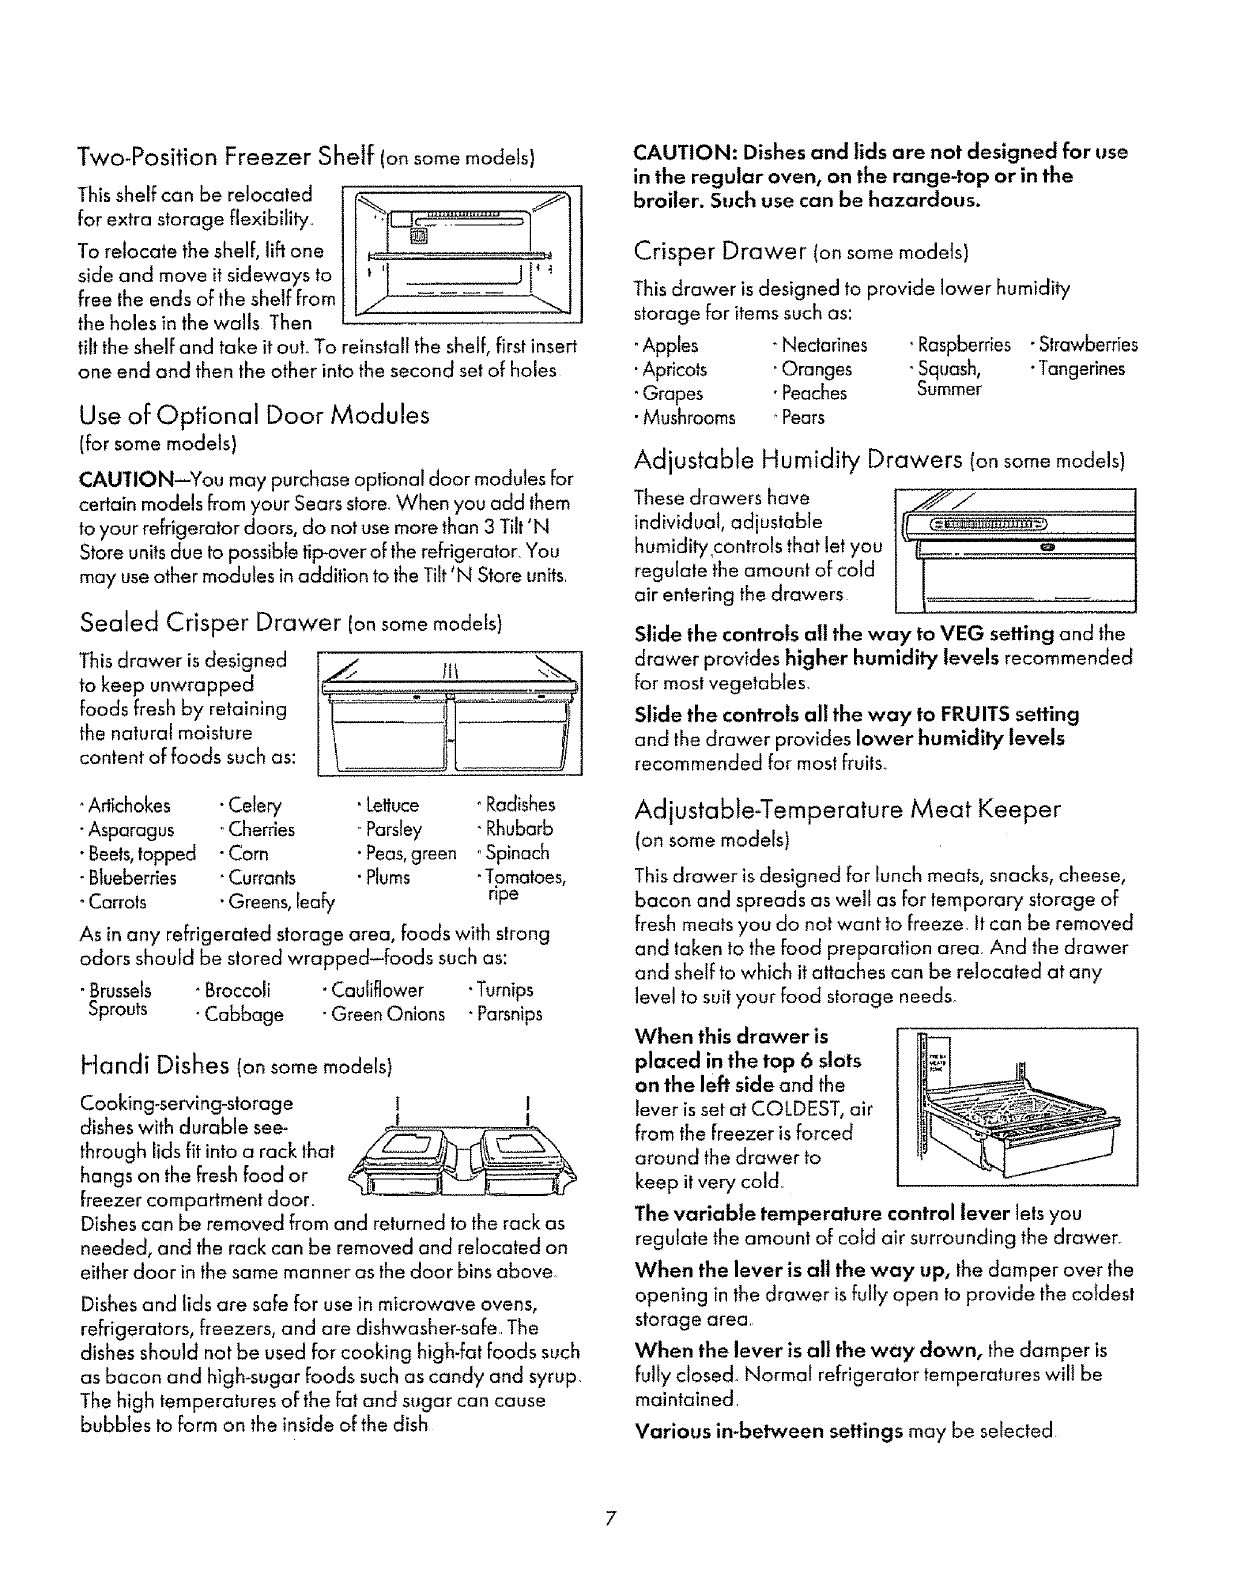
Two-Position Freezer Shelf (onsome models)
This shelf can be relocated
for extra storage flexibillty_
To relocate the shelf, lift one
side and move it sideways to
free the ends of the shelf from
the holes in the walls Then
tilt the shelf and take it out° To reinstall the shelf, first insert
one end and then the other into the second set of holes
Use of Optional Door Modules
(for somemodels)
CAUTION--You may purchase optional door modules for
certain models from your Sears store.When you add them
to your refrigerator doors, do not use more than 3 Tilt 'N
Store units due to possible tip-over of the refrigerator. You
may useother modules in addition to the Tilt 'N Store units
Sealed Crisper Drawer Consomemodels)
This drawer is designed
to keep unwrapped
foods fresh by retaining
the natural moisture
content of foods such as:
oArtichokes *Celery ' Lettuce oRadishes
-Asparagus -Cherries oParsley " Rhubarb
•Beets,topped - Corn • Peas,green oSpinach
-Blueberries _Currants " Plums -Tomatoes,
-Carrots •Greens, leafy npe
As in any refrigerated storage area, foods with strong
odors should be stored wrapped-foods such as:
oBrussels oBroccoli •Cauliflower "Turnips
Sprouts "Cabbage "Green Onions • Parsnips
Handi Dishes (onsome models)
Cooking-serving-storage I I
dishes with durable see-
through lids fit into a rack that
hangs on the fresh food or
freezer compartment door.
Dishes can be removed from and returned to the rack as
needed, and the rack can be removed and relocated on
either door in the same manner as the door bins above
Dishes and lids are safe for use in microwave ovens,
refrigerators, freezers, and are dishwasher_safe The
dishes should not be used for cooking high-fat foods such
as bacon and high-sugar foods such as candy and syrup.
The high temperatures of the fat and sugar can cause
bubbles to form on the inside of the dish
CAUTION: Dishes and lids are not designed for use
in the regular oven, on the range-top or in the
broiler. Such use can be hazardous.
Crisper Drawer (onsome mode_s)
This drawer is designed to provide lower humidity
storage for items such as:
oApples -Nectarines • Raspberries • Strawberries
•Apricots •Oranges _Squash, •Tangerines
"Grapes "Peaches Summer
•Mushrooms • Pears
Adjustable Humidity Drawers (onsome models)
These drawers have
individual, adjustable
humidity controls that let you
regulate the amount of cold
air entering the drawers
Slide the controls all the way to VEG setting and the
drawer provides higher humidity levels recommended
for most vegetables.
Slide the controls all the way to FRUITS setting
and the drawer provides lower humidity levels
recommended for most fruits.
Adjustable-Temperature Meat Keeper
(on some models)
This drawer isdesigned for lunch meats, snacks, cheese,
bacon and spreads as well as for temporary storage of
fresh meats you do not want to freeze. It can be removed
and taken to the food preparation area. And the drawer
and shelf to which it attaches can be relocated at any
level to suit your food storage needs.
When this drawer is
placed in the top 6 slots
on the left side and the
lever is set at COLDEST, air
from the freezer isforced
around the drawer to
keep it very cold
The variable temperature control lever lets you
regulate the amount of cold air surrounding the drawer.
When the lever is all the way up, the damper over the
opening in the drawer isfully open to provide the coldest
storage area
When the lever is all the way down, the damper is
fully closed. Normal refrigerator temperatures will be
maintained
Various in-between settings may be selected


